
How to add an I/O module to a hardware configuration and commit the change
Configure an installed I/O module slot with the correct module type, commit the hardware change, and verify the module's input settings are available in the I/O Modules view.
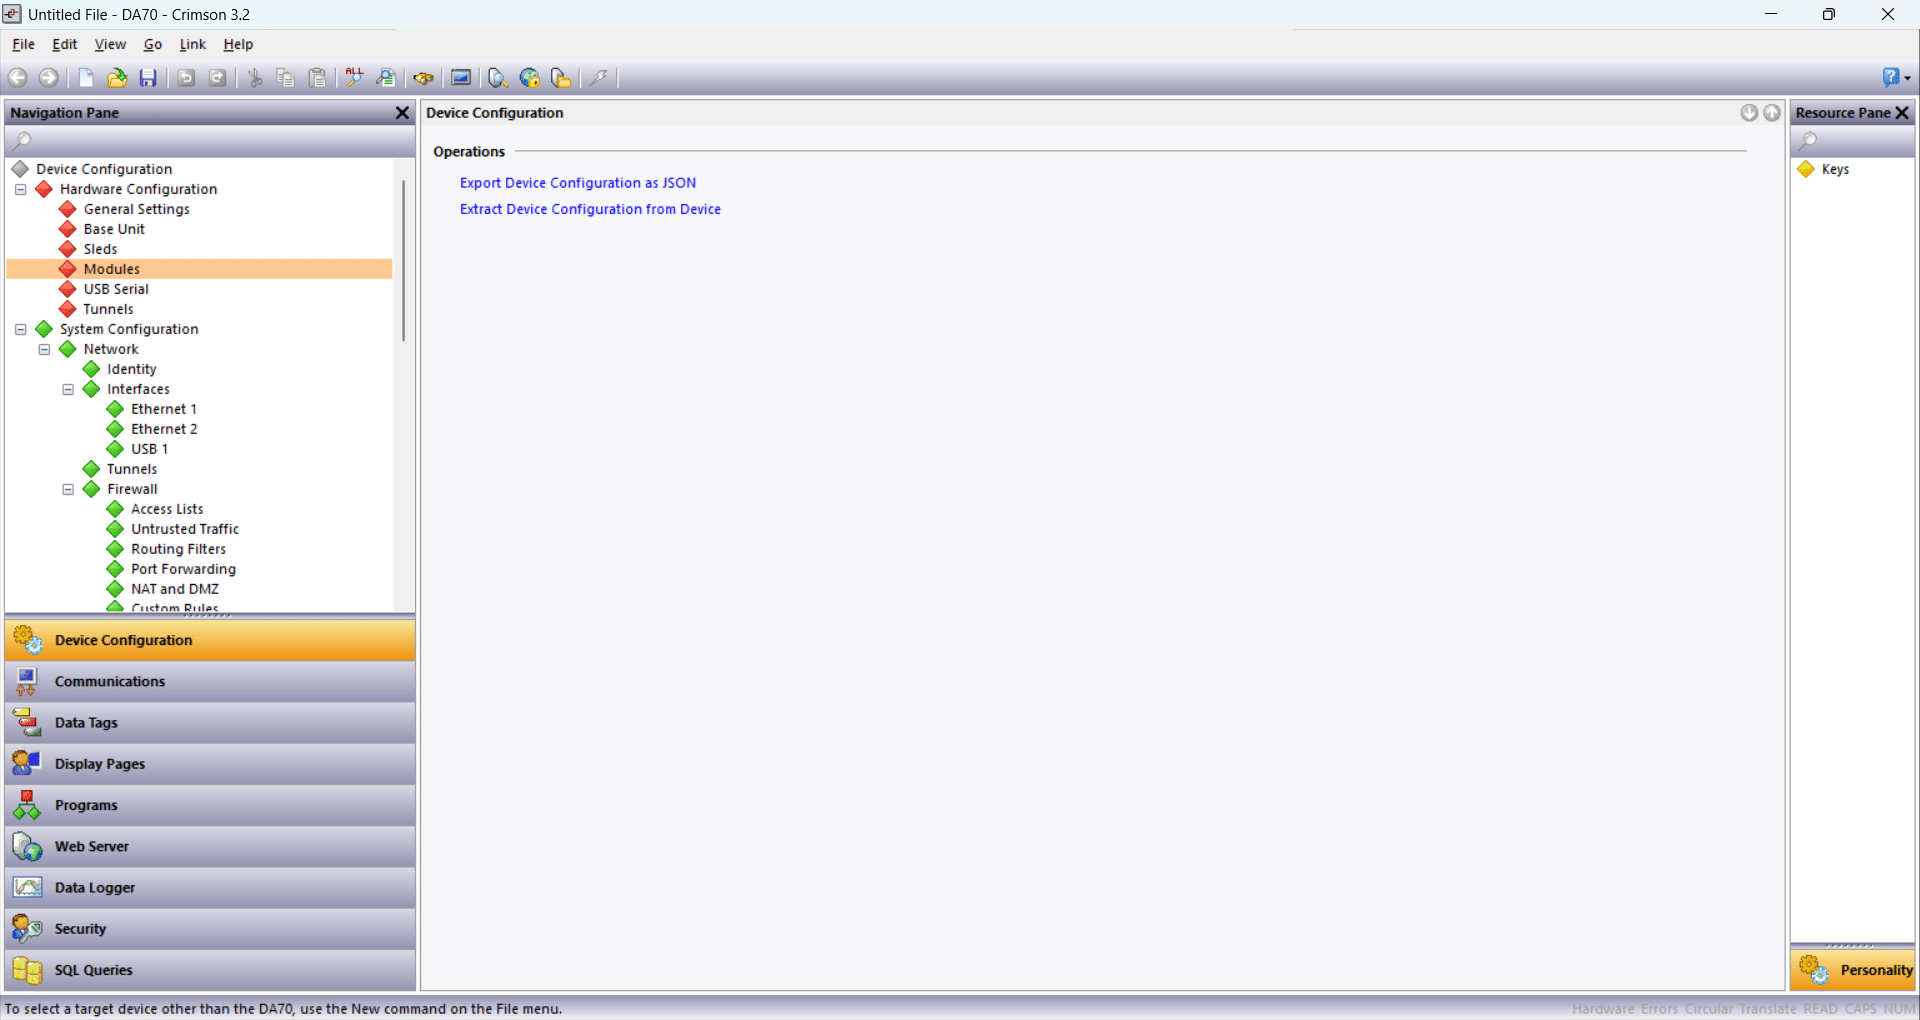
In the Navigation Pane, under Hardware Configuration, click Modules

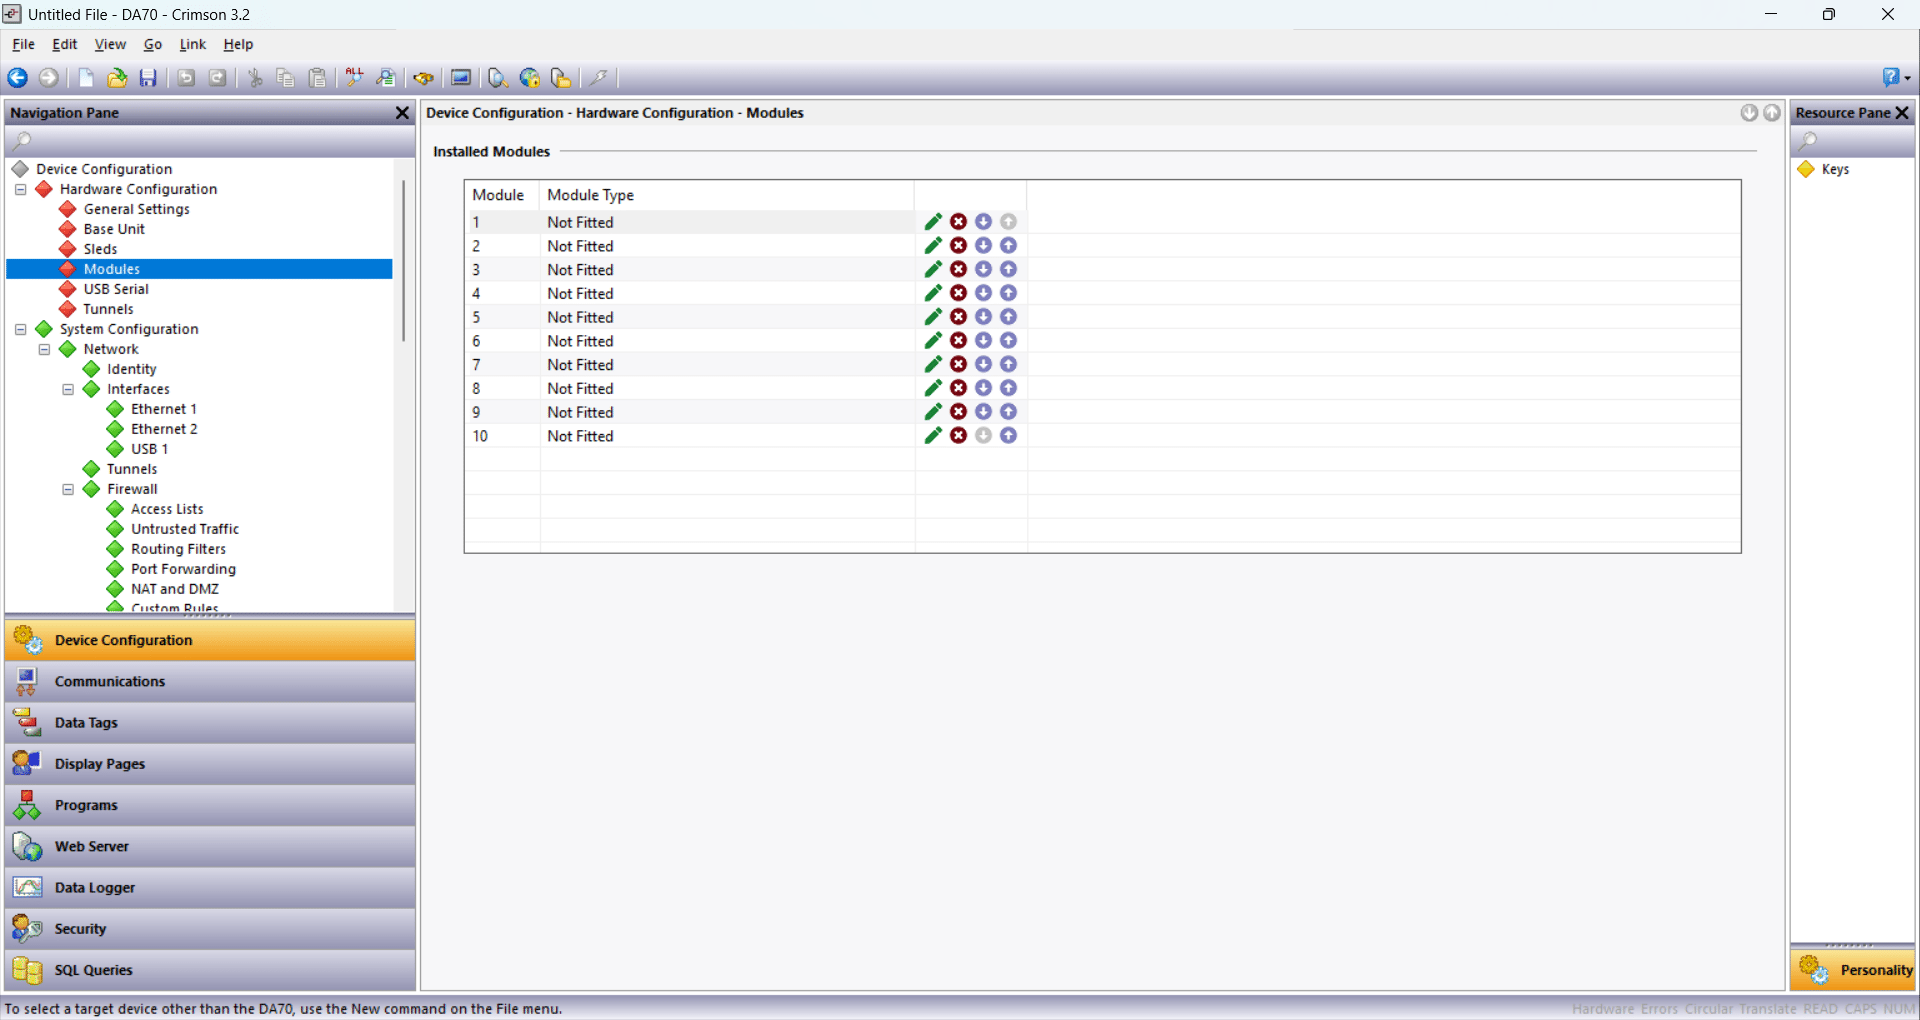
In the Installed Modules list, click the green pencil icon on the row for Module 1 to edit its module type
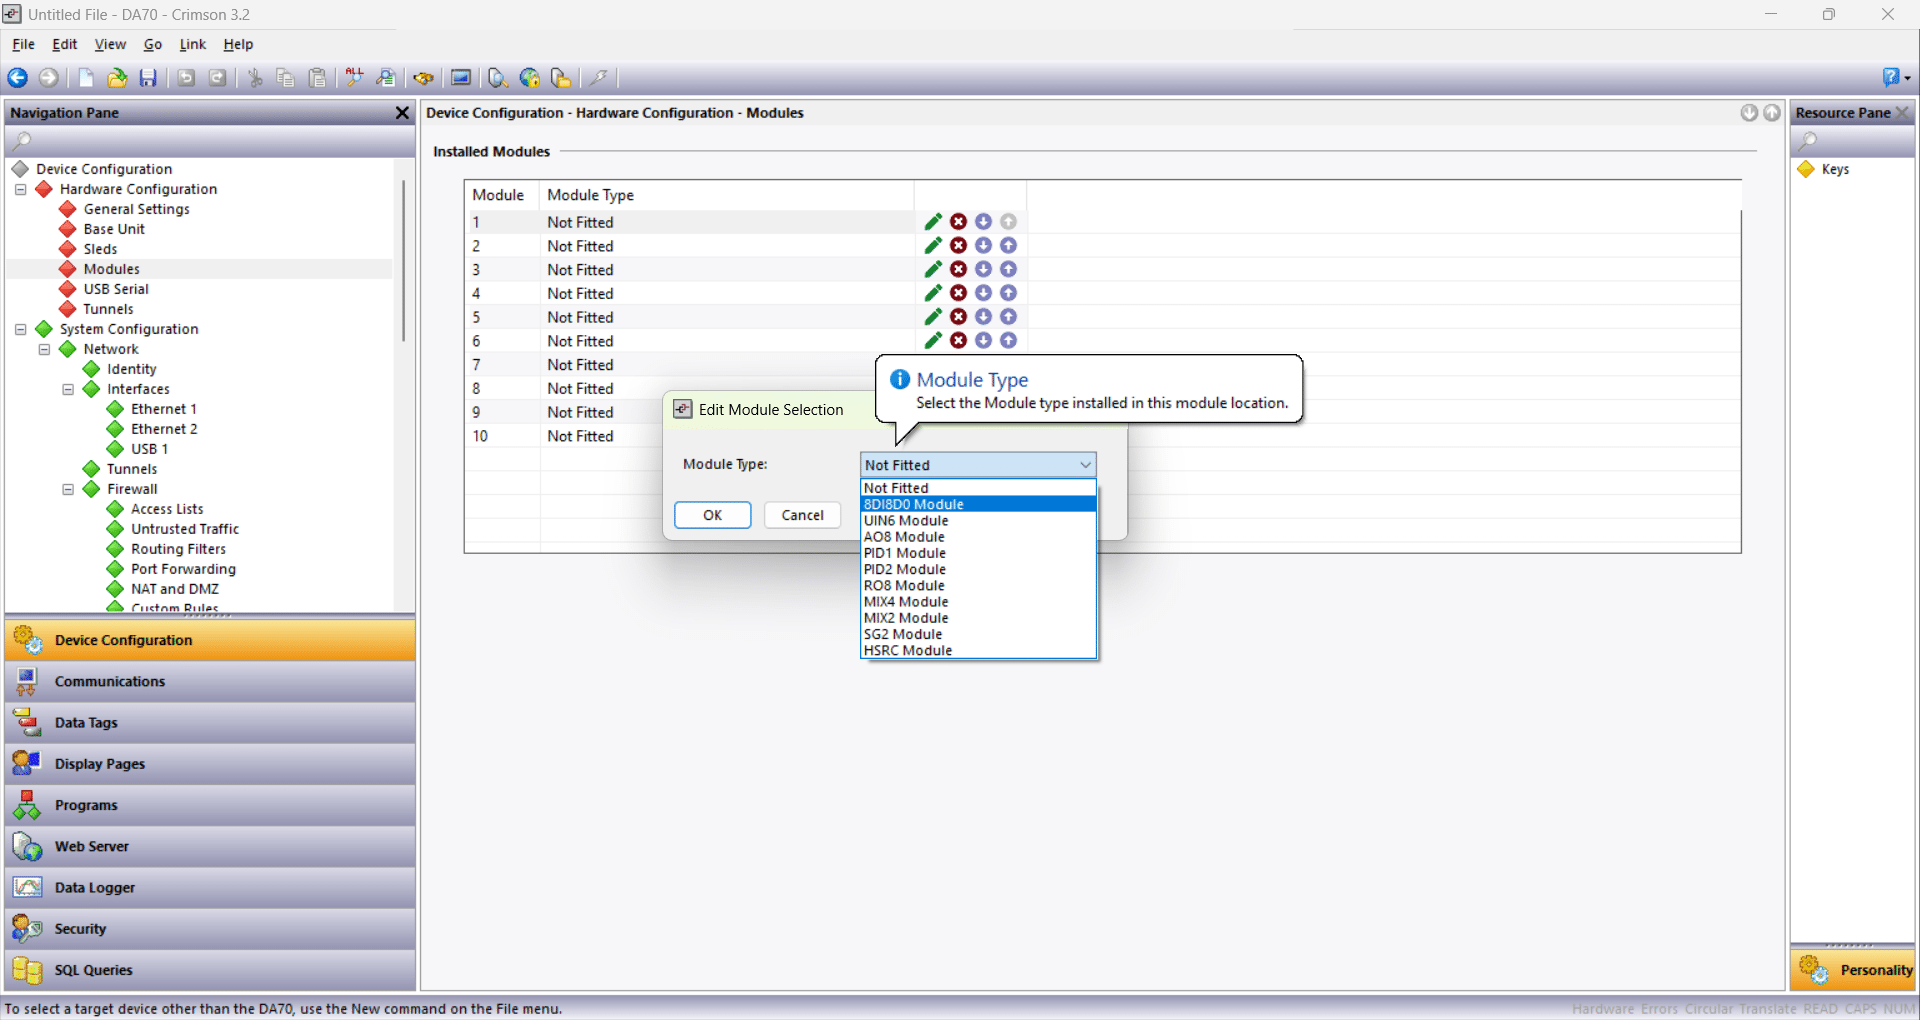
From the Module Type list, select the module you need.
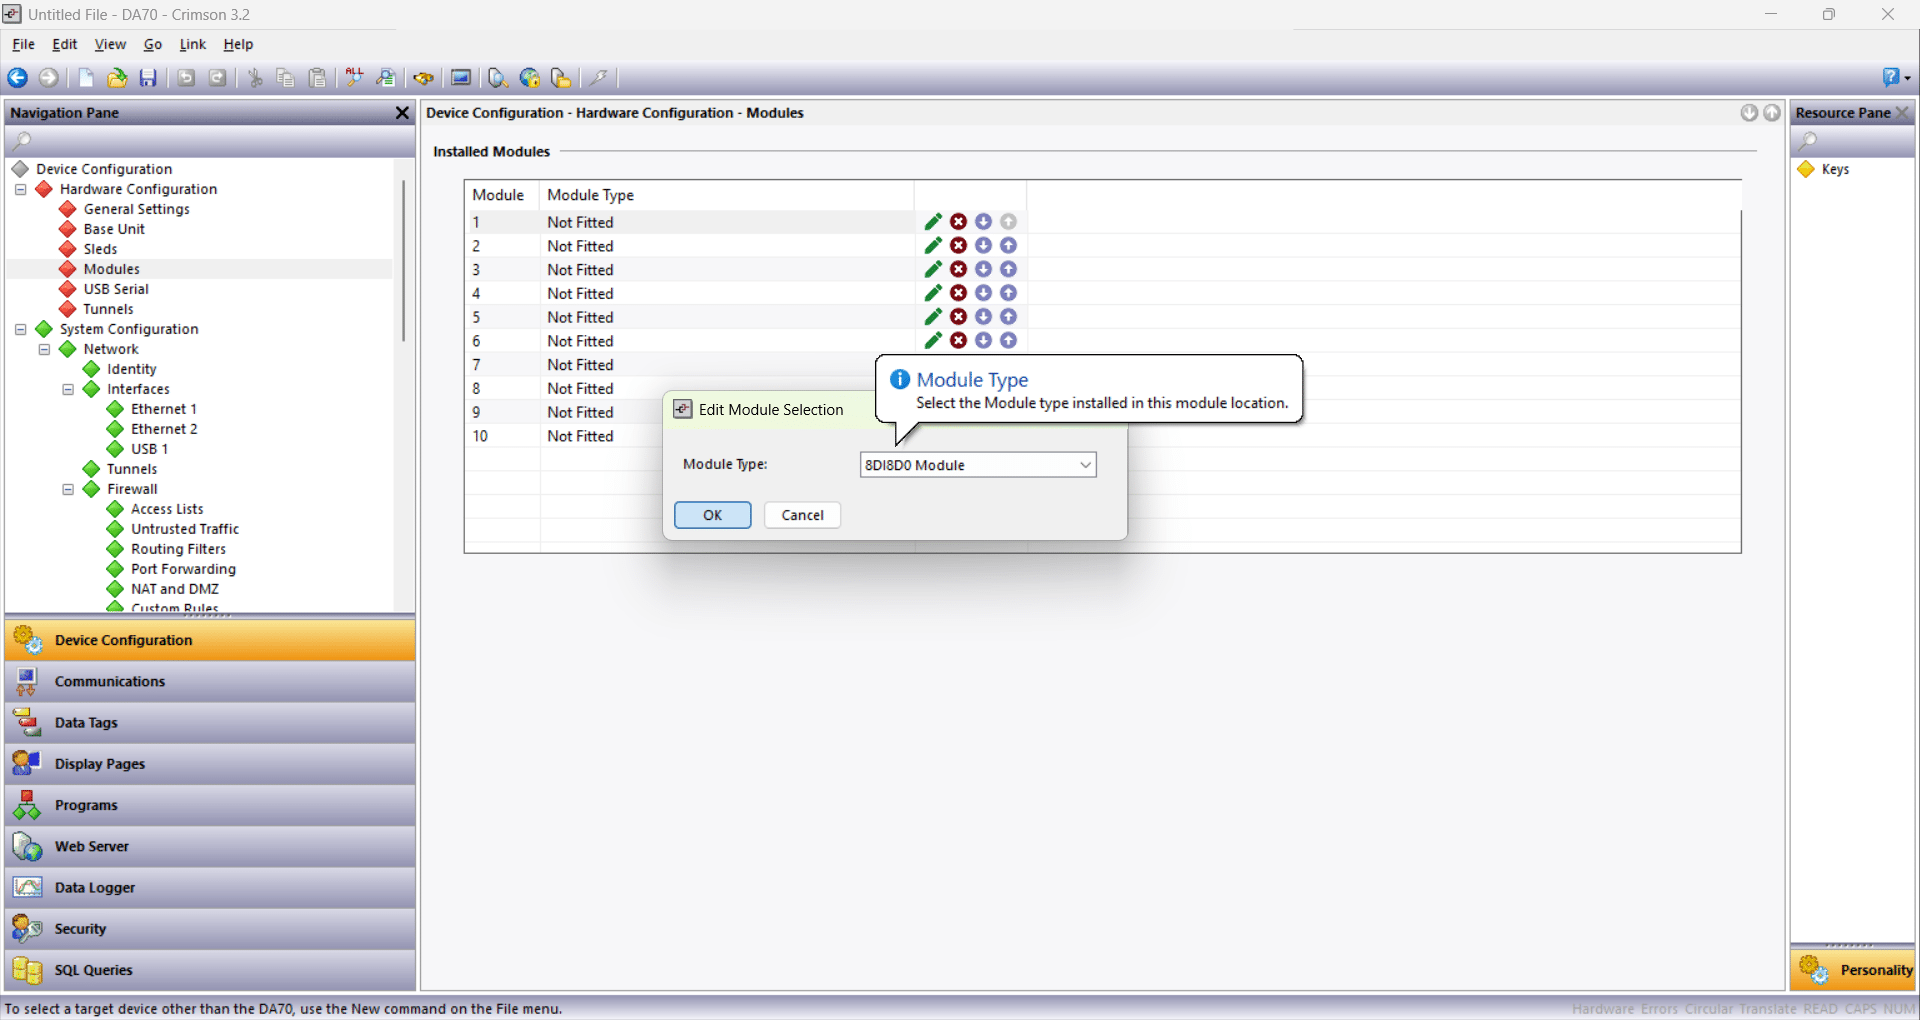
Click OK to confirm the module selection
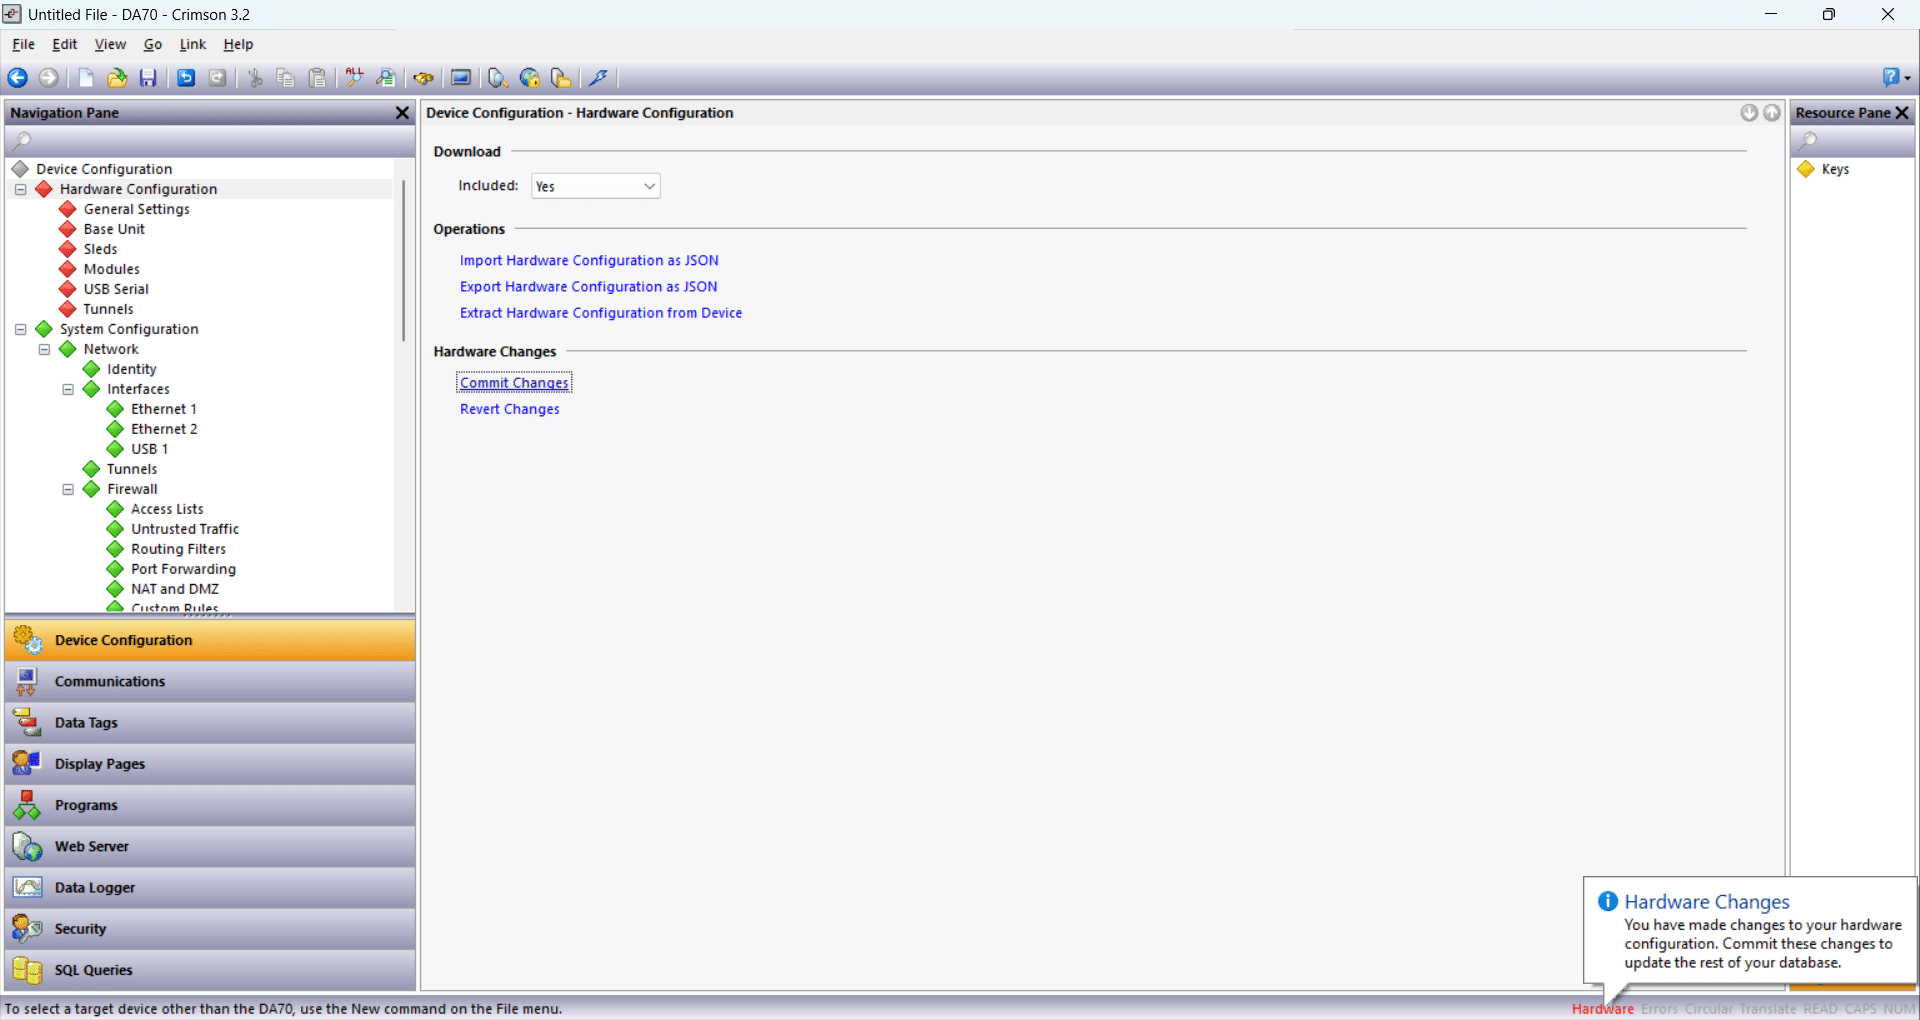
Return to Hardware Configuration in the Navigation Pane to Click Commit Changes under Hardware Changes to apply the new module configuration to the database
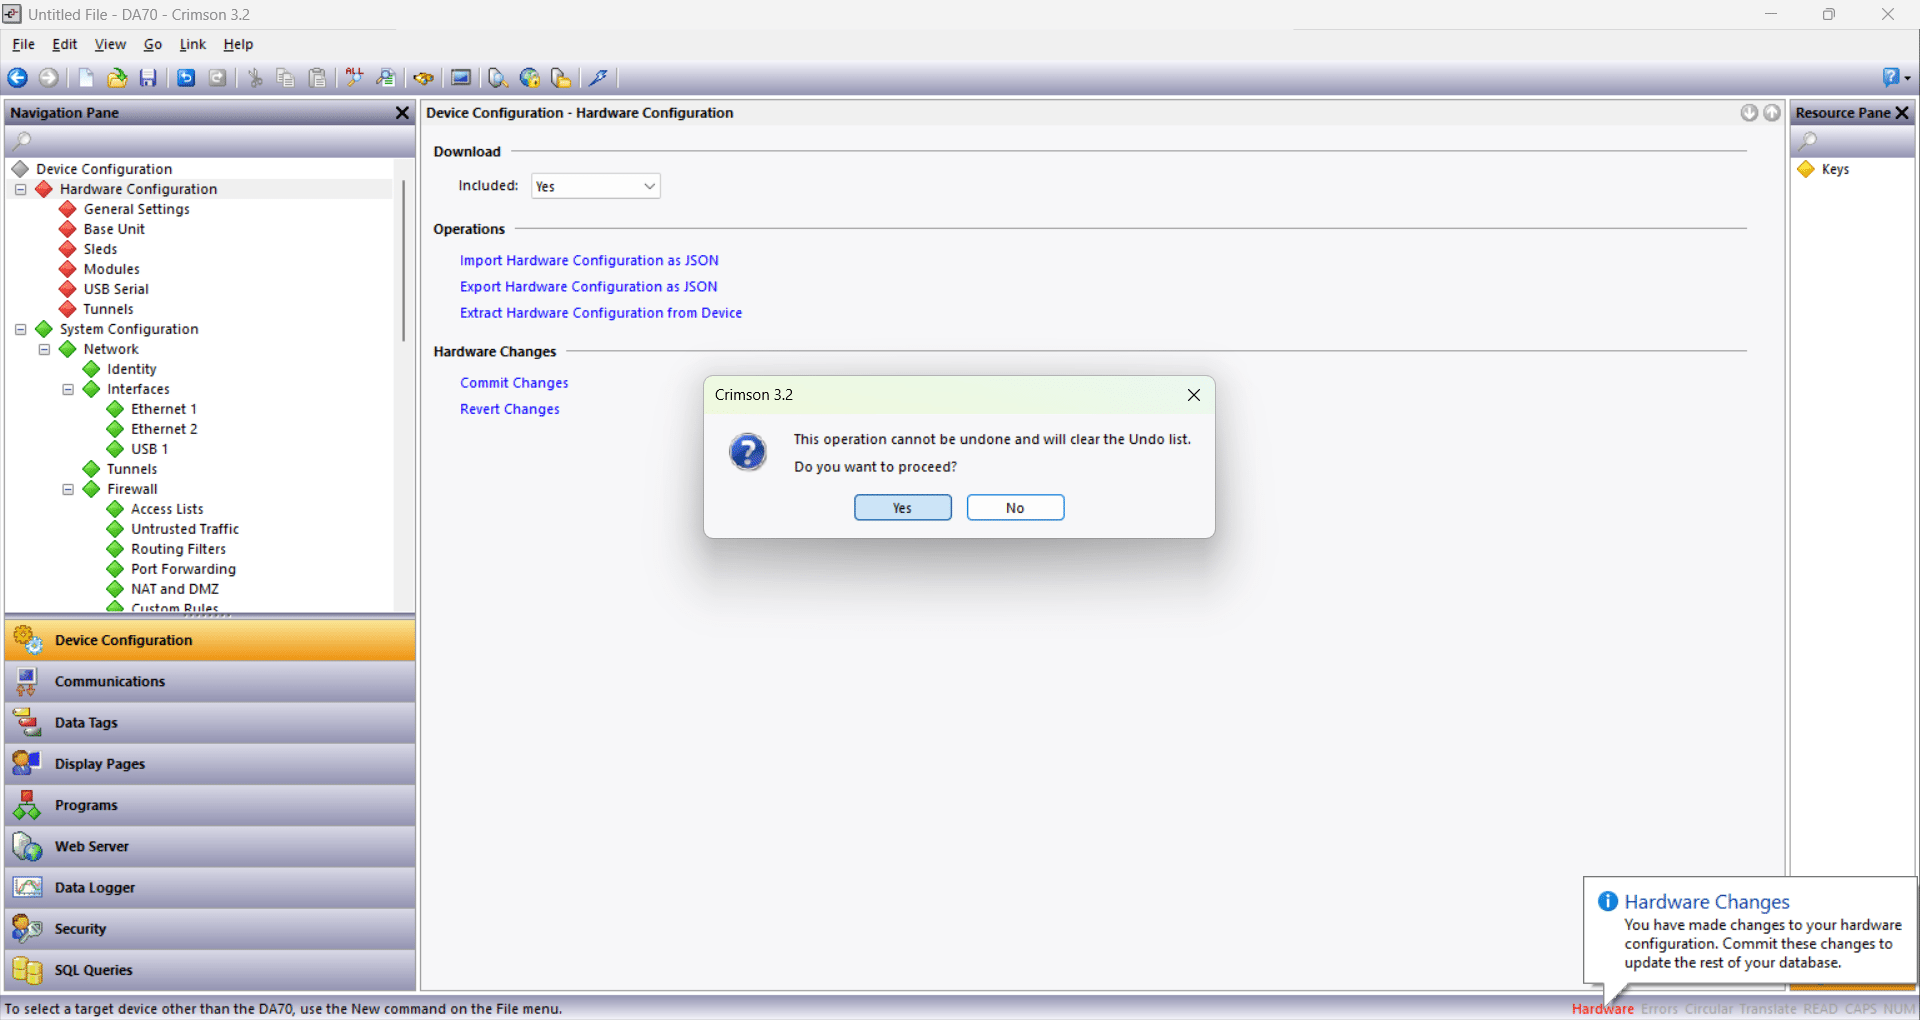
In the confirmation prompt, click Yes to proceed, noting that this clears the Undo list
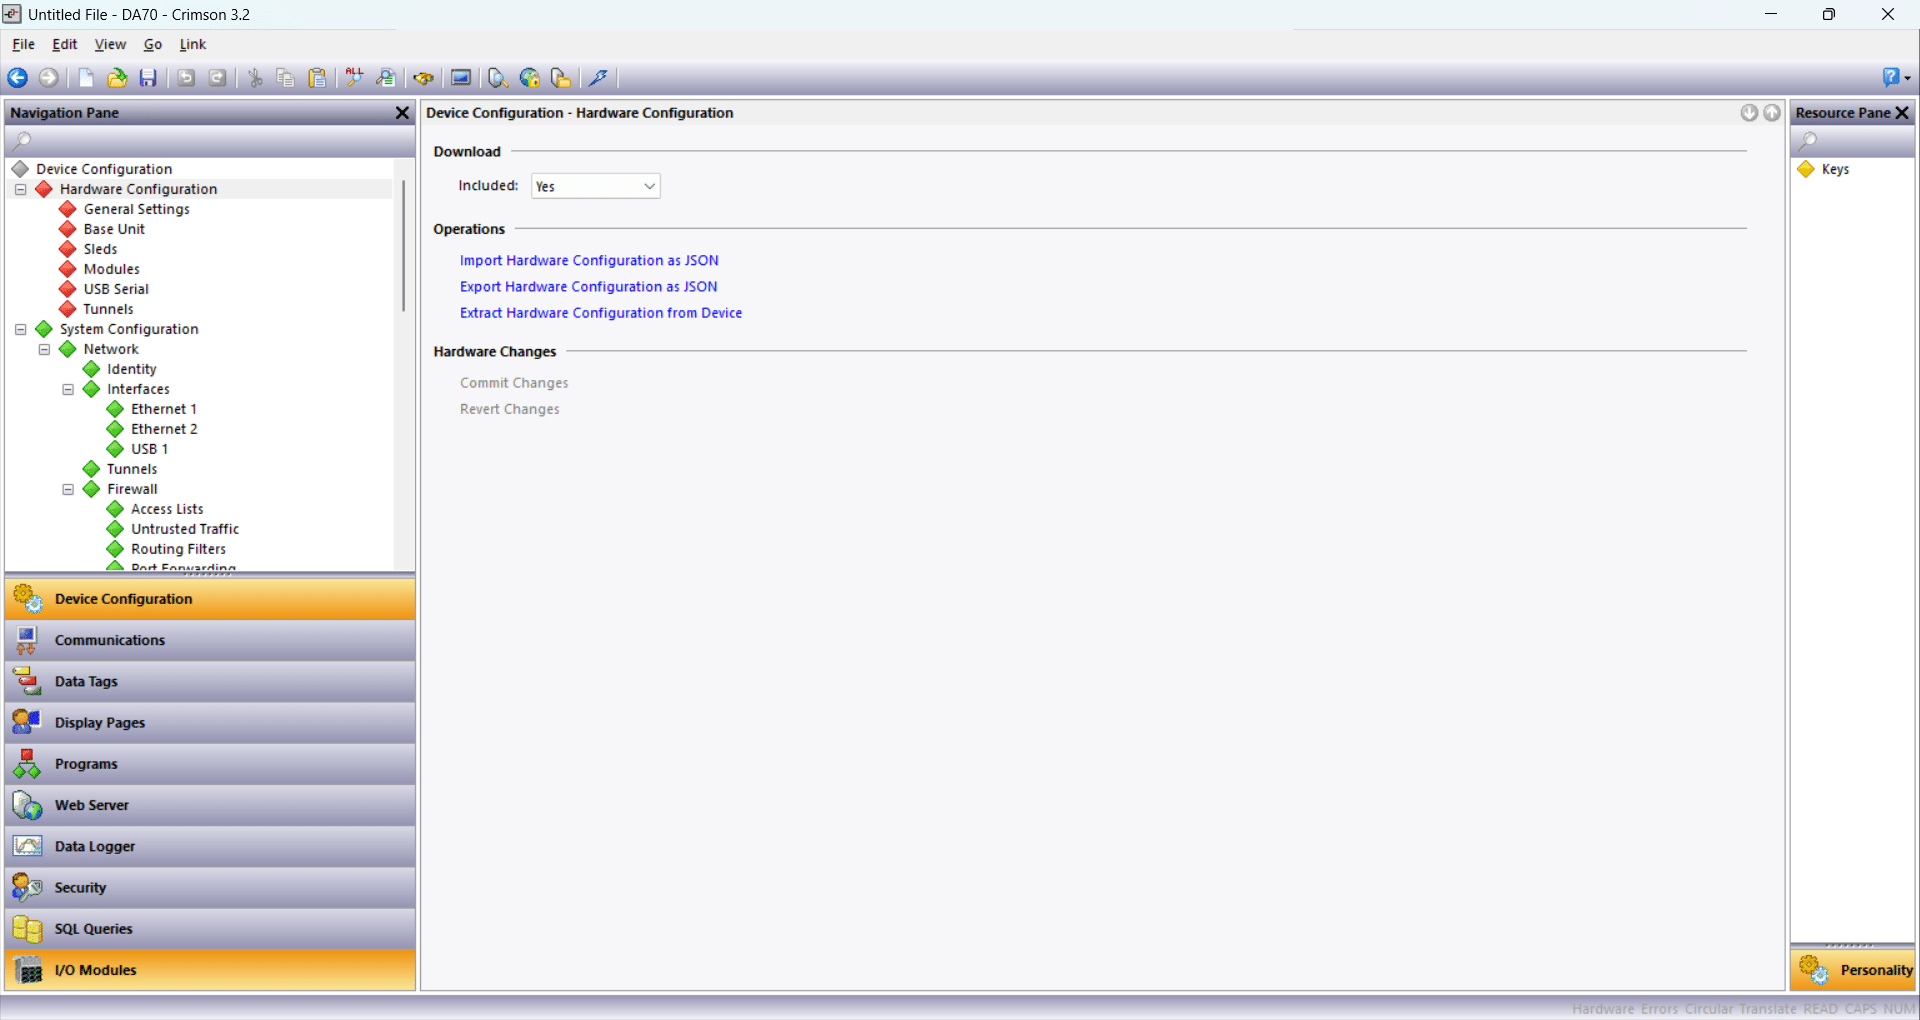
Click the I/O Modules button at the bottom of the Navigation Pane to open the I/O module view
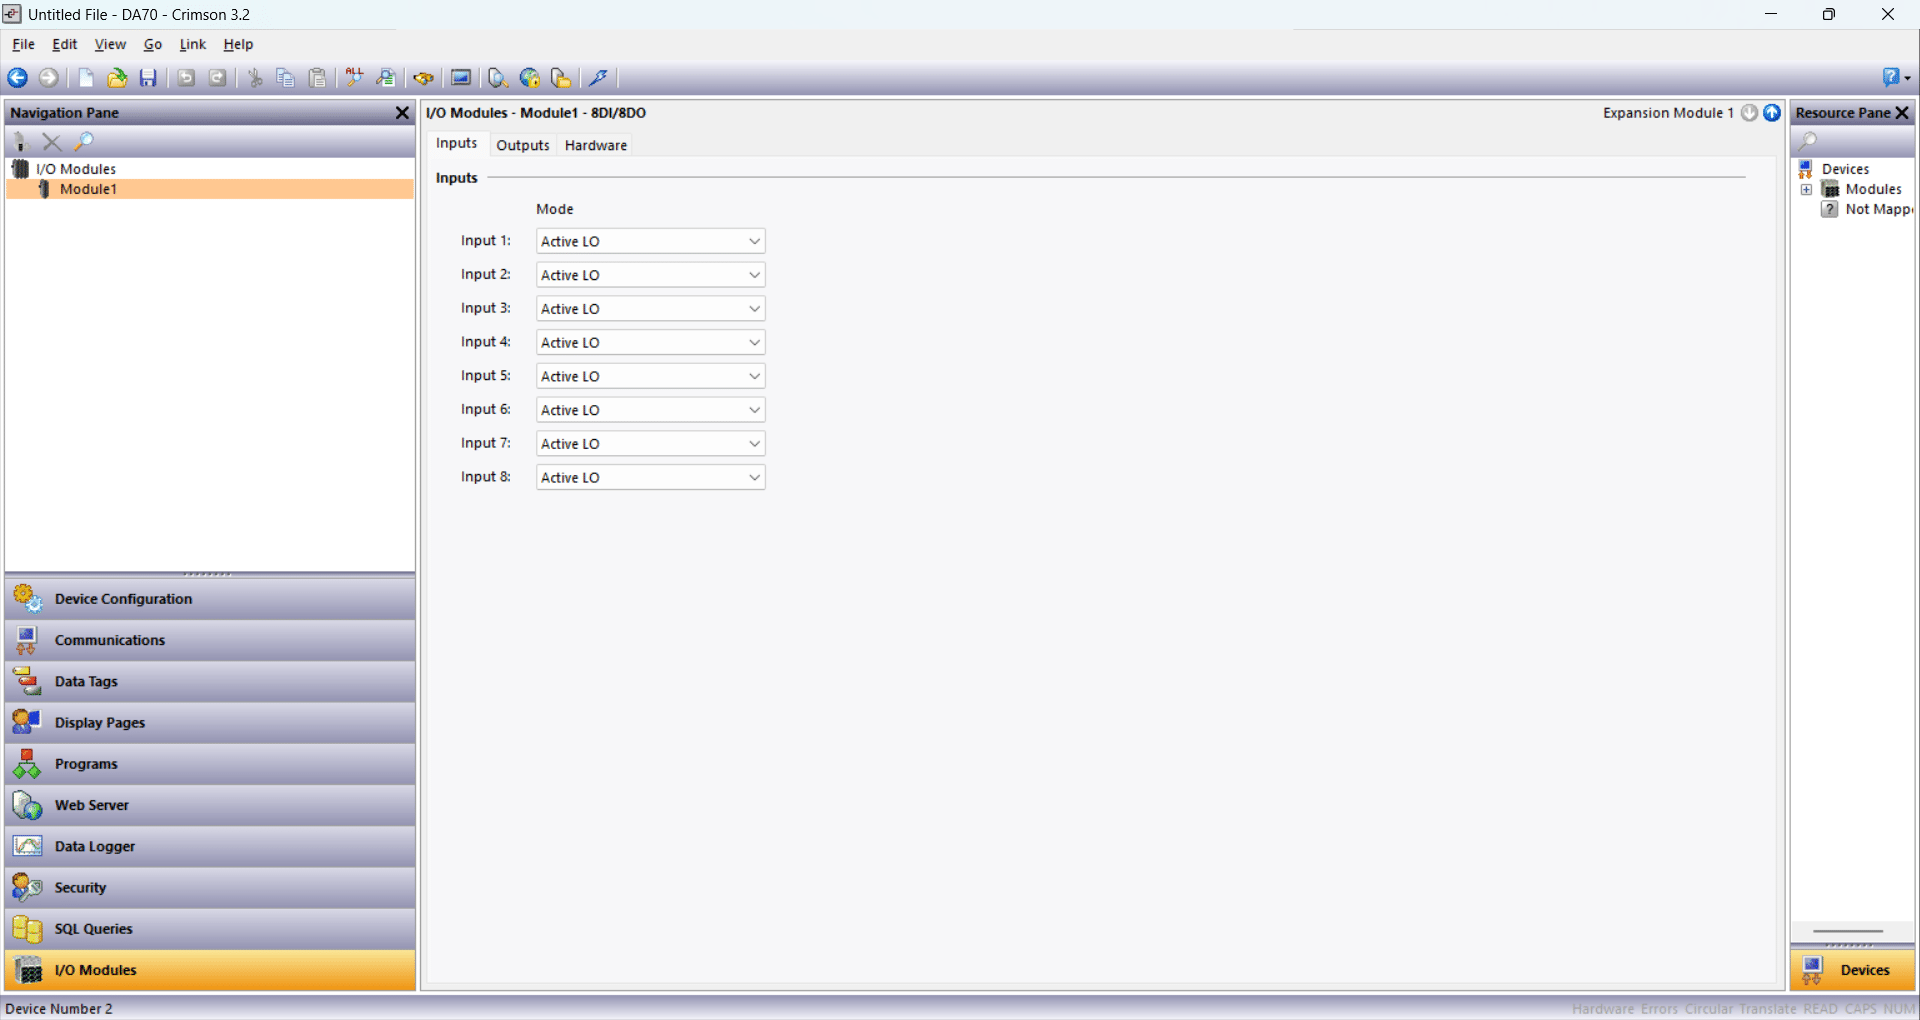
The modules you added will now appear under I/O modules
Previous
How to import a Crimson 3.0 or Crimson 3.1 database file into Crimson 3.2
Next
How to create a data logger that records numeric and flag tags
Not finding what you are looking for?
Reach out to our support team