
How to create a data logger that records numeric and flag tags
Set up a data log in the data logger settings that captures both a numeric tag and a flag tag, so both values are recorded over time.
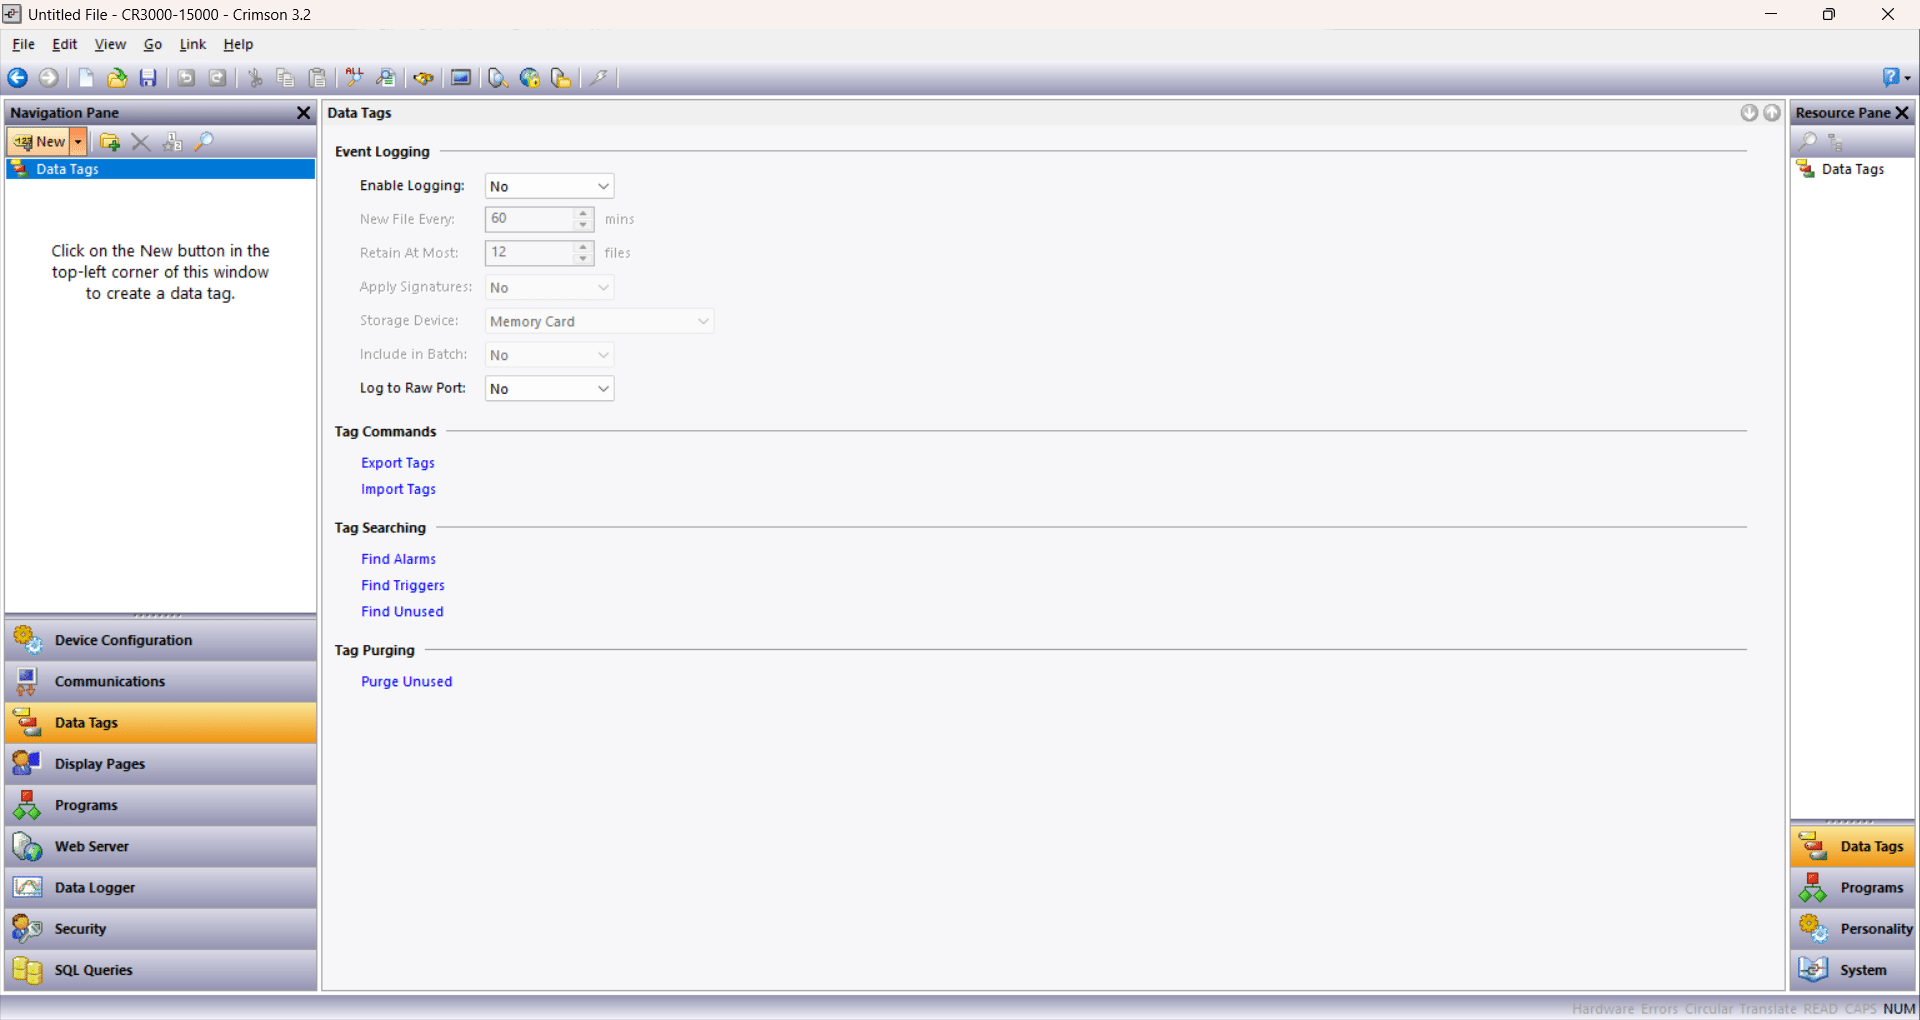
Click the Down arrow next to the New button in the top-left corner of the Navigation Pane to start a new data tag

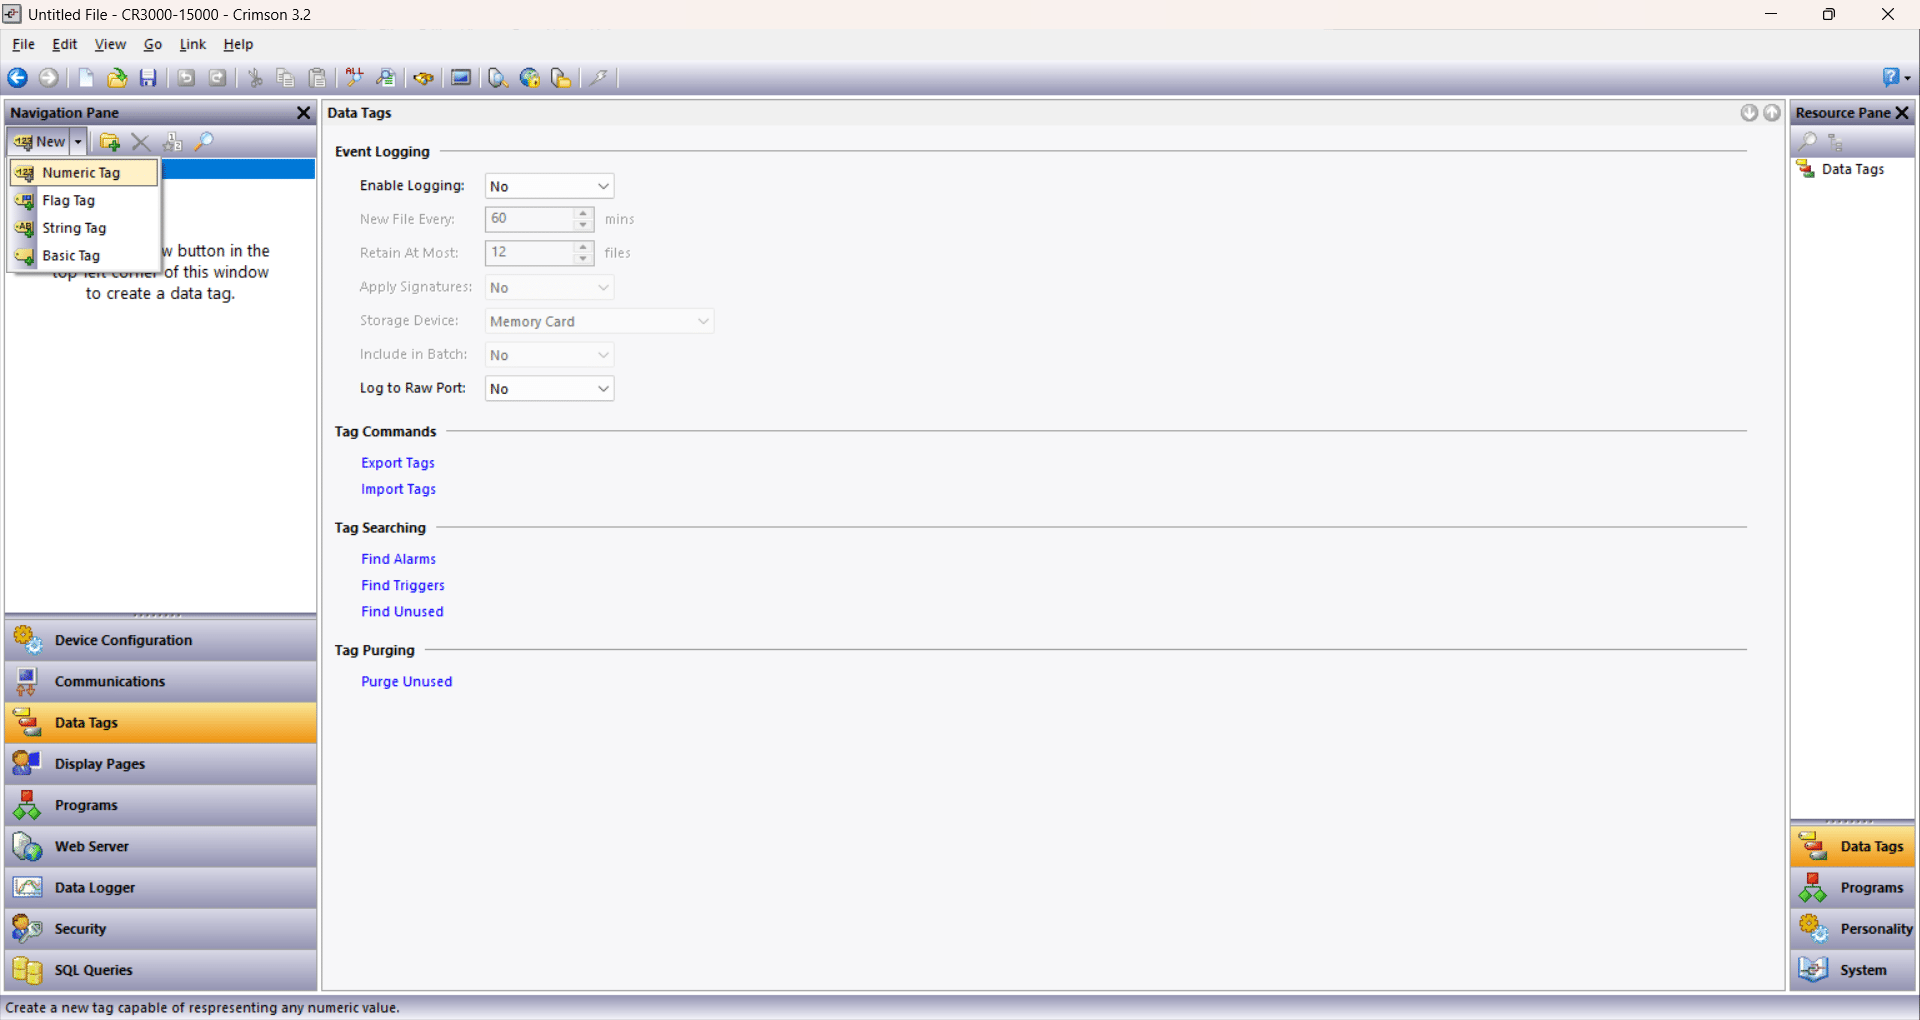
From the New menu, select Numeric Tag to create a tag that holds any numeric value
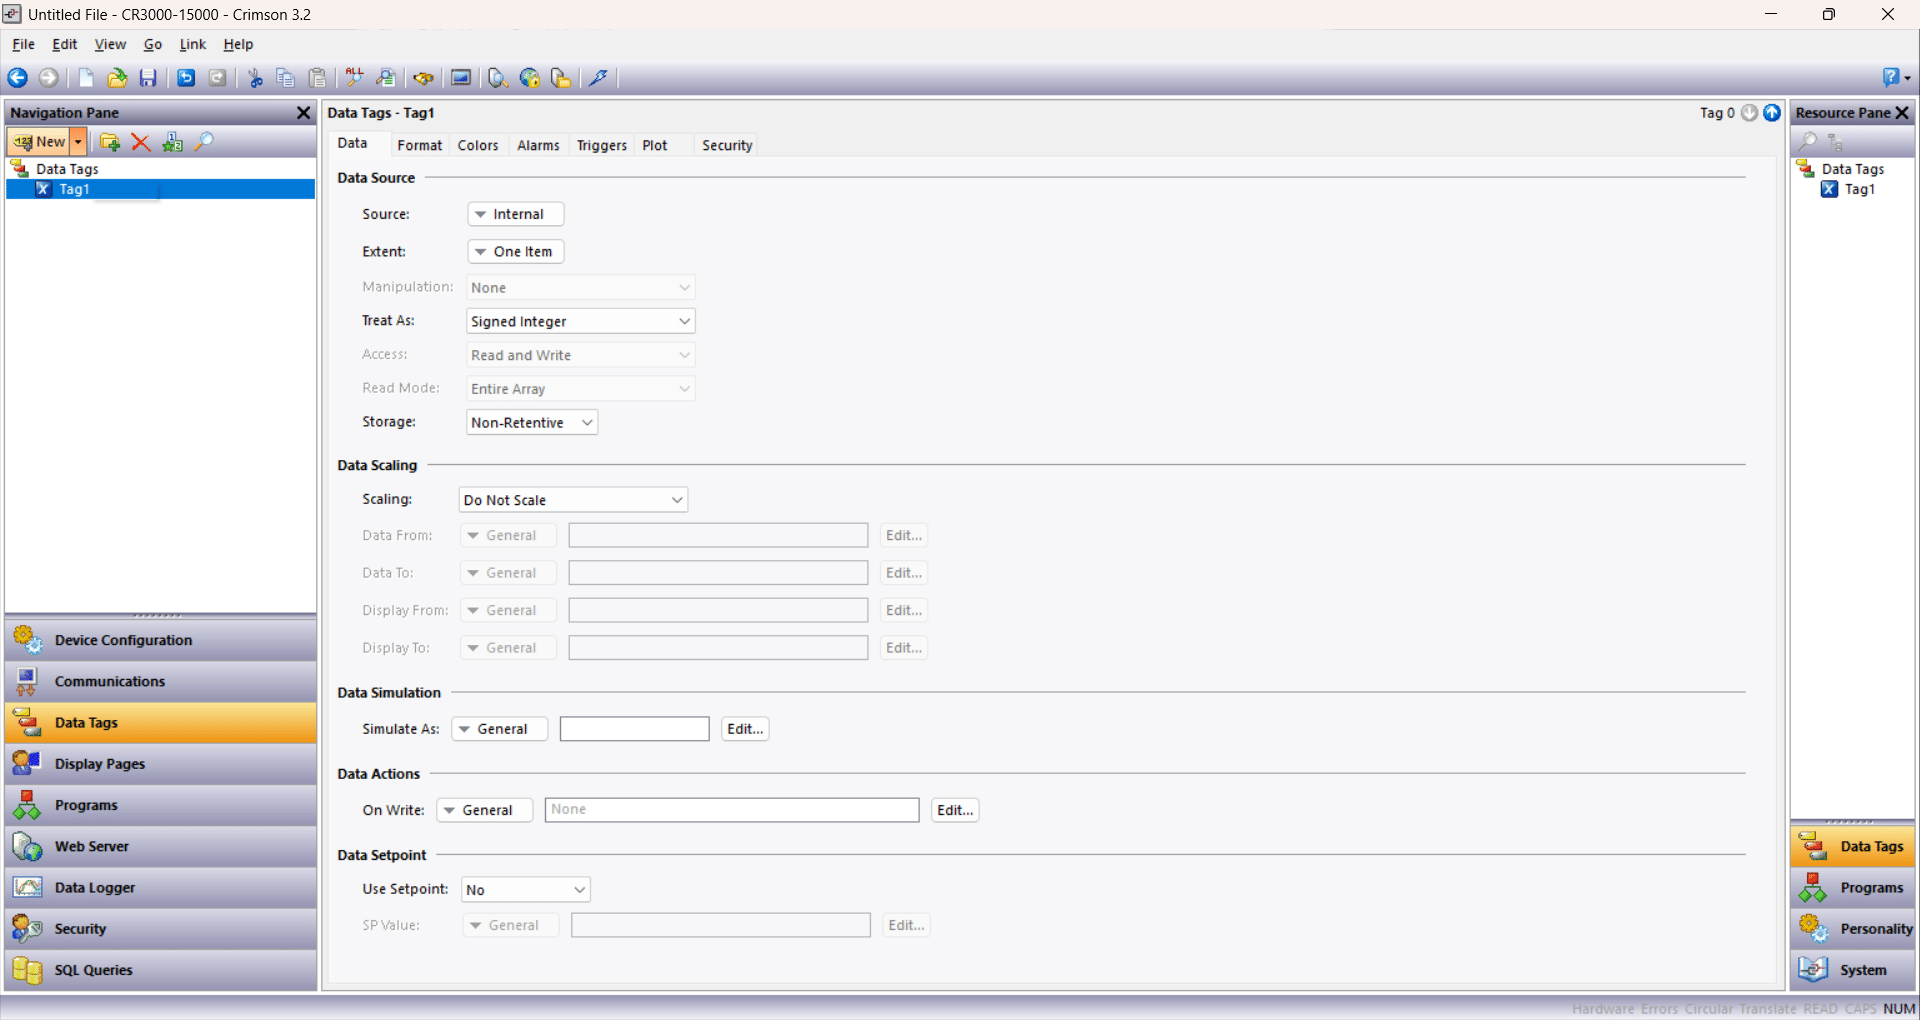
With Tag1 created, click the New button again in the Navigation Pane to add a second tag
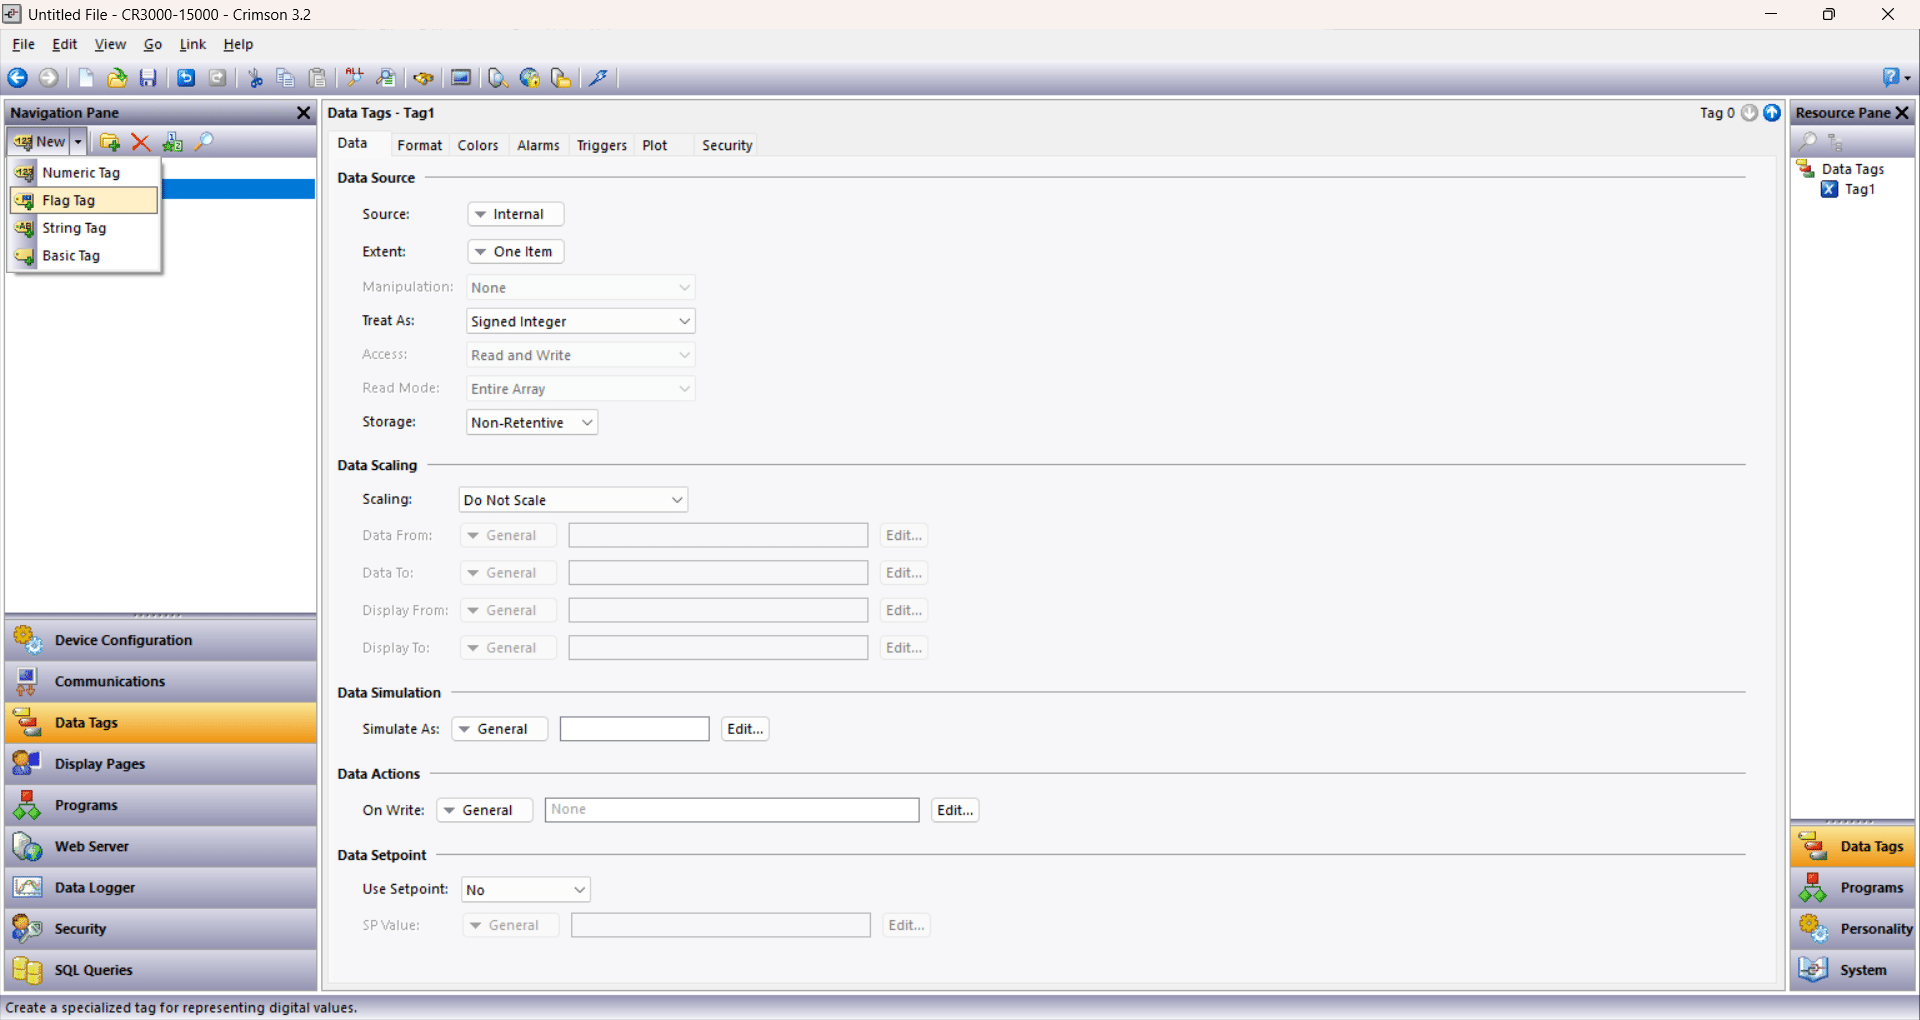
Select Flag Tag from the New menu to create a tag for digital on/off values
With Tag2 added to the Data Tags list, click the Data Logger button at the bottom of the left-hand menu to open the data logger settings
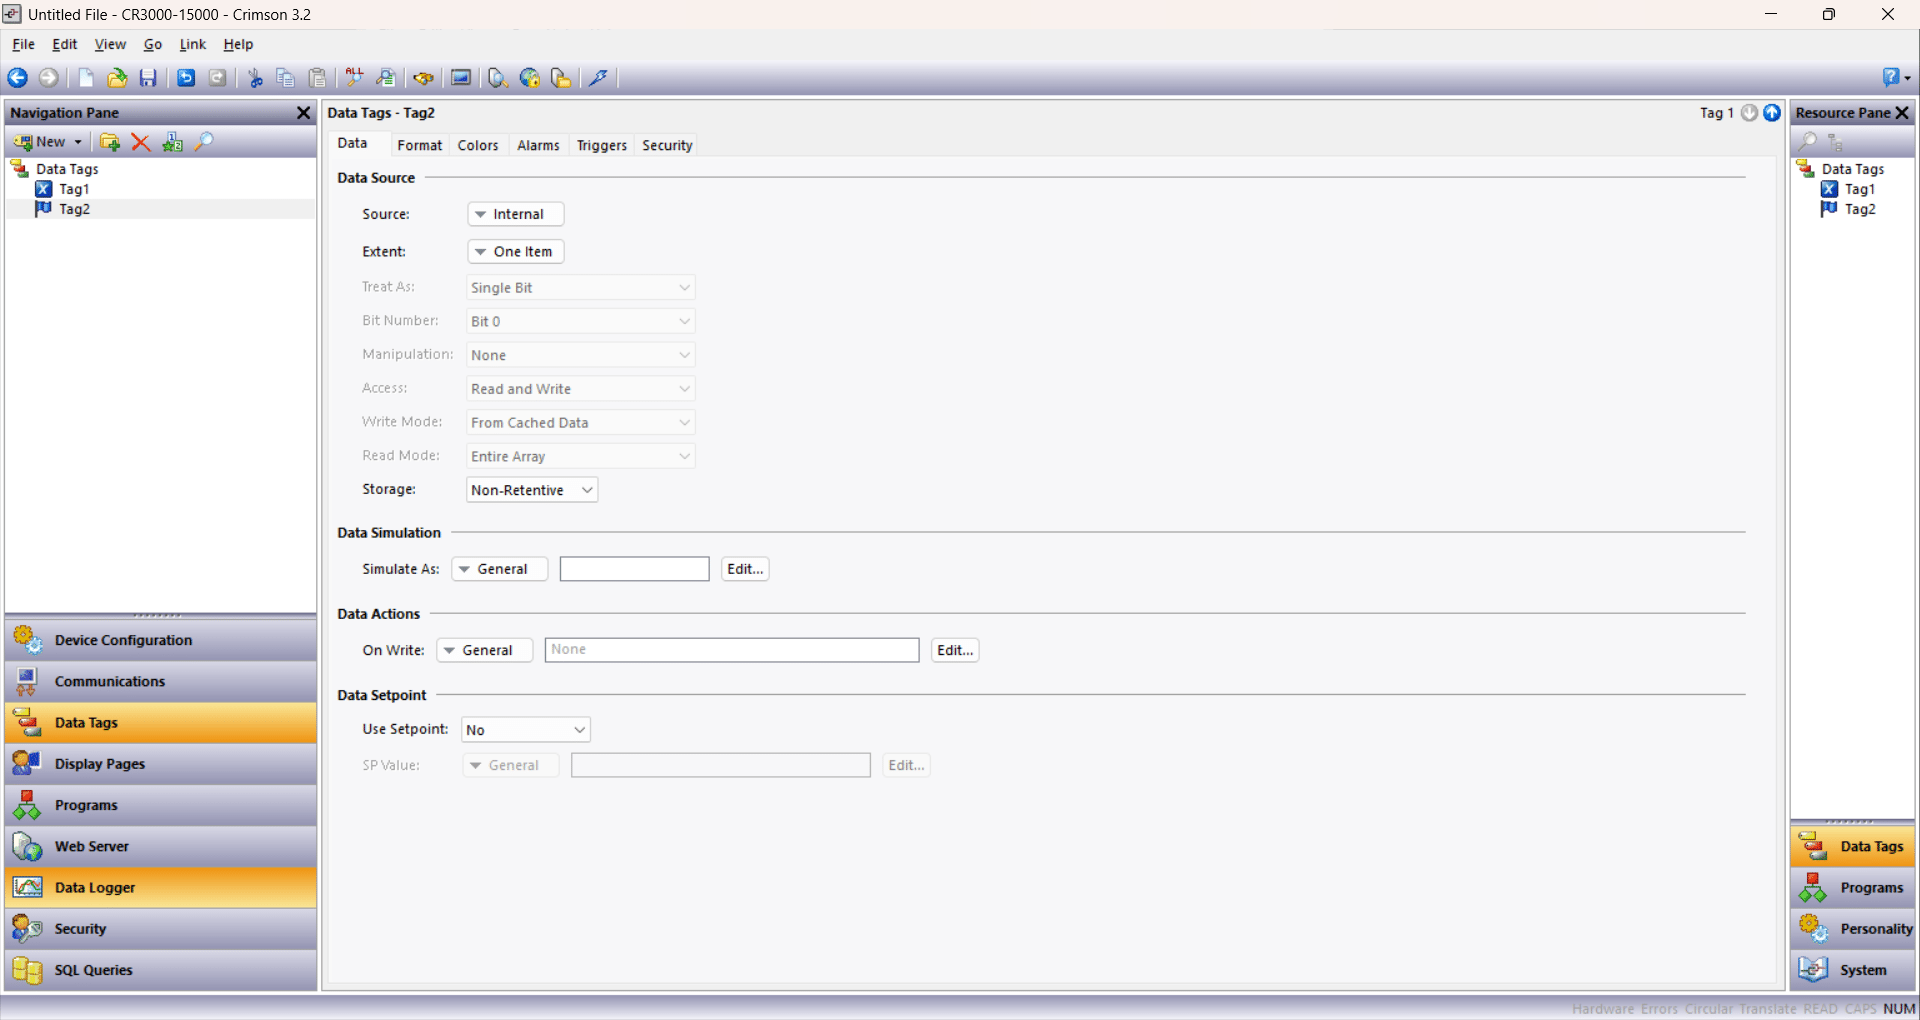
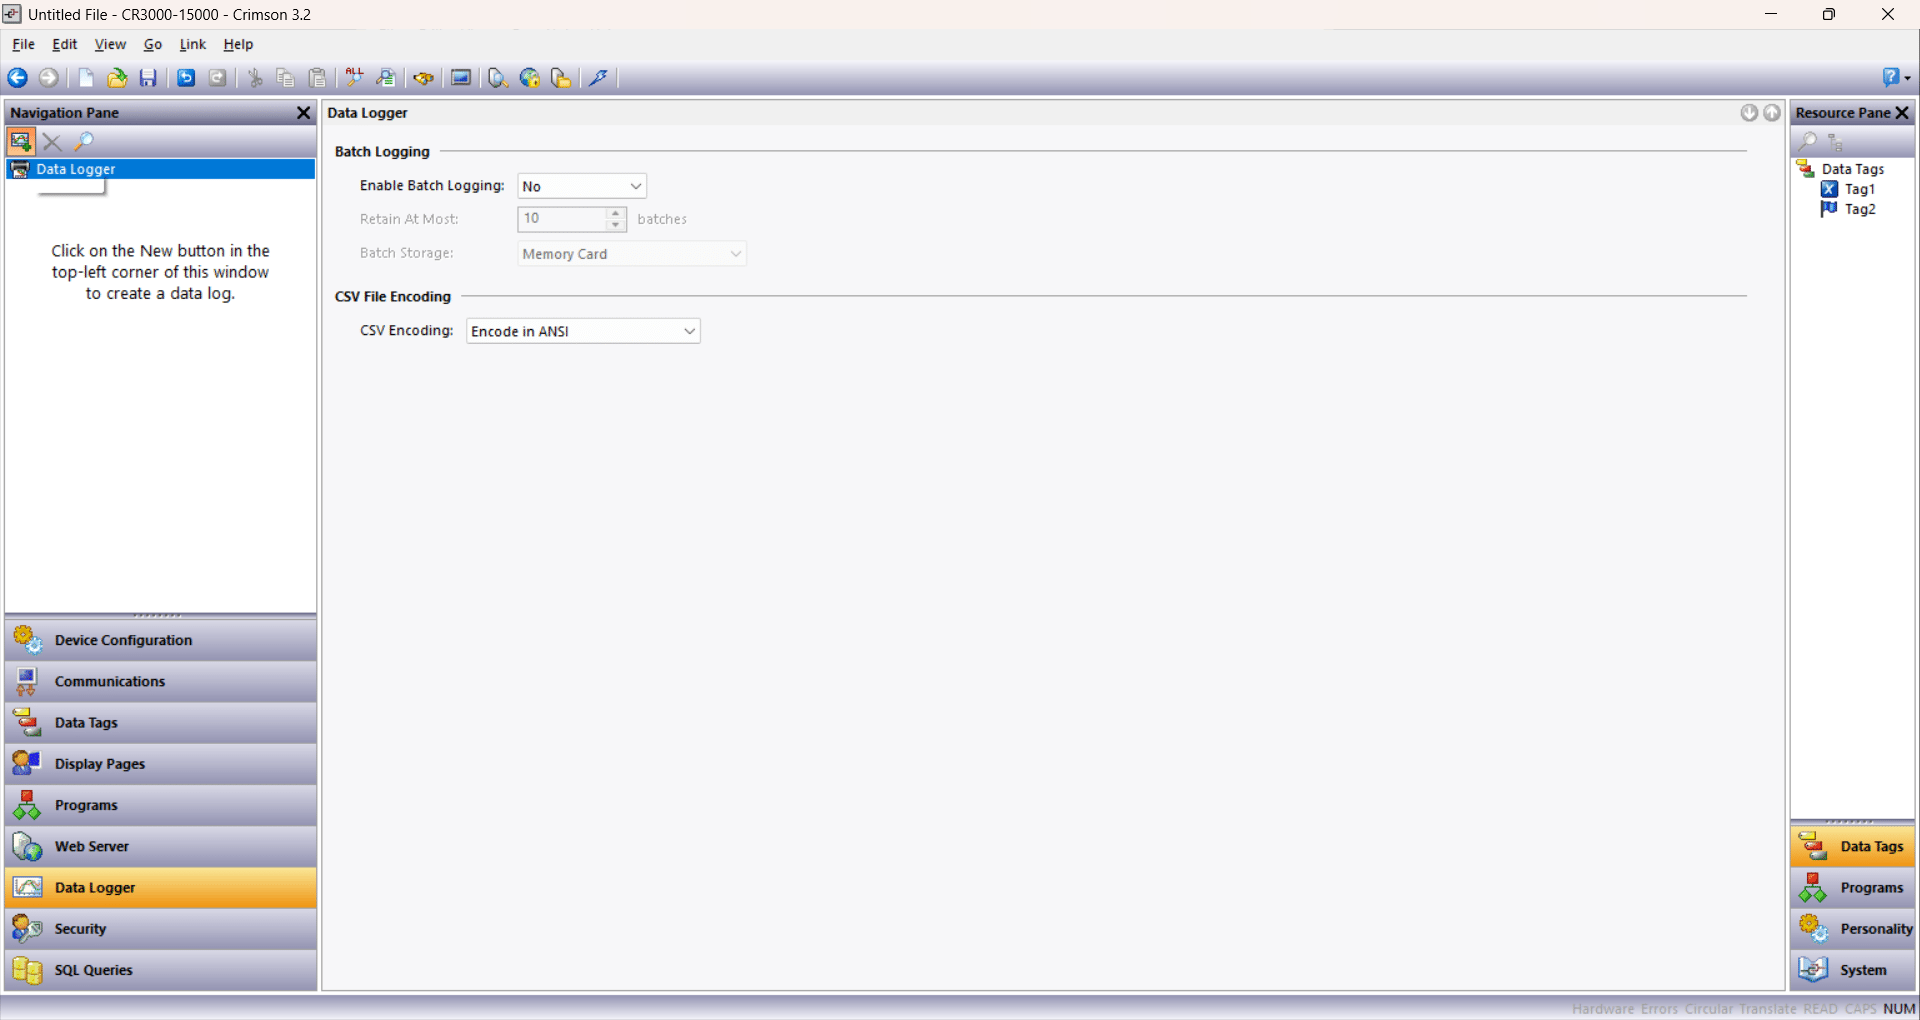
In the Data Logger window, click the New button in the top-left corner of the Navigation Pane to create a data log
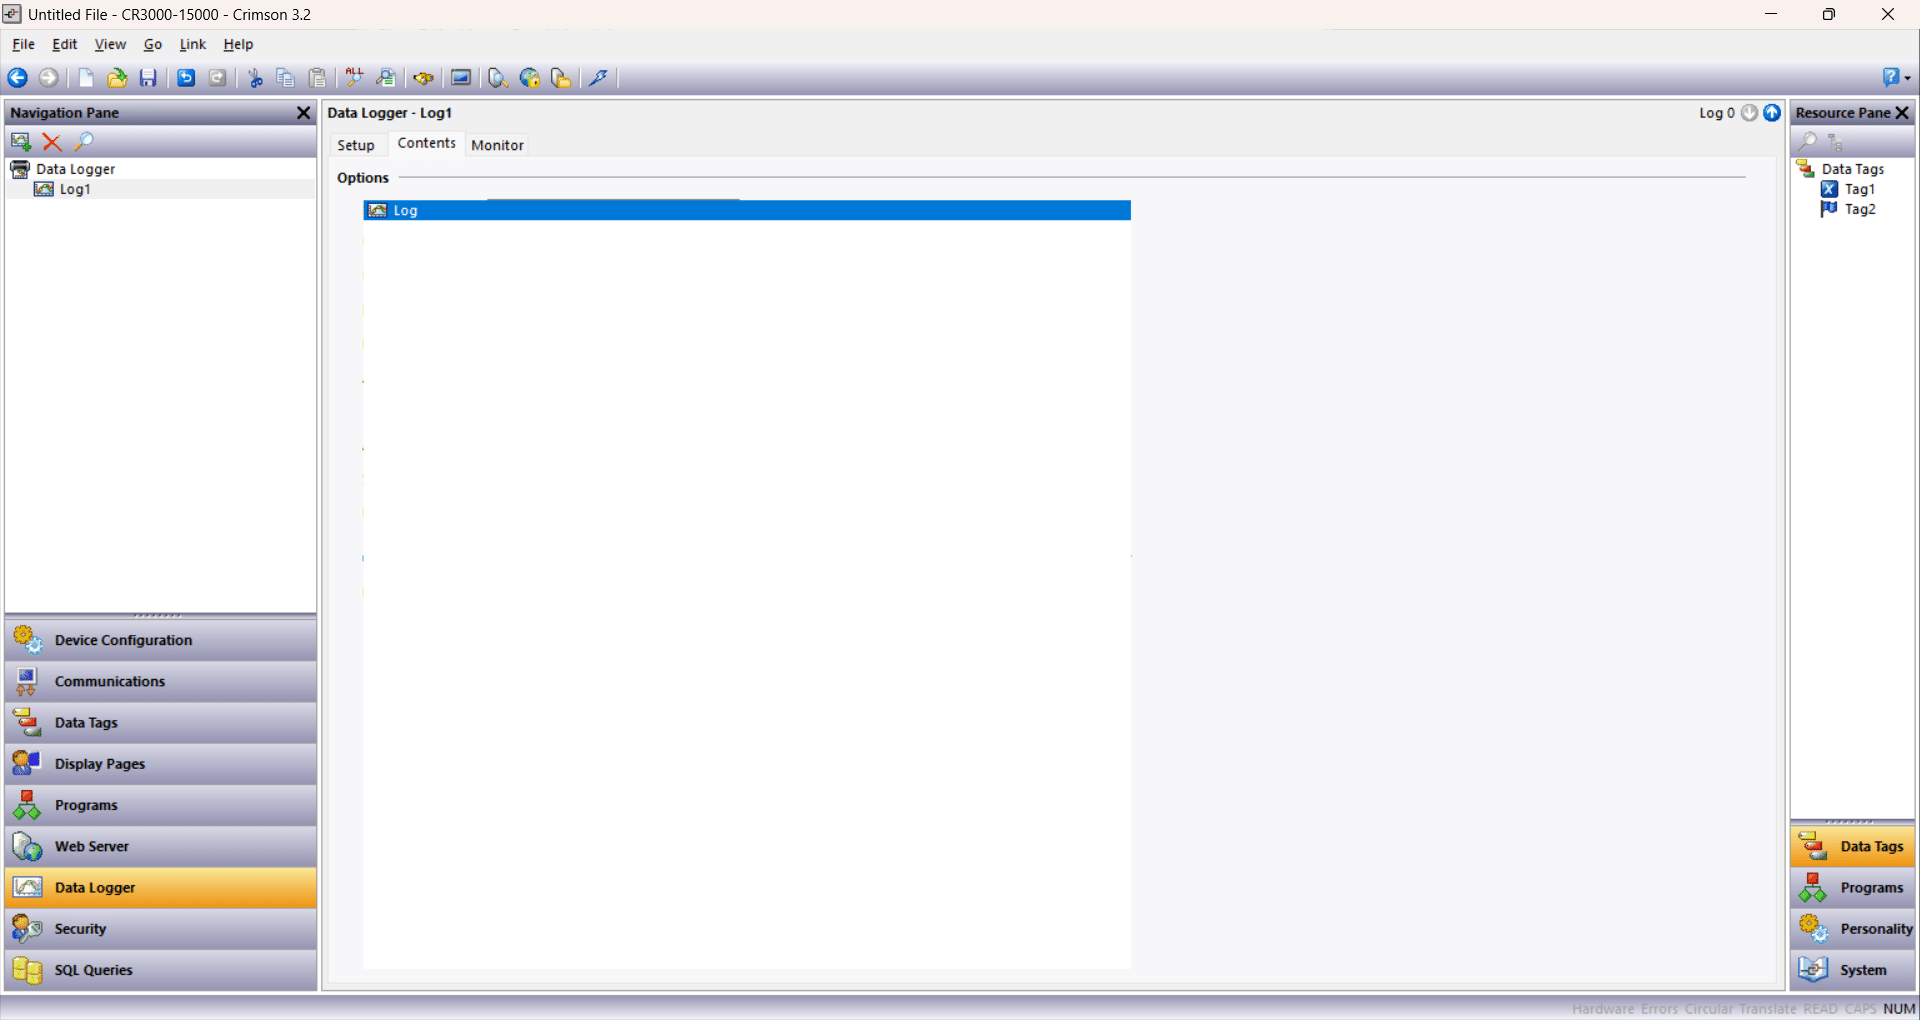
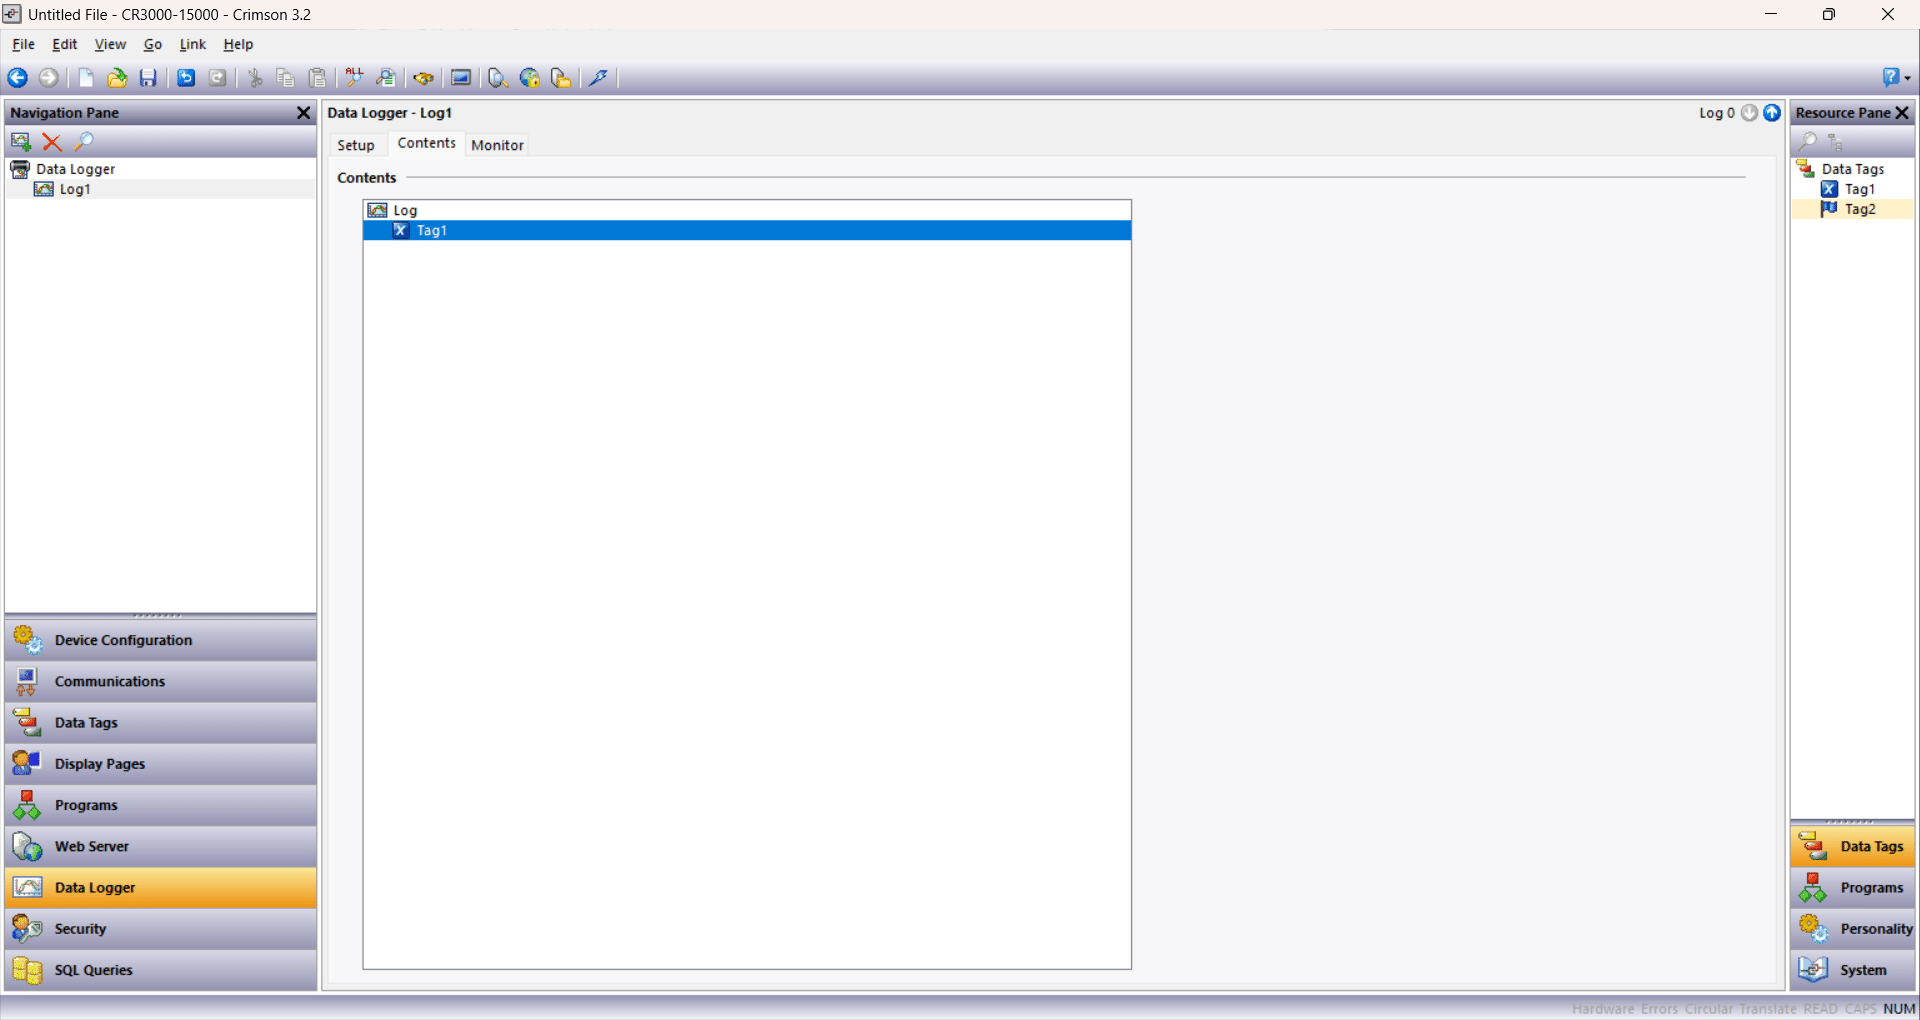
Open the Contents tab at the top of the Data Logger window to choose which tags the log will record
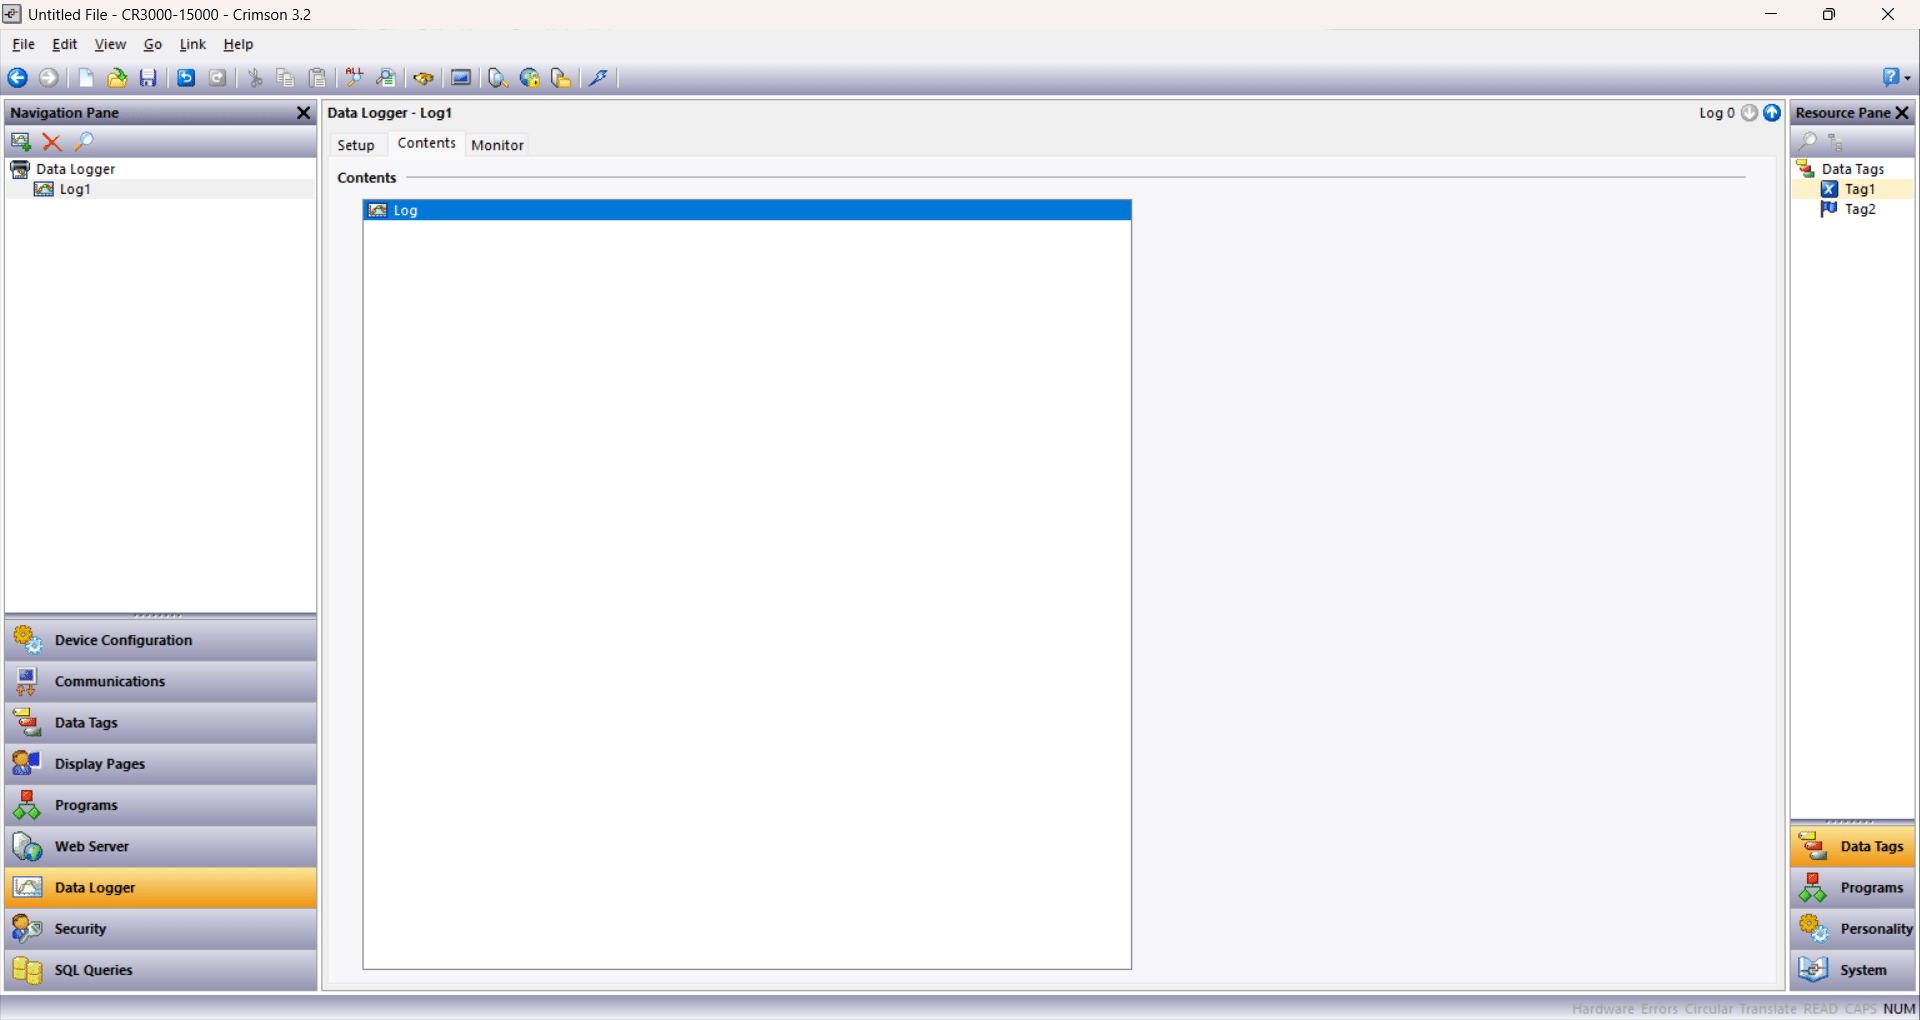
In the Resource Pane on the right, click Tag1 under Data Tags and drag it into the Log
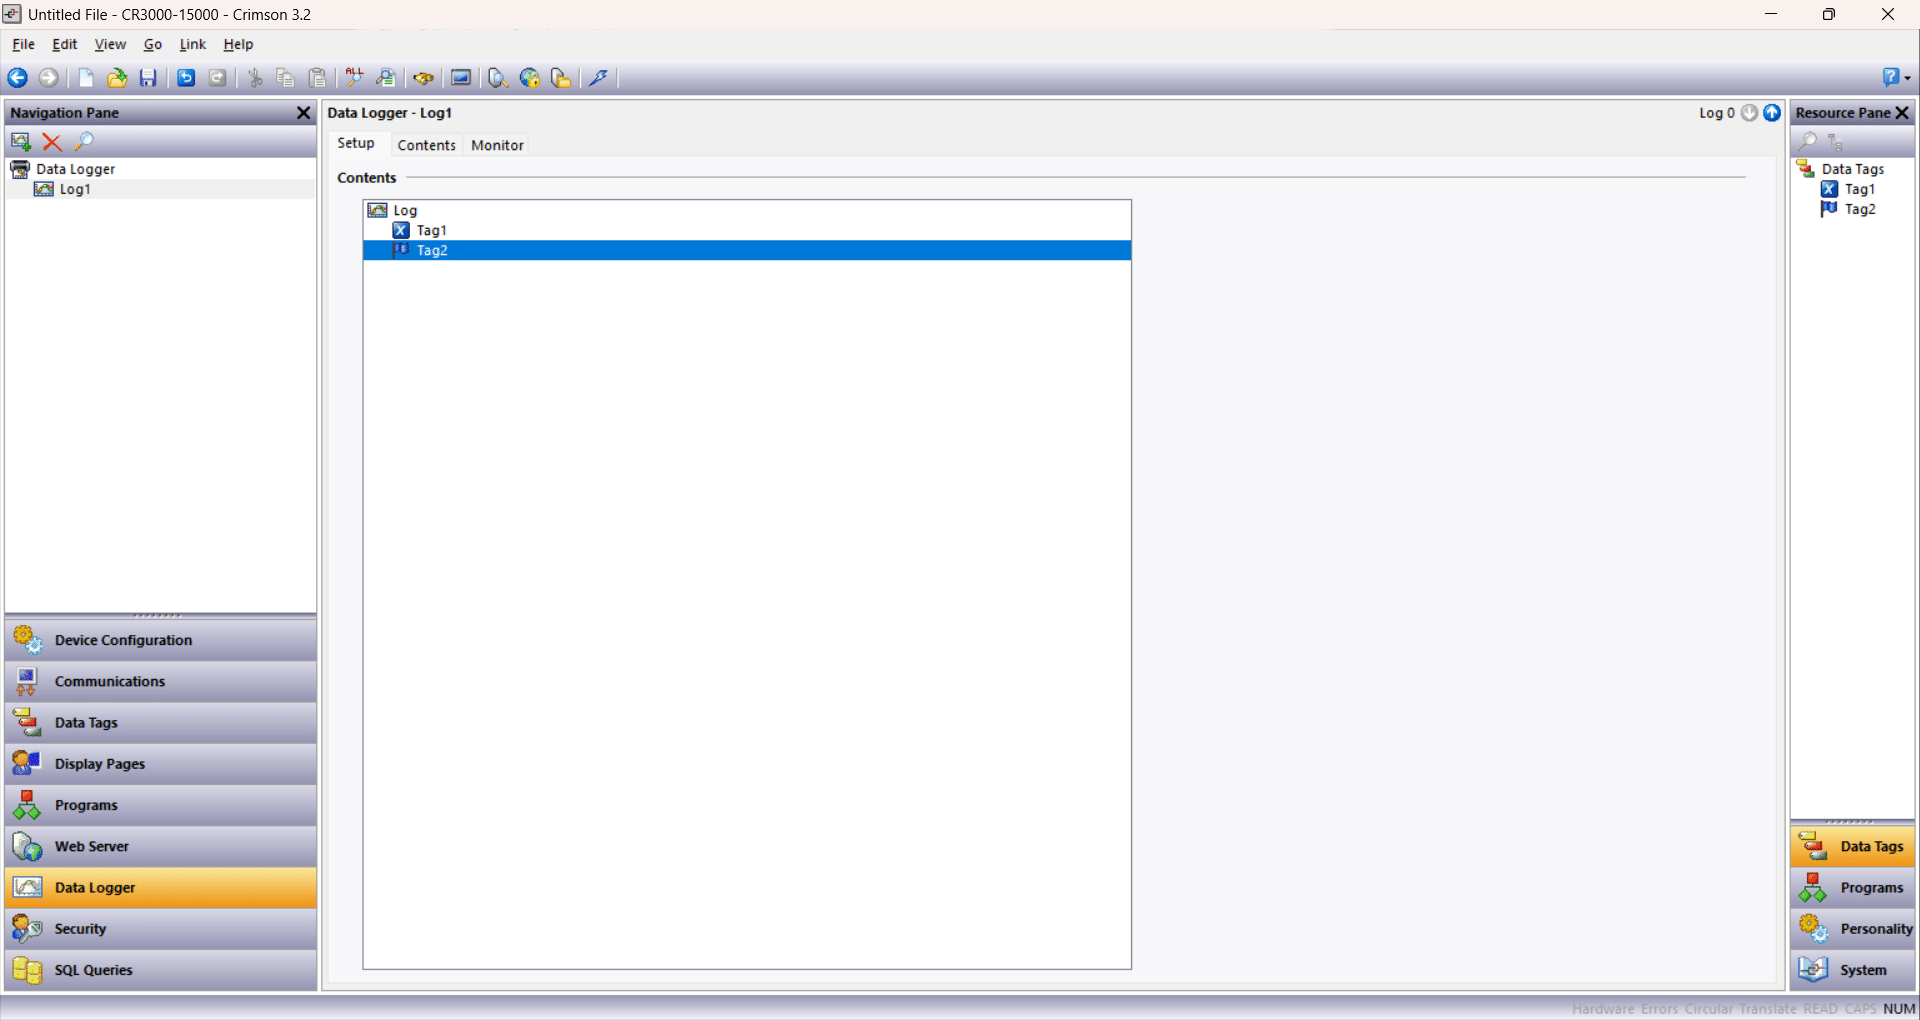
Next, click Tag2 in the Resource Pane and add it to the log beneath Tag1
Click the Setup tab to return to the log's configuration settings to configure things like update type and update rate.
Previous
How to add an I/O module to a hardware configuration and commit the change
Next
Panel Meter Crossover Access Database and How to Use it...
Not finding what you are looking for?
Reach out to our support team