Flexy First Time Setup Guide [Cellular]
We recommend downloading our latest versions of eBuddy and Ecatcher before beginning your setup. Downloads for these two softwares can be found on our website: Software and Drivers | General Downloads | HMS Networks
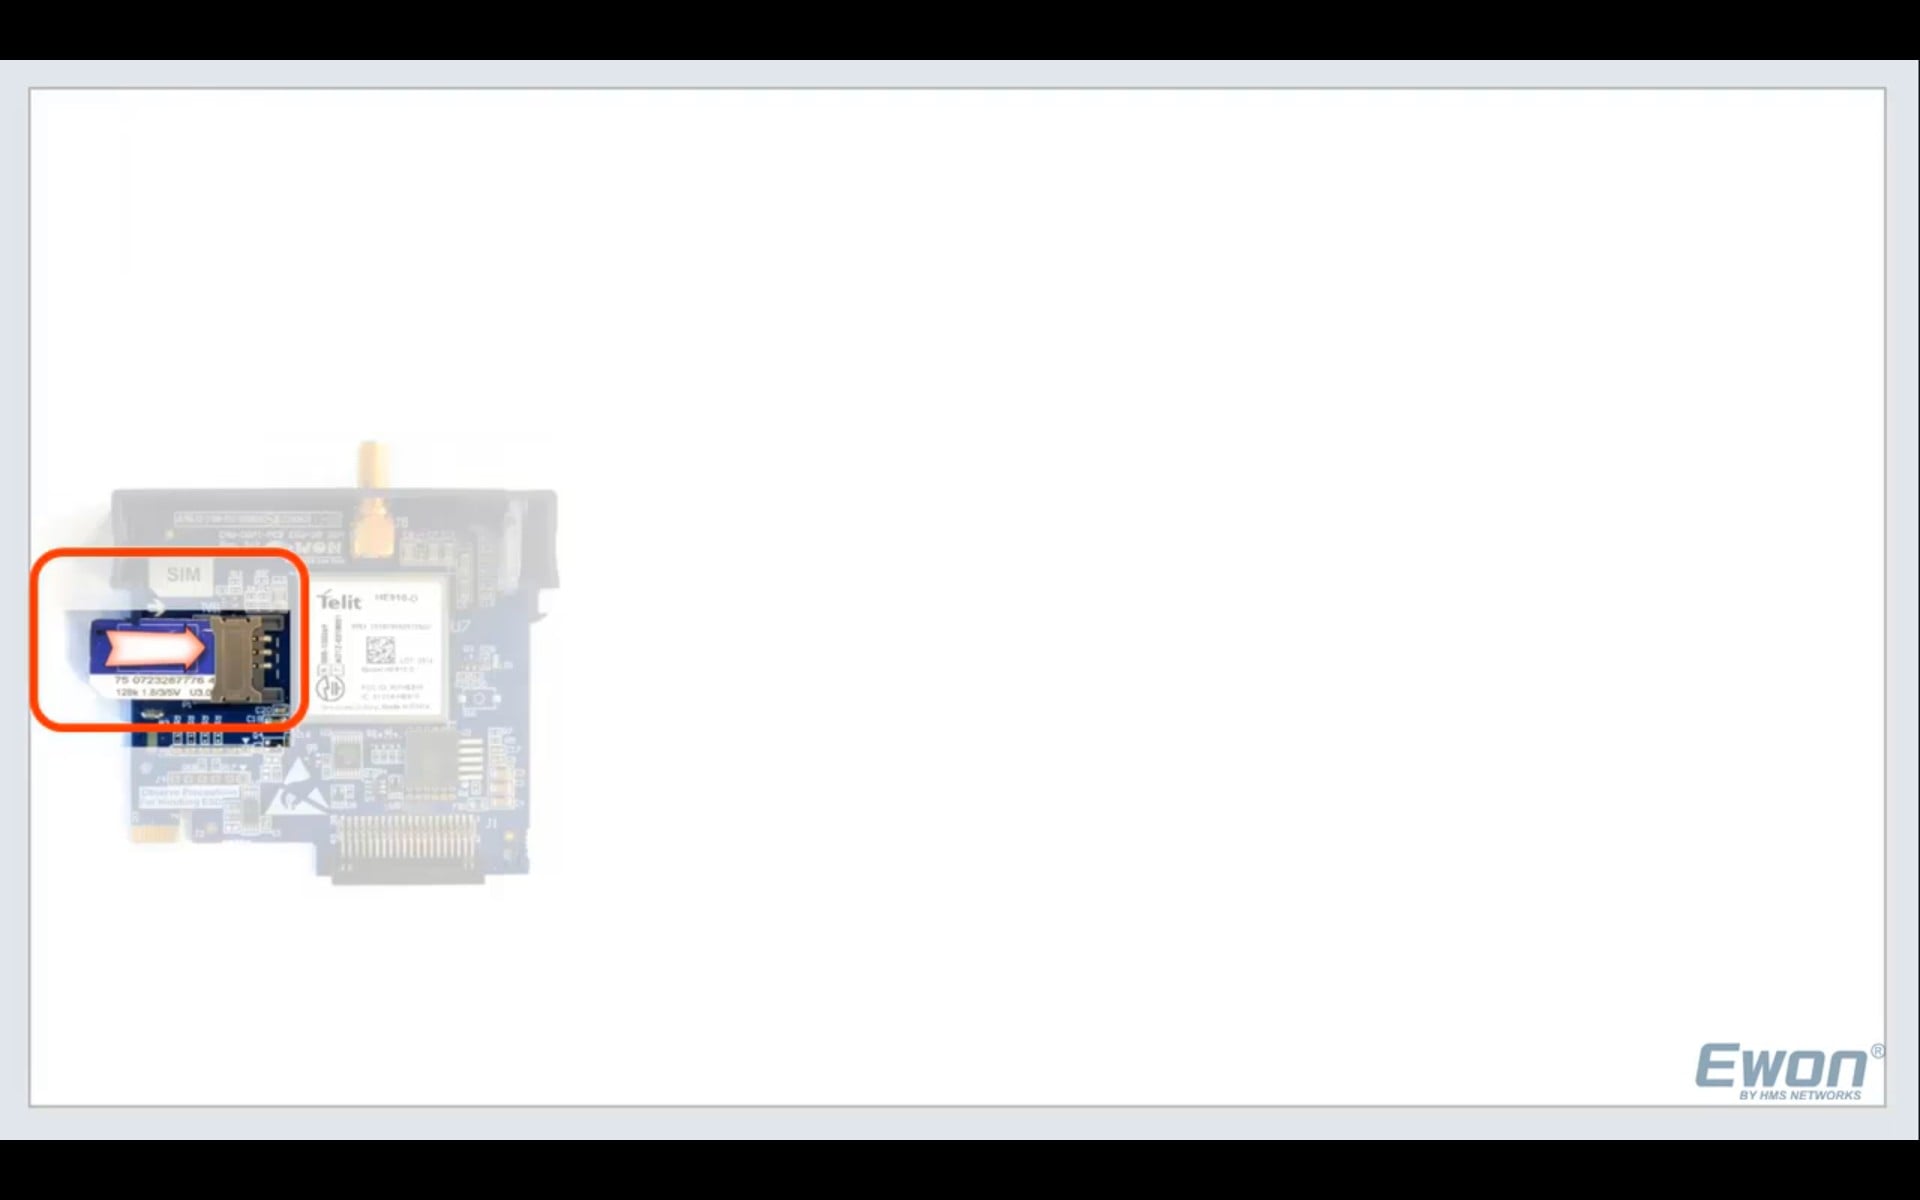
Properly insert your activated SIM card into your Flexy's Modem Extension card.
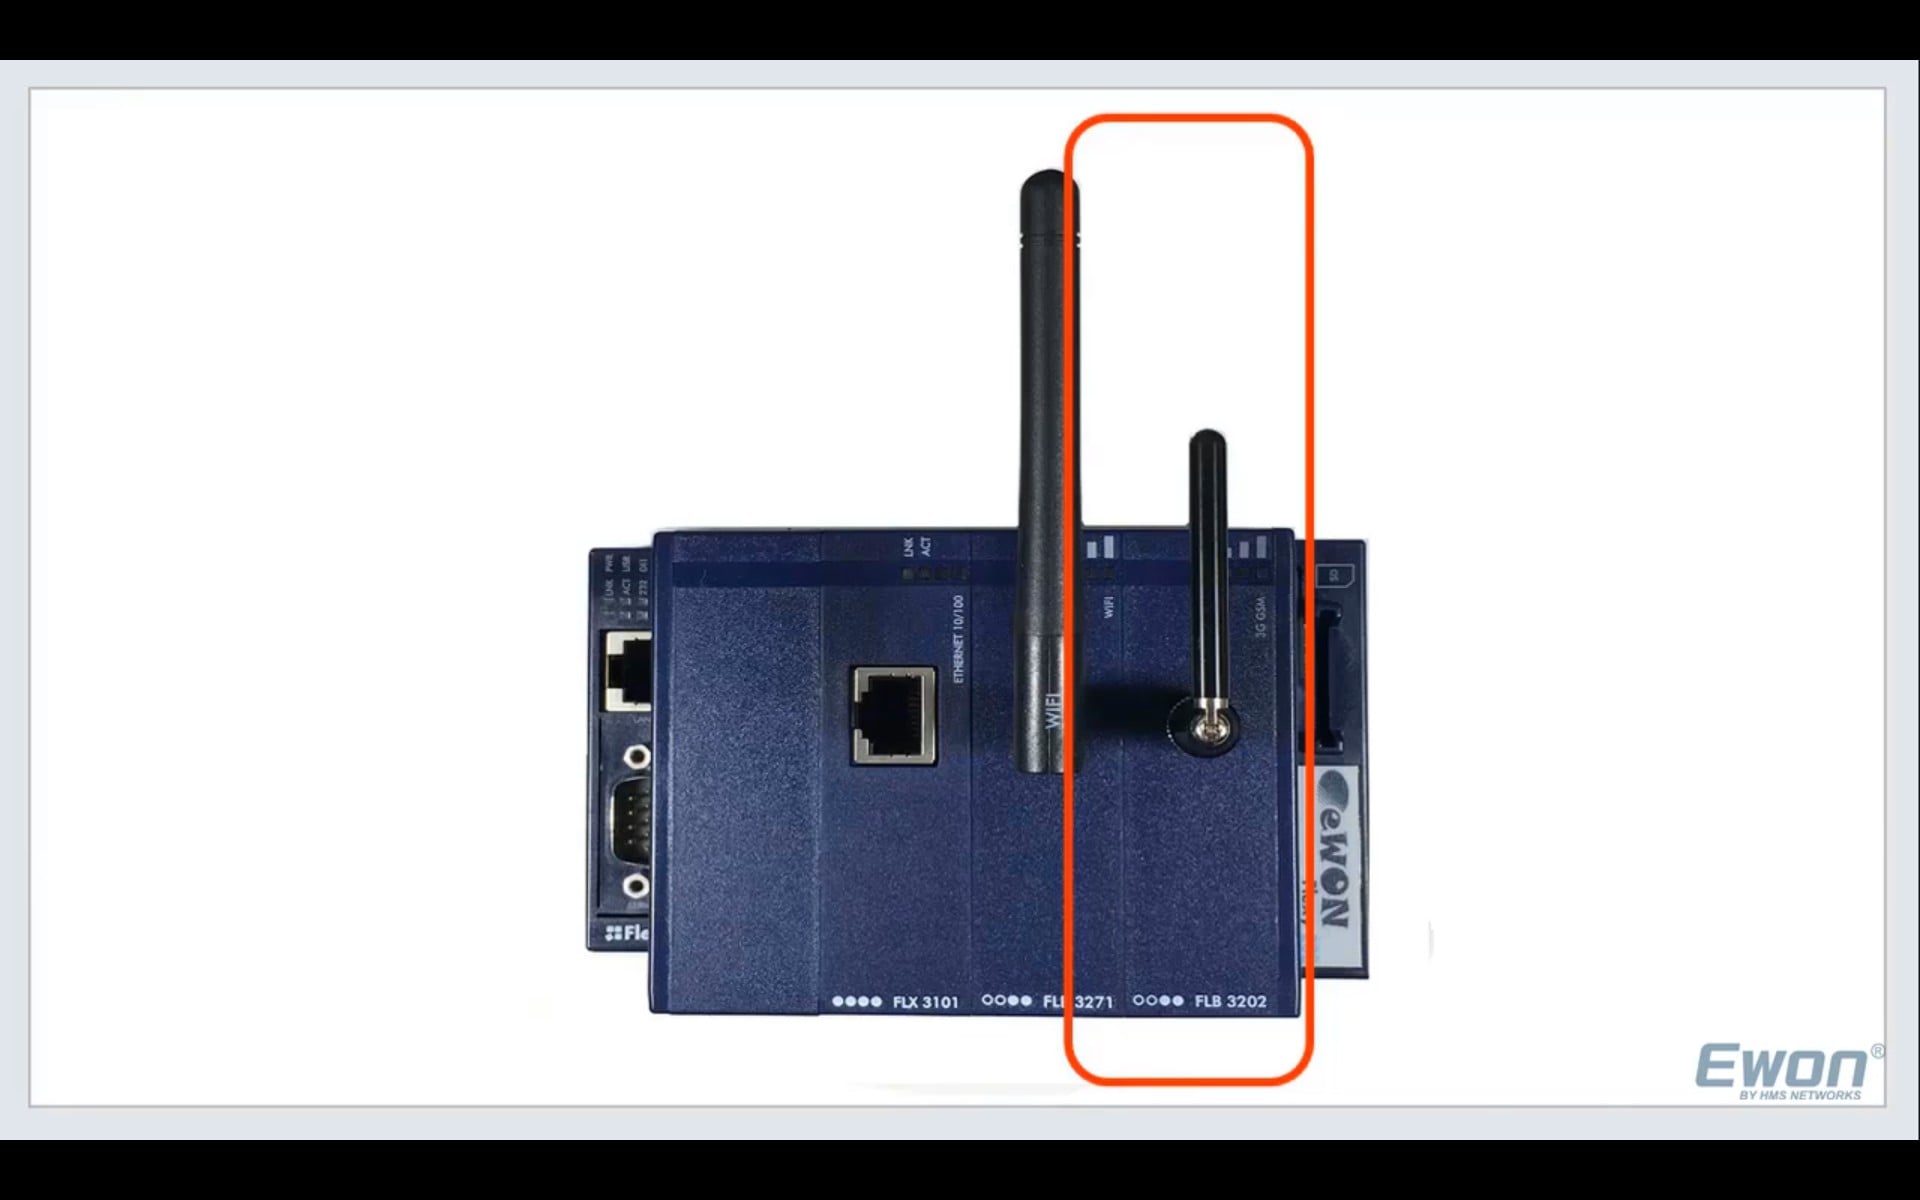
Ensure your Flexy's extension card is correctly plugged in, antenna connected and powered on. By default, your Flexy's Ethernet ports of 1-3 are the LAN ports, while Port 4 is the WAN port. Which ports are designated for LAN/WAN can be adjusted inside the Flexy's Web Interface during the system wizard
Open up your Flexy's Web interface on your computer. This can be done by establishing an ethernet connection between your computer and Flexy's LAN port. Then, using the eBuddy software, select your Flexy and click Open Browser at the top.
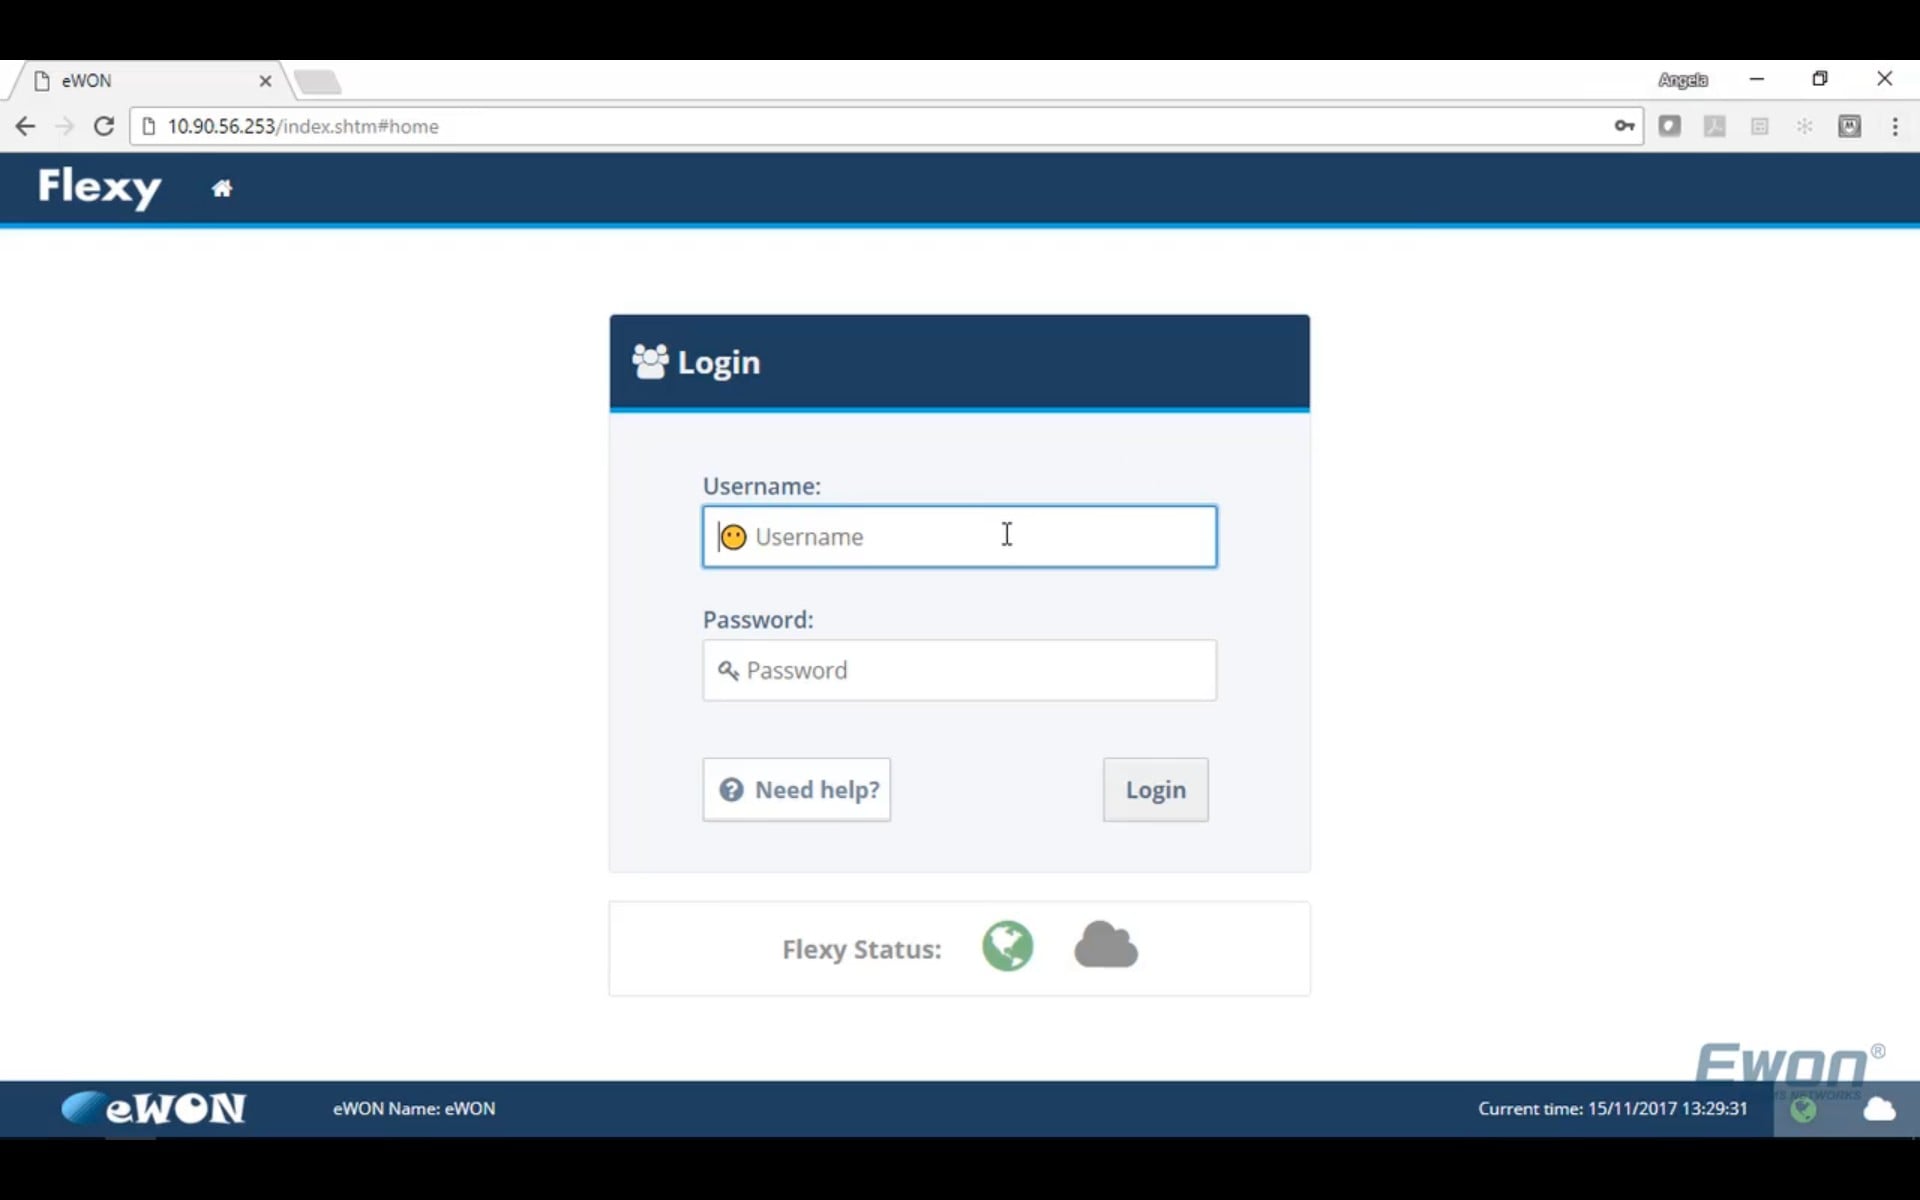
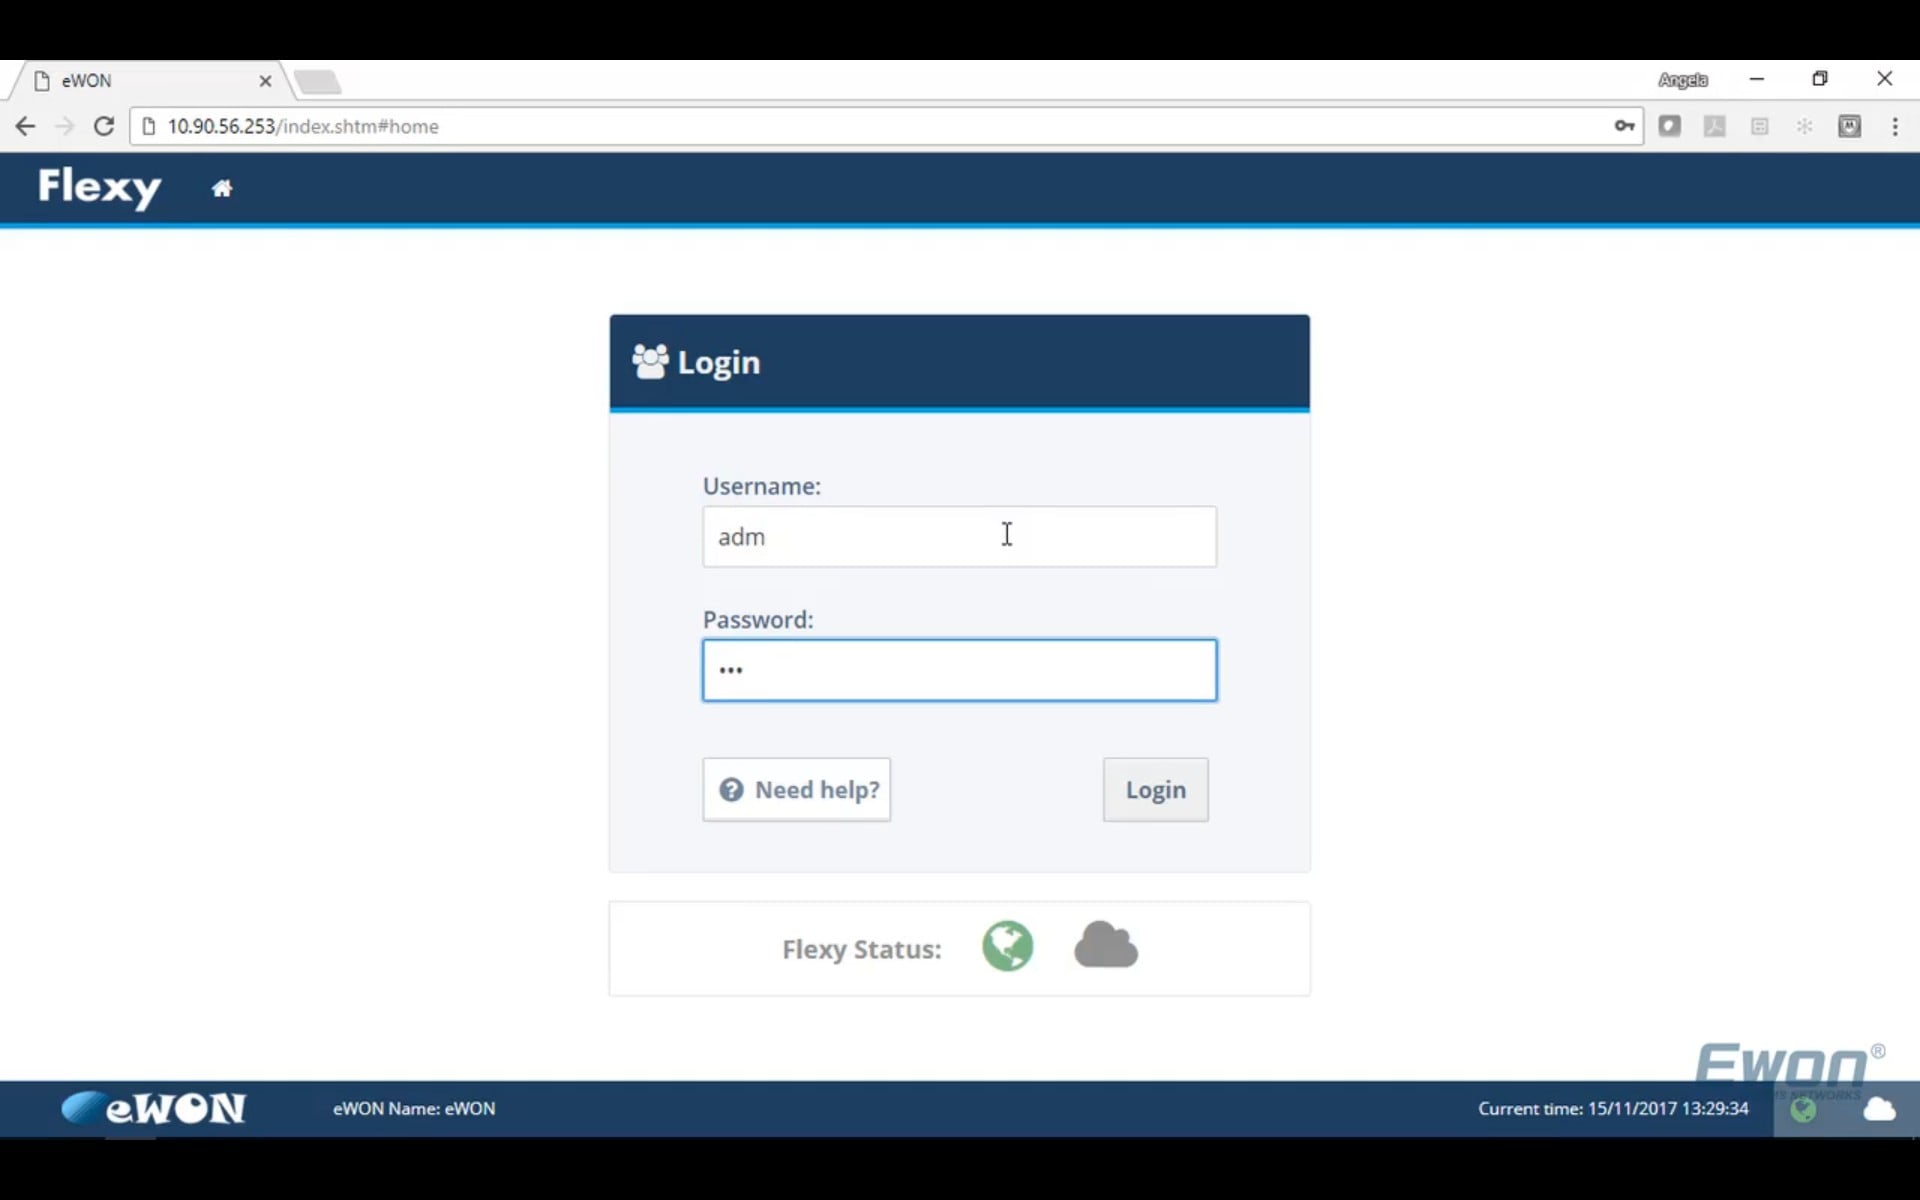
Log into your Flexy using its login credentials. By default, the login credentials will be Username: adm/Password: adm. For newer Flexys, the default adm password has been replaced with a unique password located on the Flexy's label.
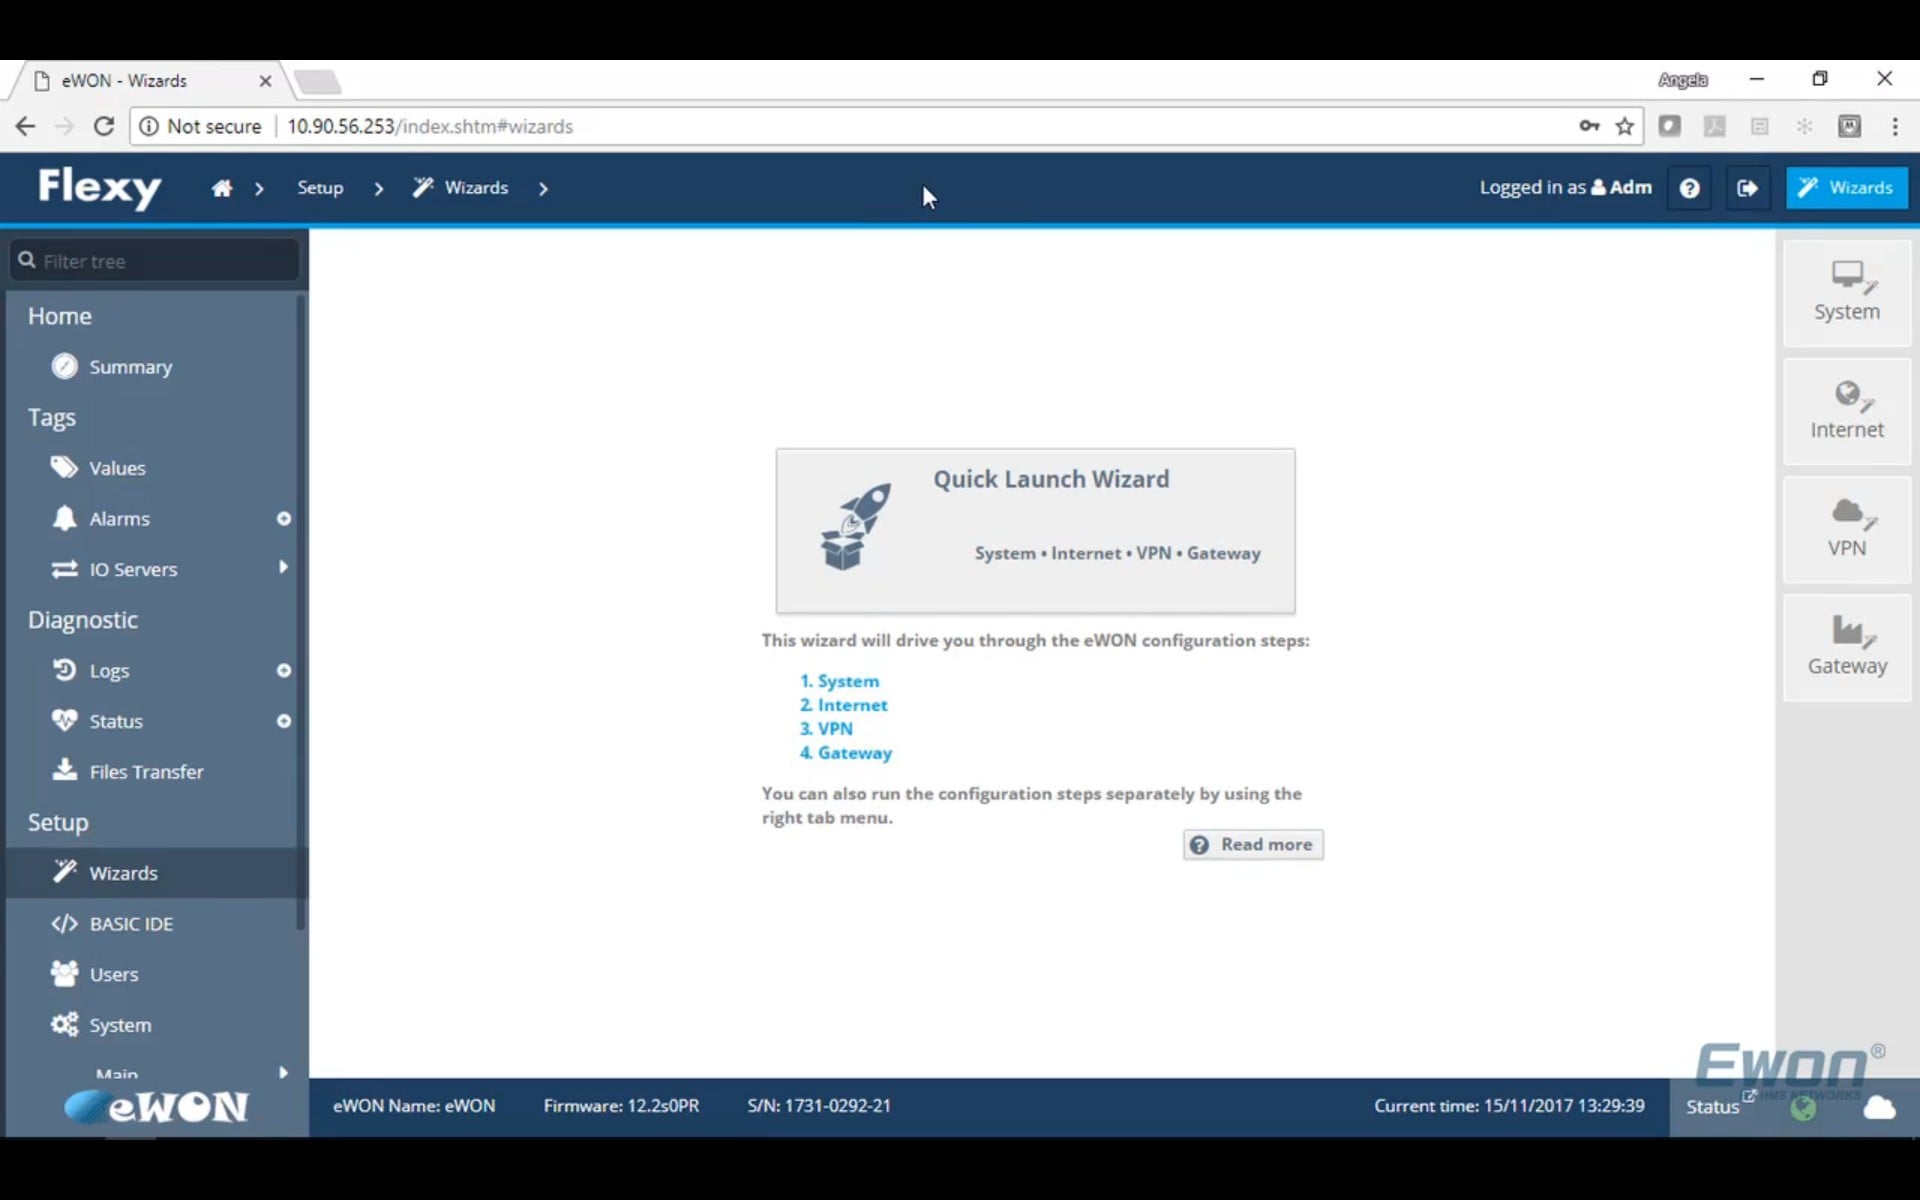
Once logged in, you will be prompted to use the Quick Launch Wizard. Here you will configure your Ewons connection settings.
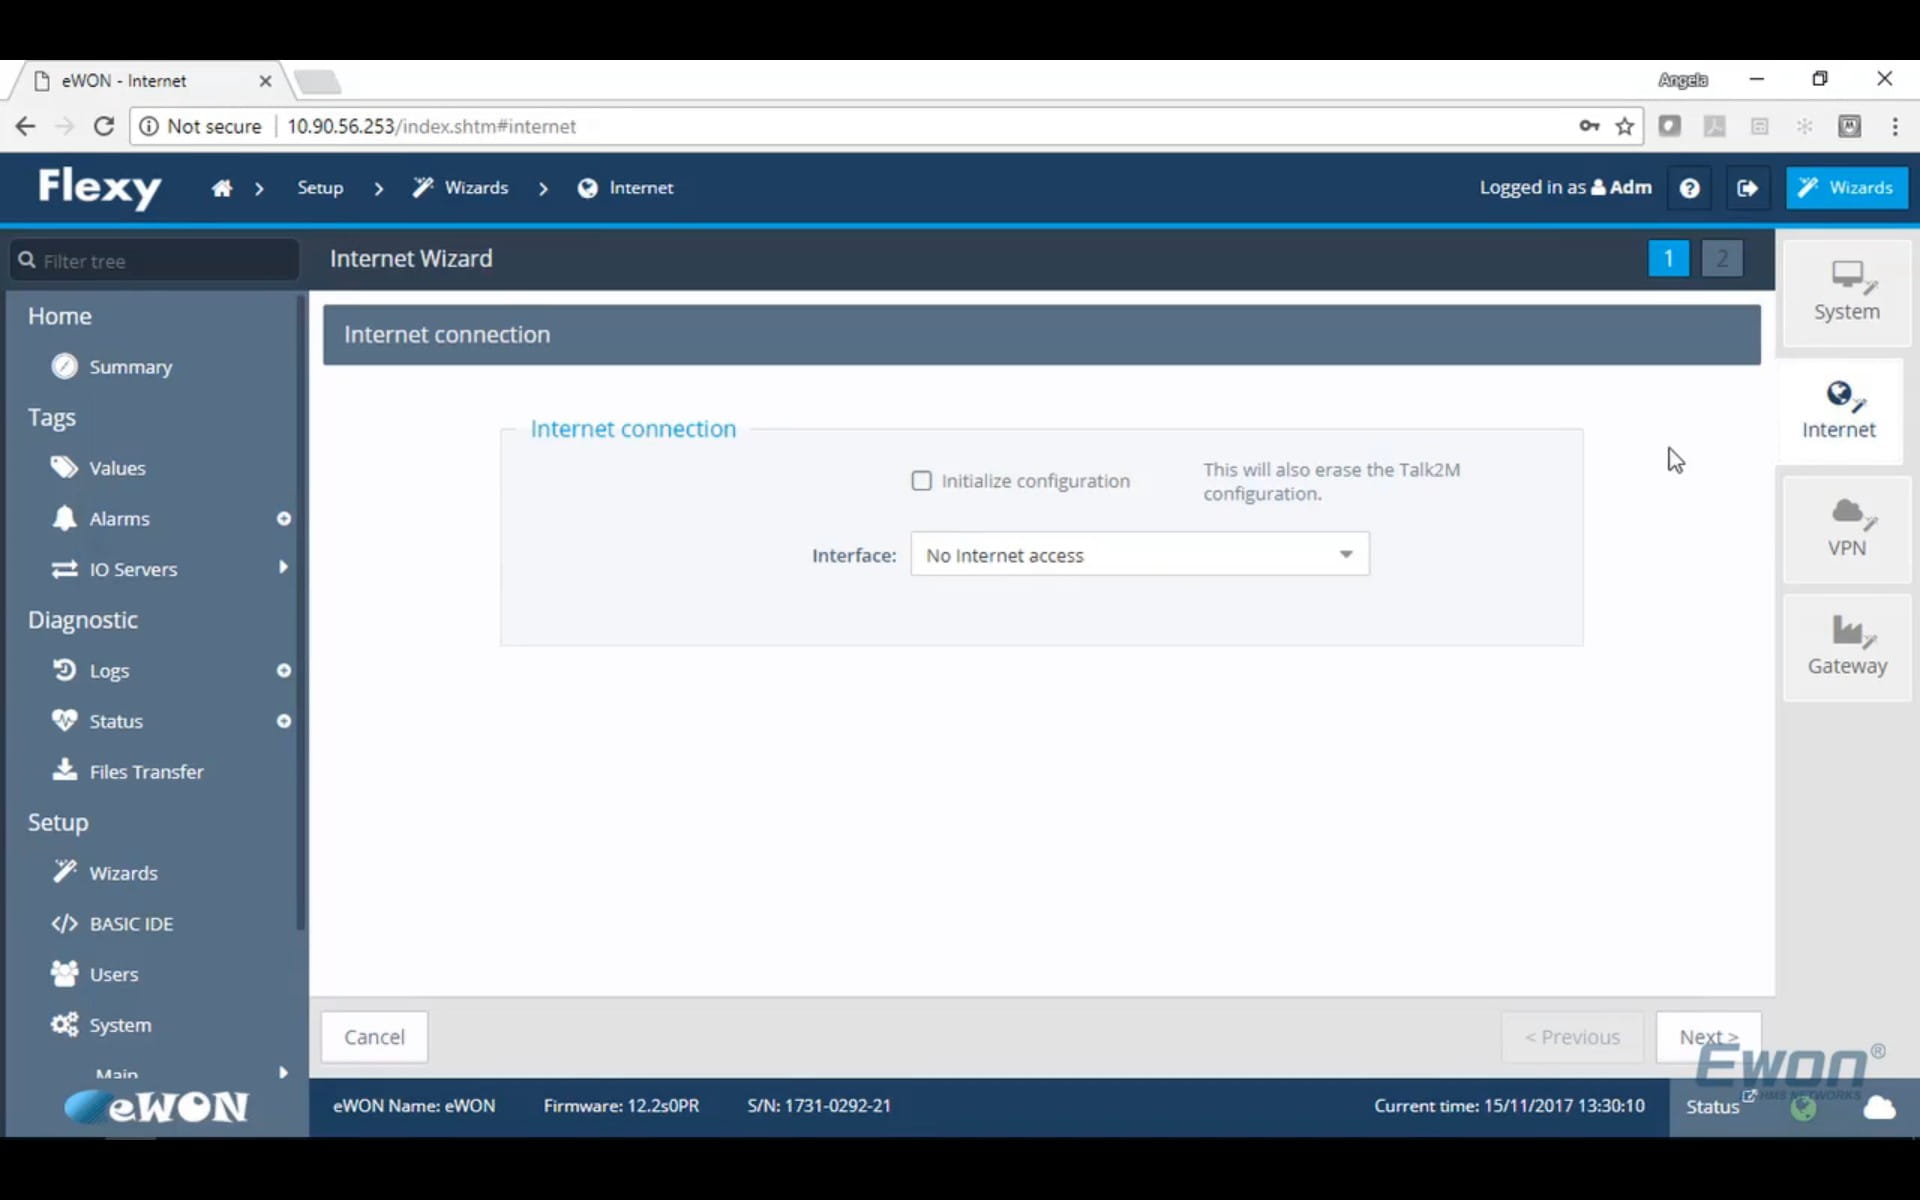
In the Internet Wizard, you will be given the option to initialize the configuration, which will erase any previous Talk2M configuration on the device. This does not matter for a first-time setup.
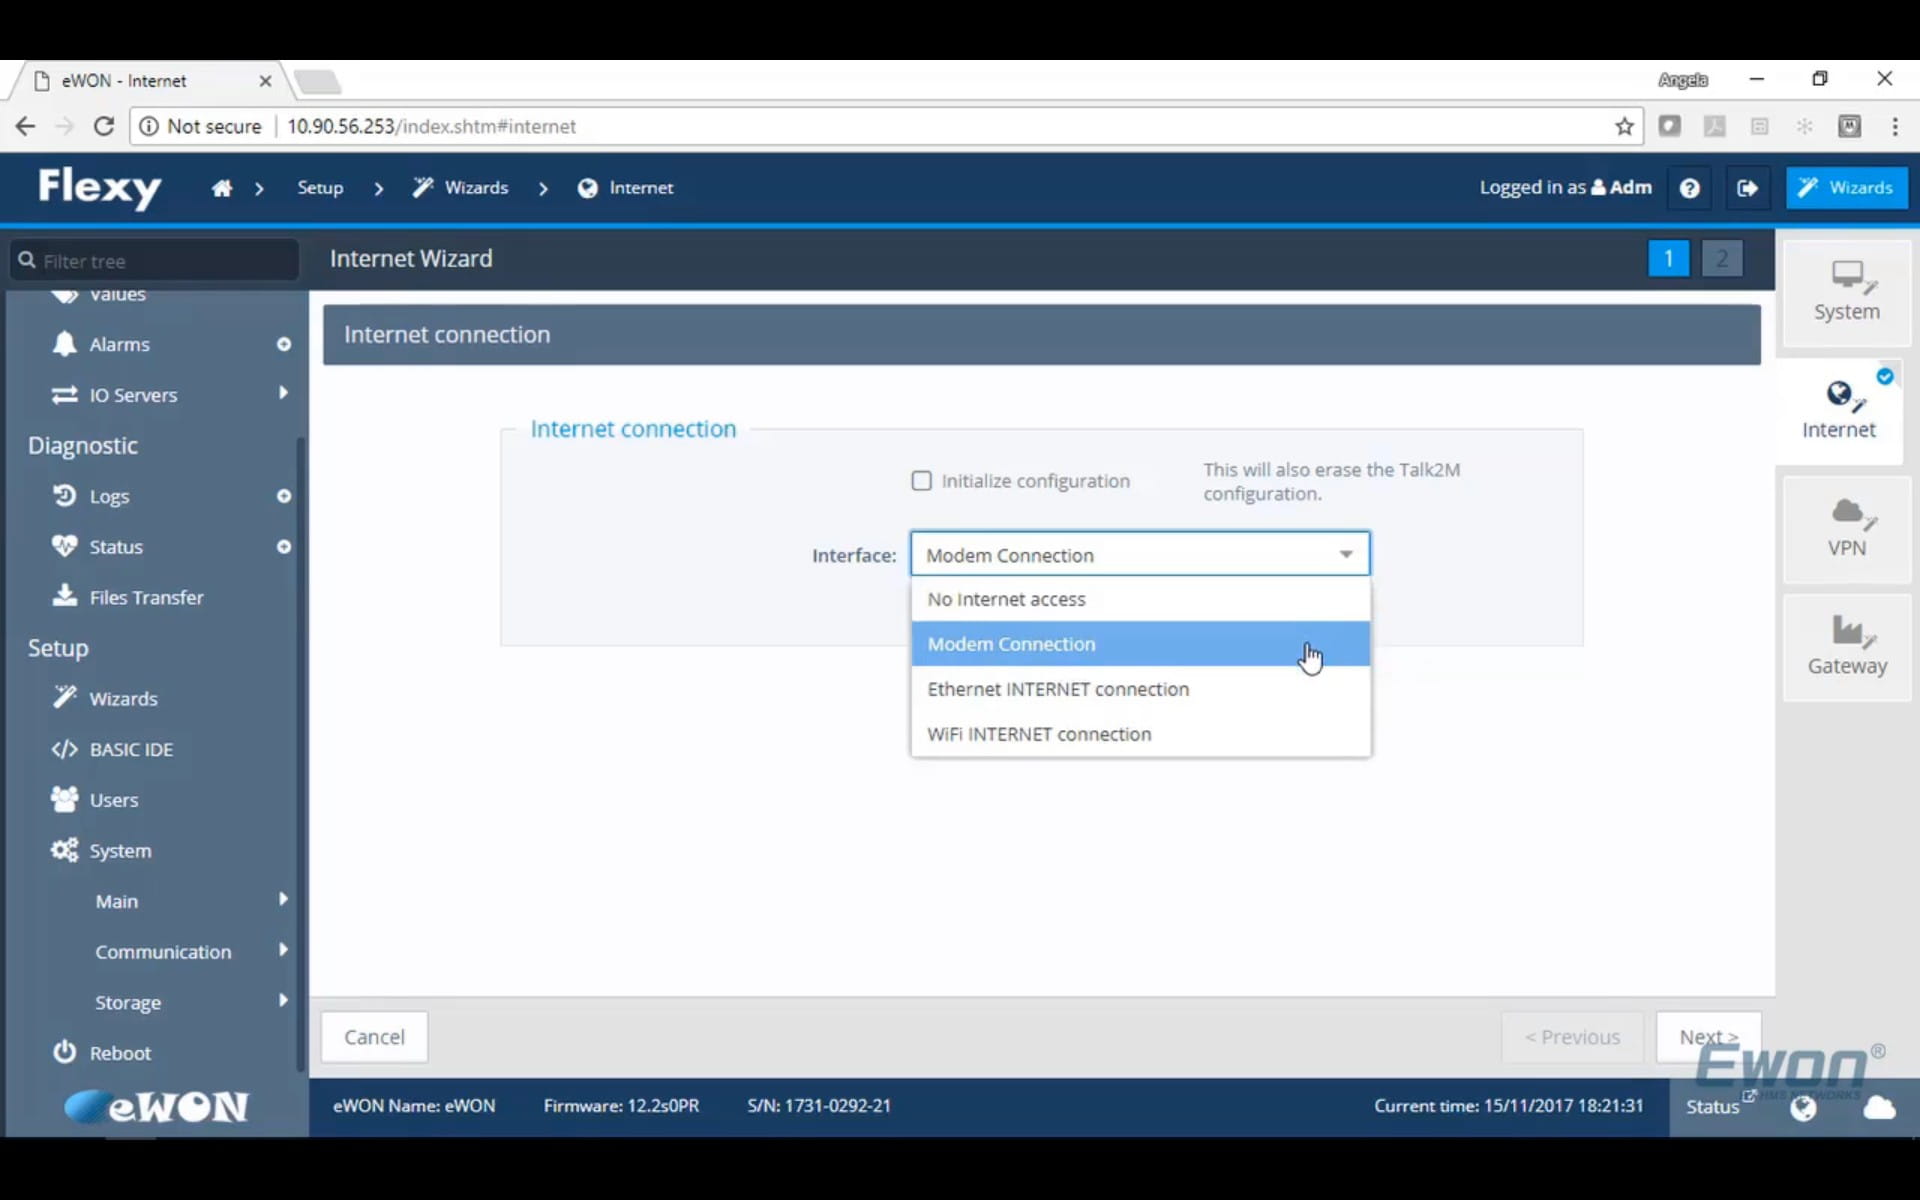
Select your WAN Interface (Internet source) in the Interface drop down. Modem Connection is for a Cellular Connection.
In step 2 of the internet wizard, you will need to input your cellular provider's information.
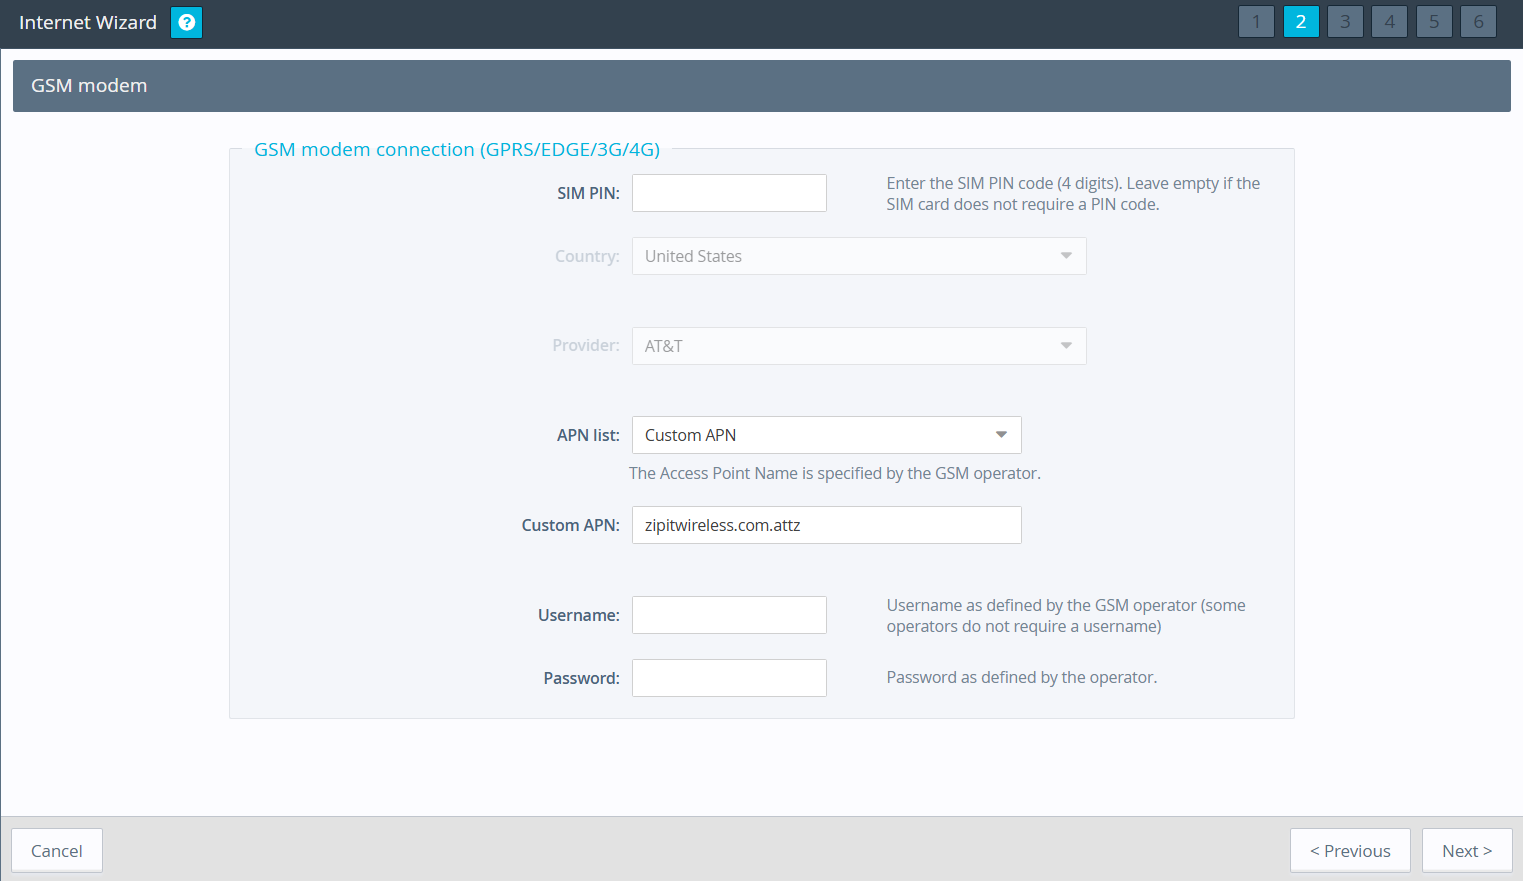
If you are using an HMS SIM card, select AT&T as your provider, with a custom APN of "zipitwireless.com.attz". HMS SIMs do not require a PIN or Username/Password.
Next, choose if you wish to configure a triggered connection, or to maintain connection.
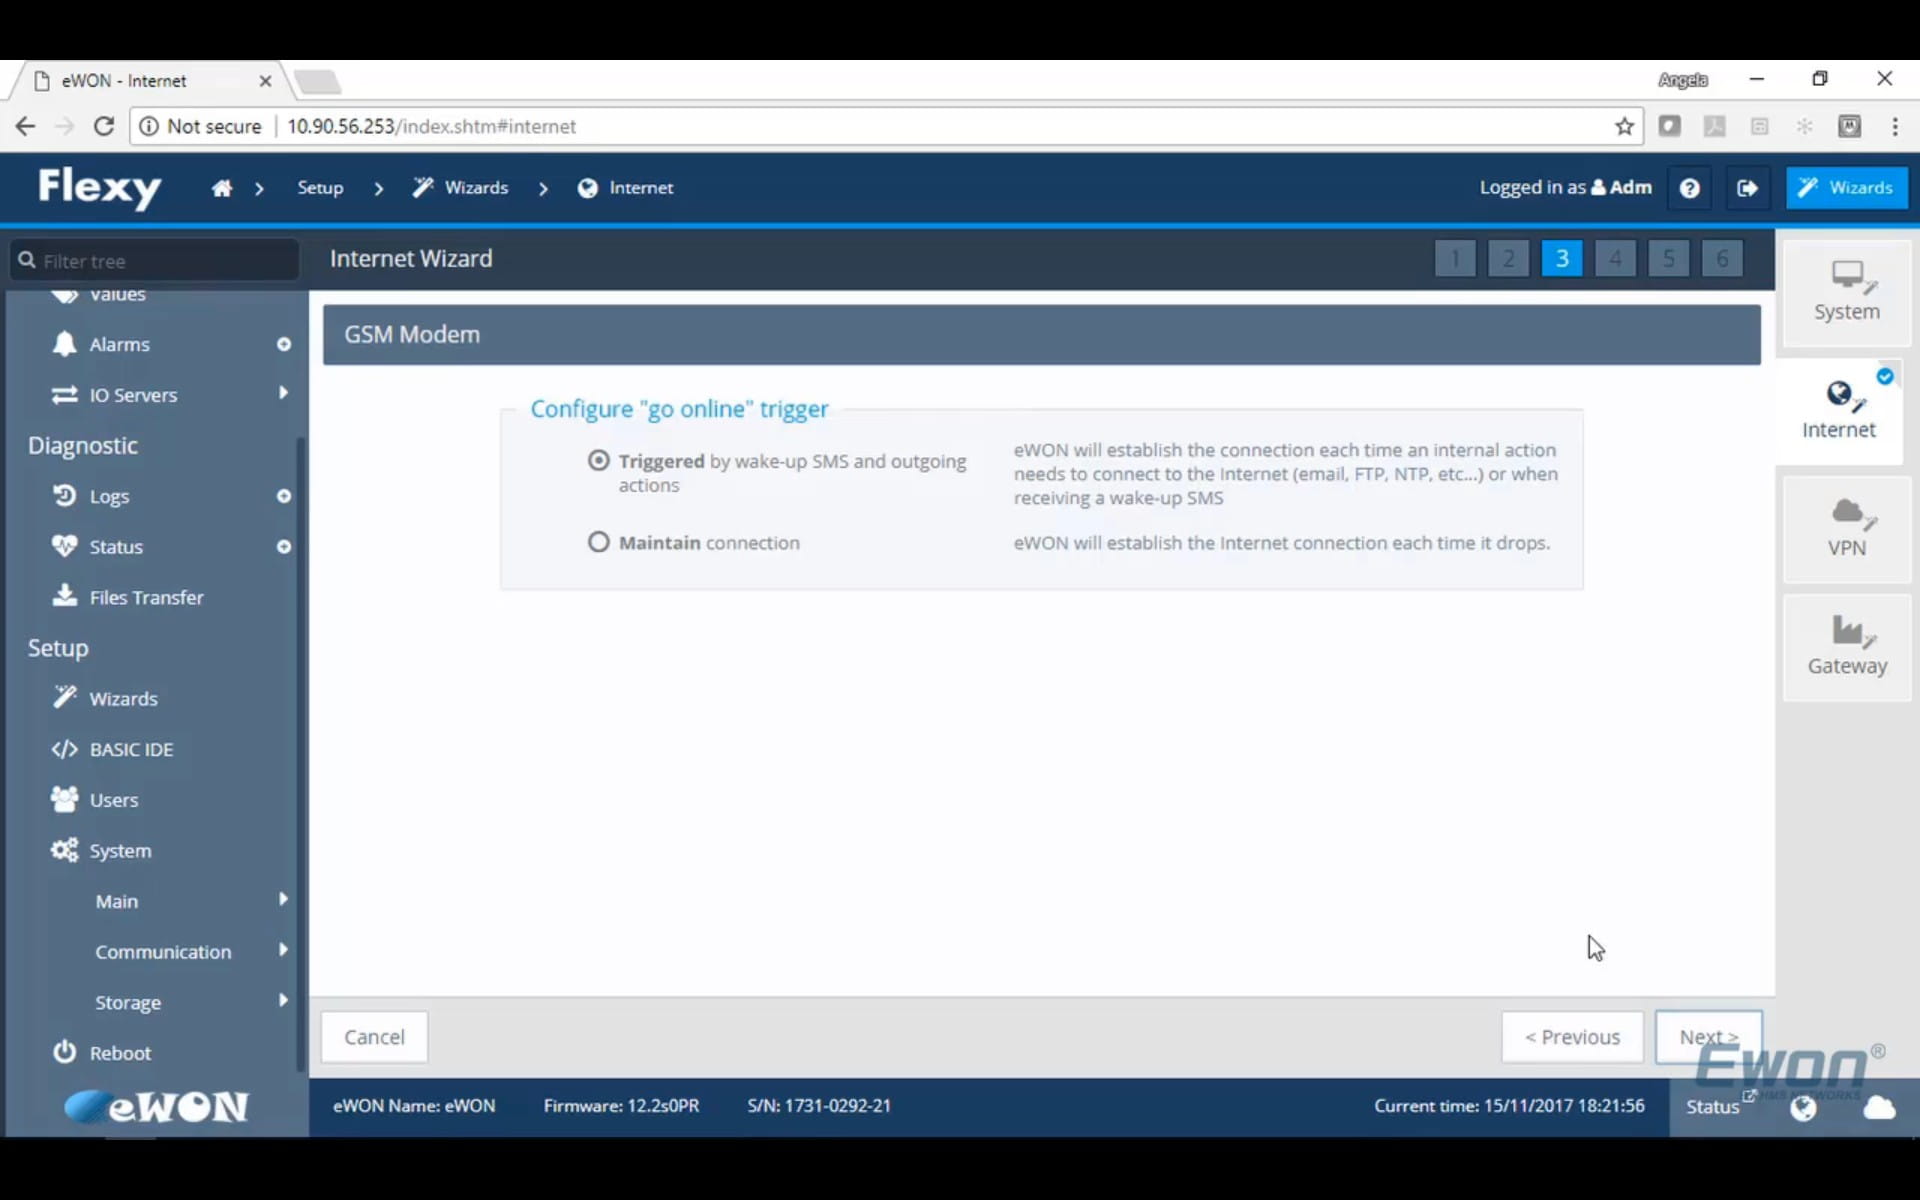
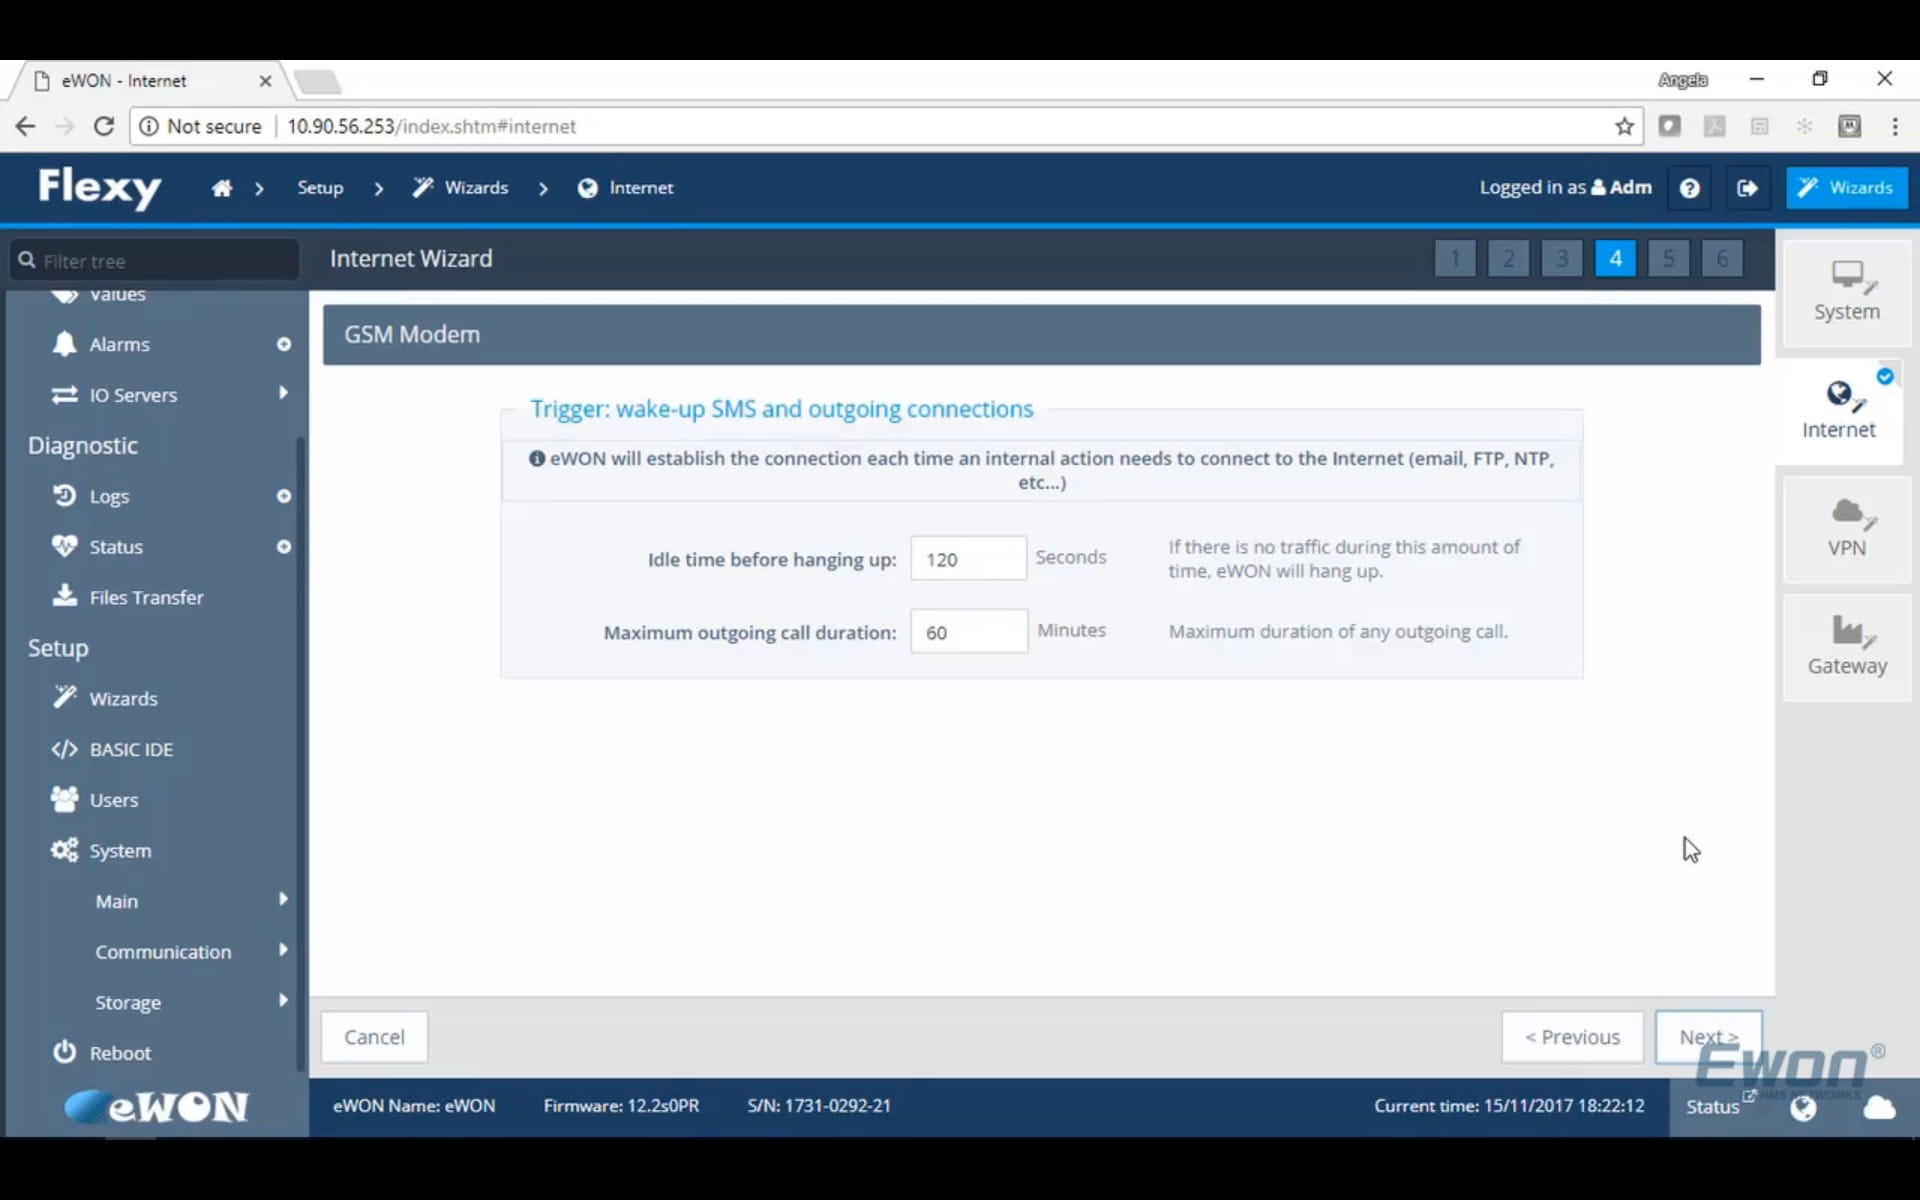
On Step 4, Configure your Trigger connection.
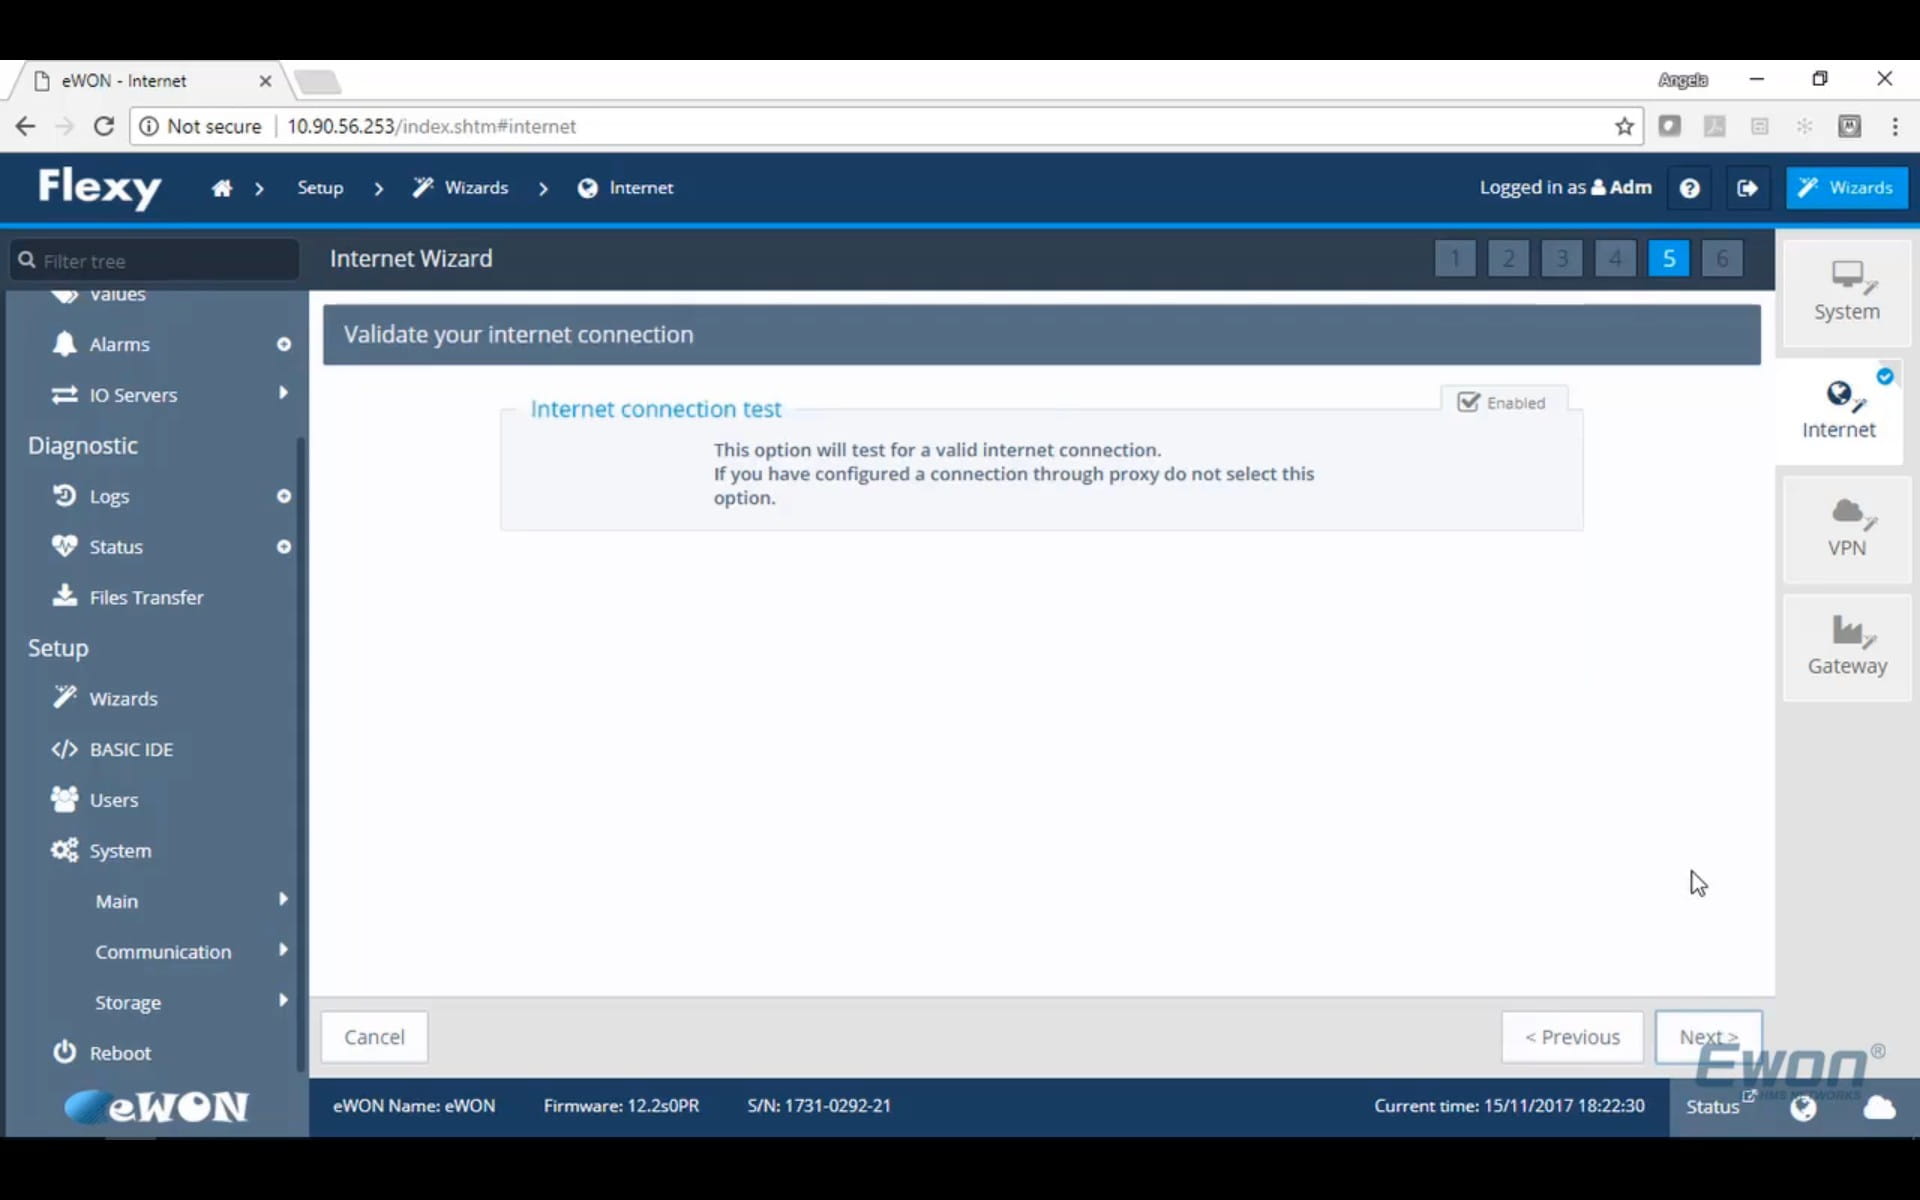
Step 5 of the Internet Wizard will ask if you want to test your connection. If you have configured through a proxy, do not select this option. Otherwise, leave this option enabled.
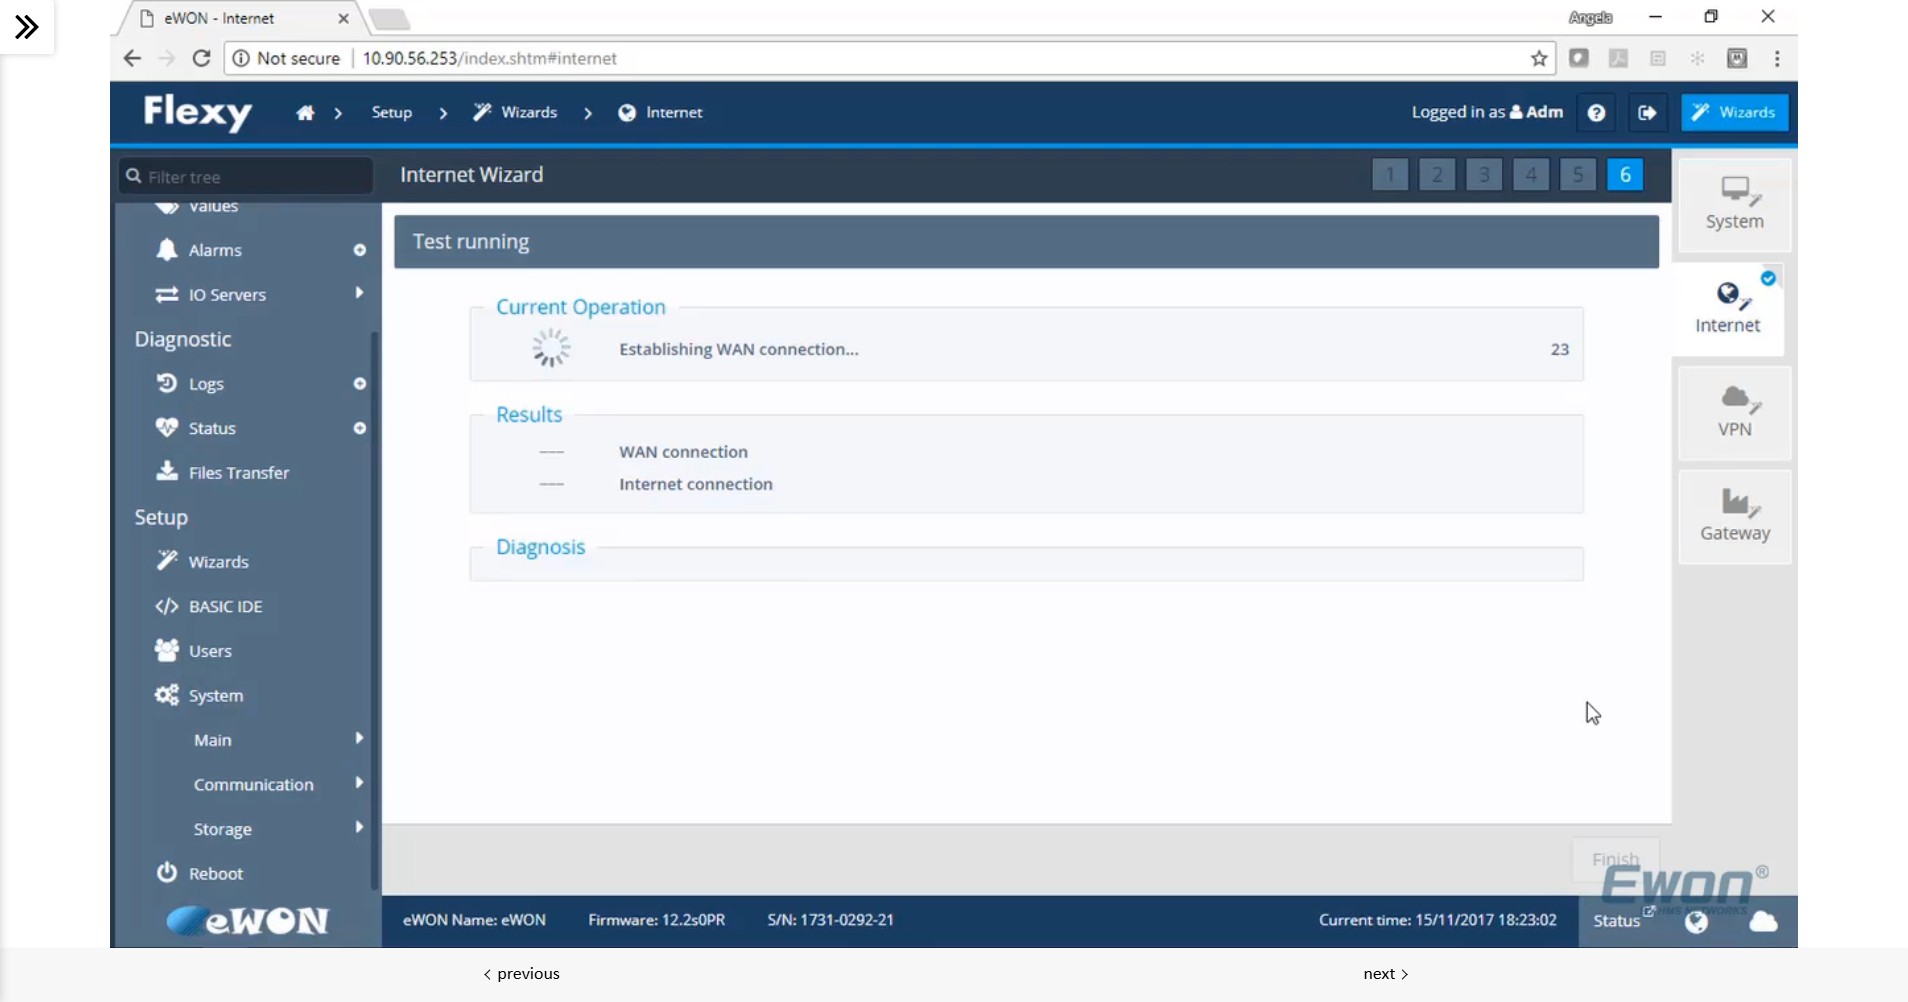
Step 6, the internet wizard will run a test checking if the Flexy is able to successfully establish a WAN connection to your Cellular Provider.
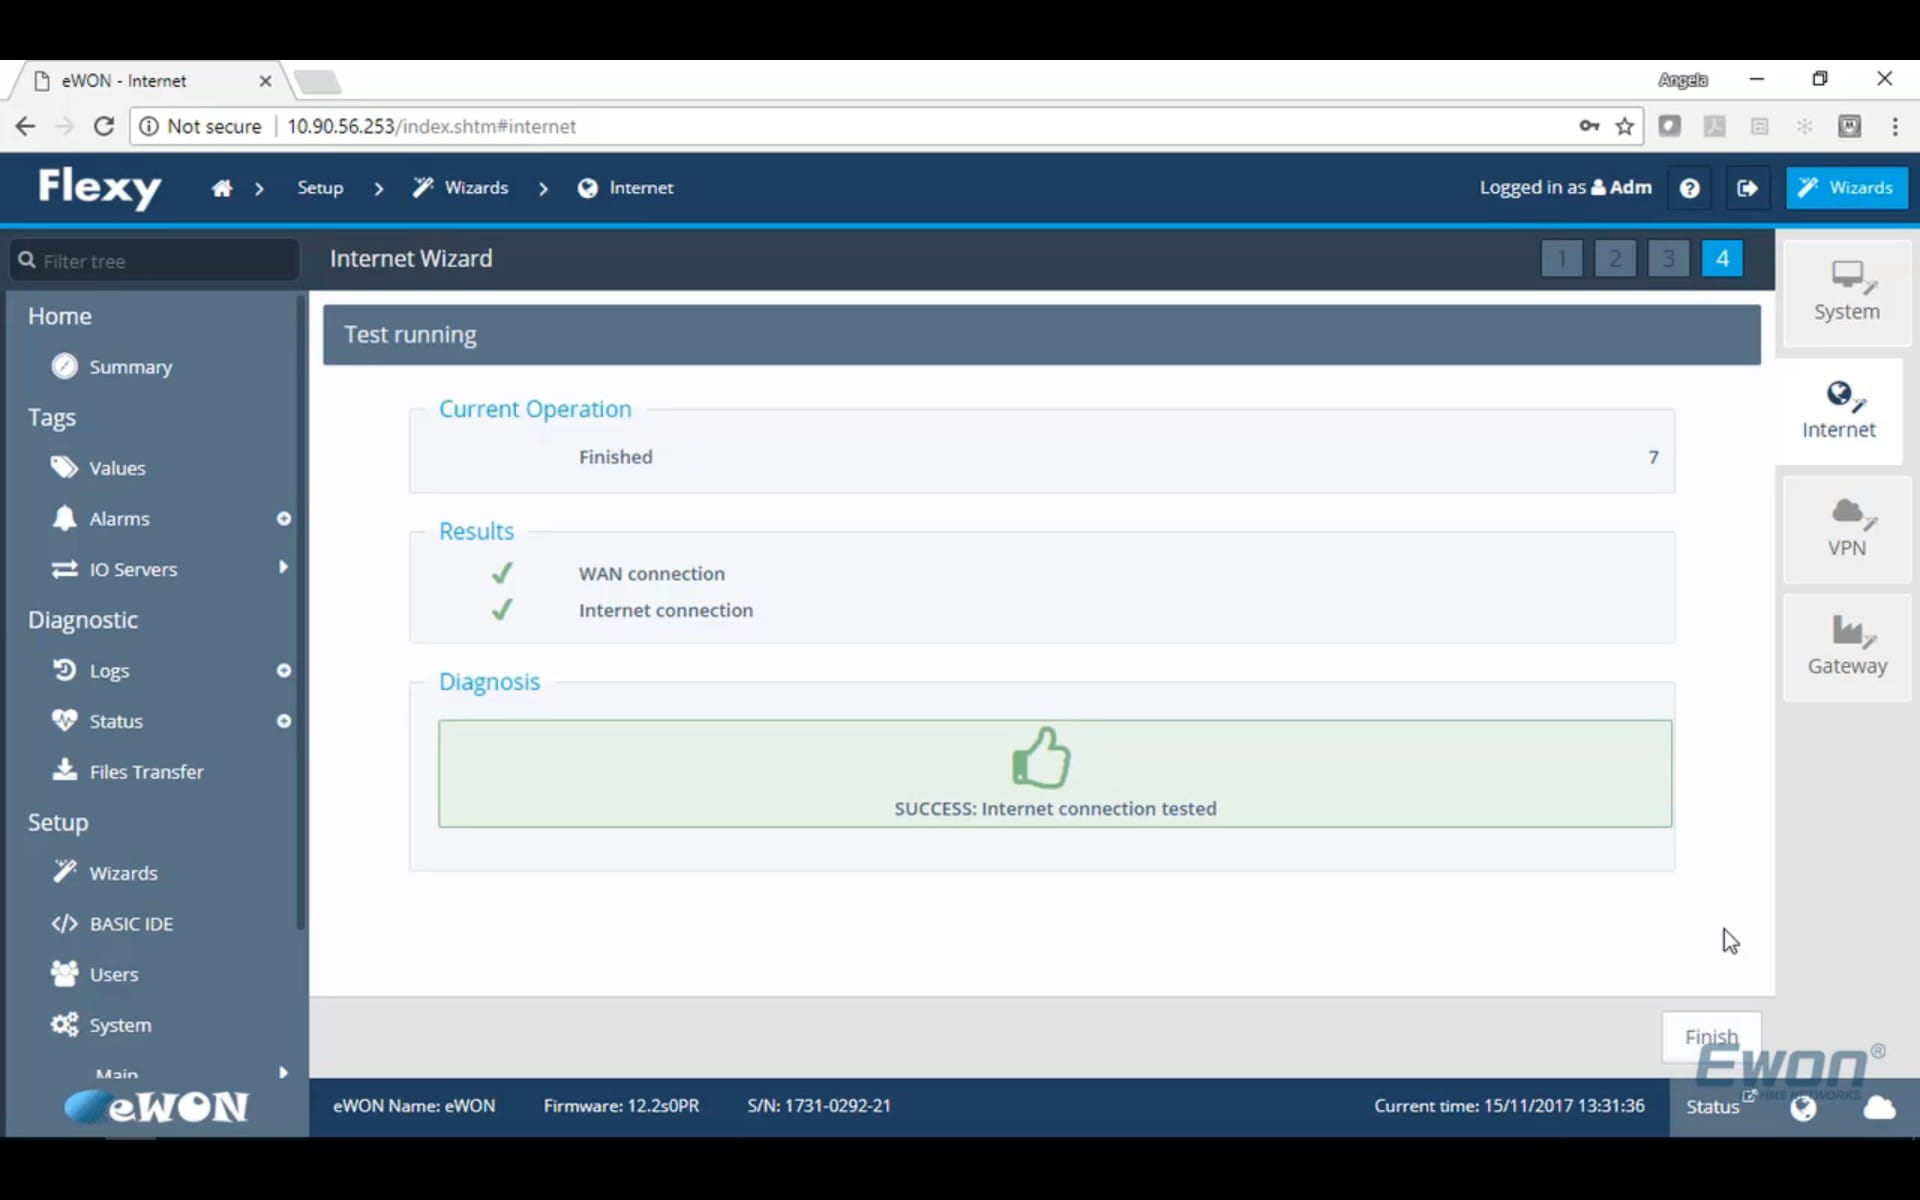
Once the test is complete, the internet wizard will inform you if the connection succeeded or failed. If successful, the internet configuration will be applied. If the test fails, an error will pop up as well the Ewon will default back to its last working configuration (if applicable).
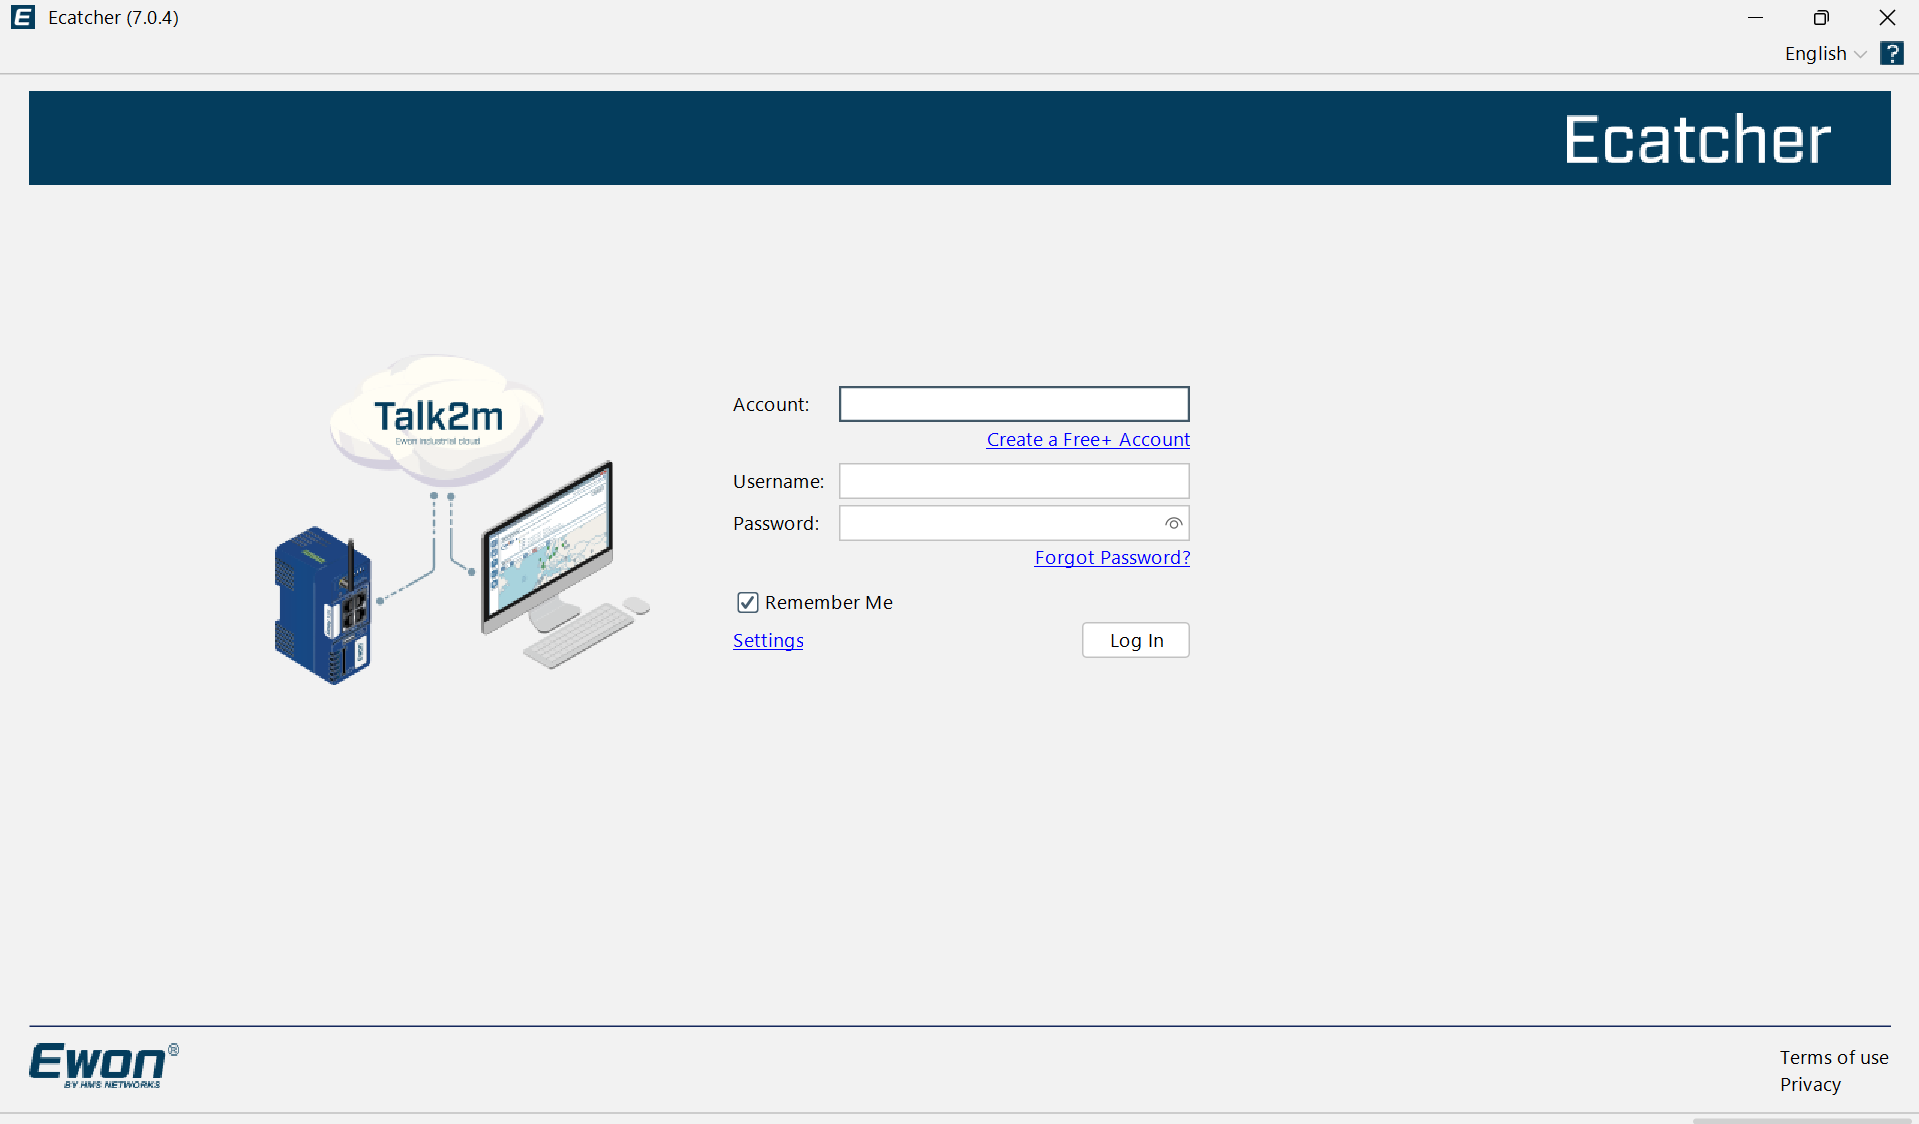
Next, open Ecatcher. If you already have a Talk2M account, sign in. If not, create your account by selecting "Create a Free+ Account".
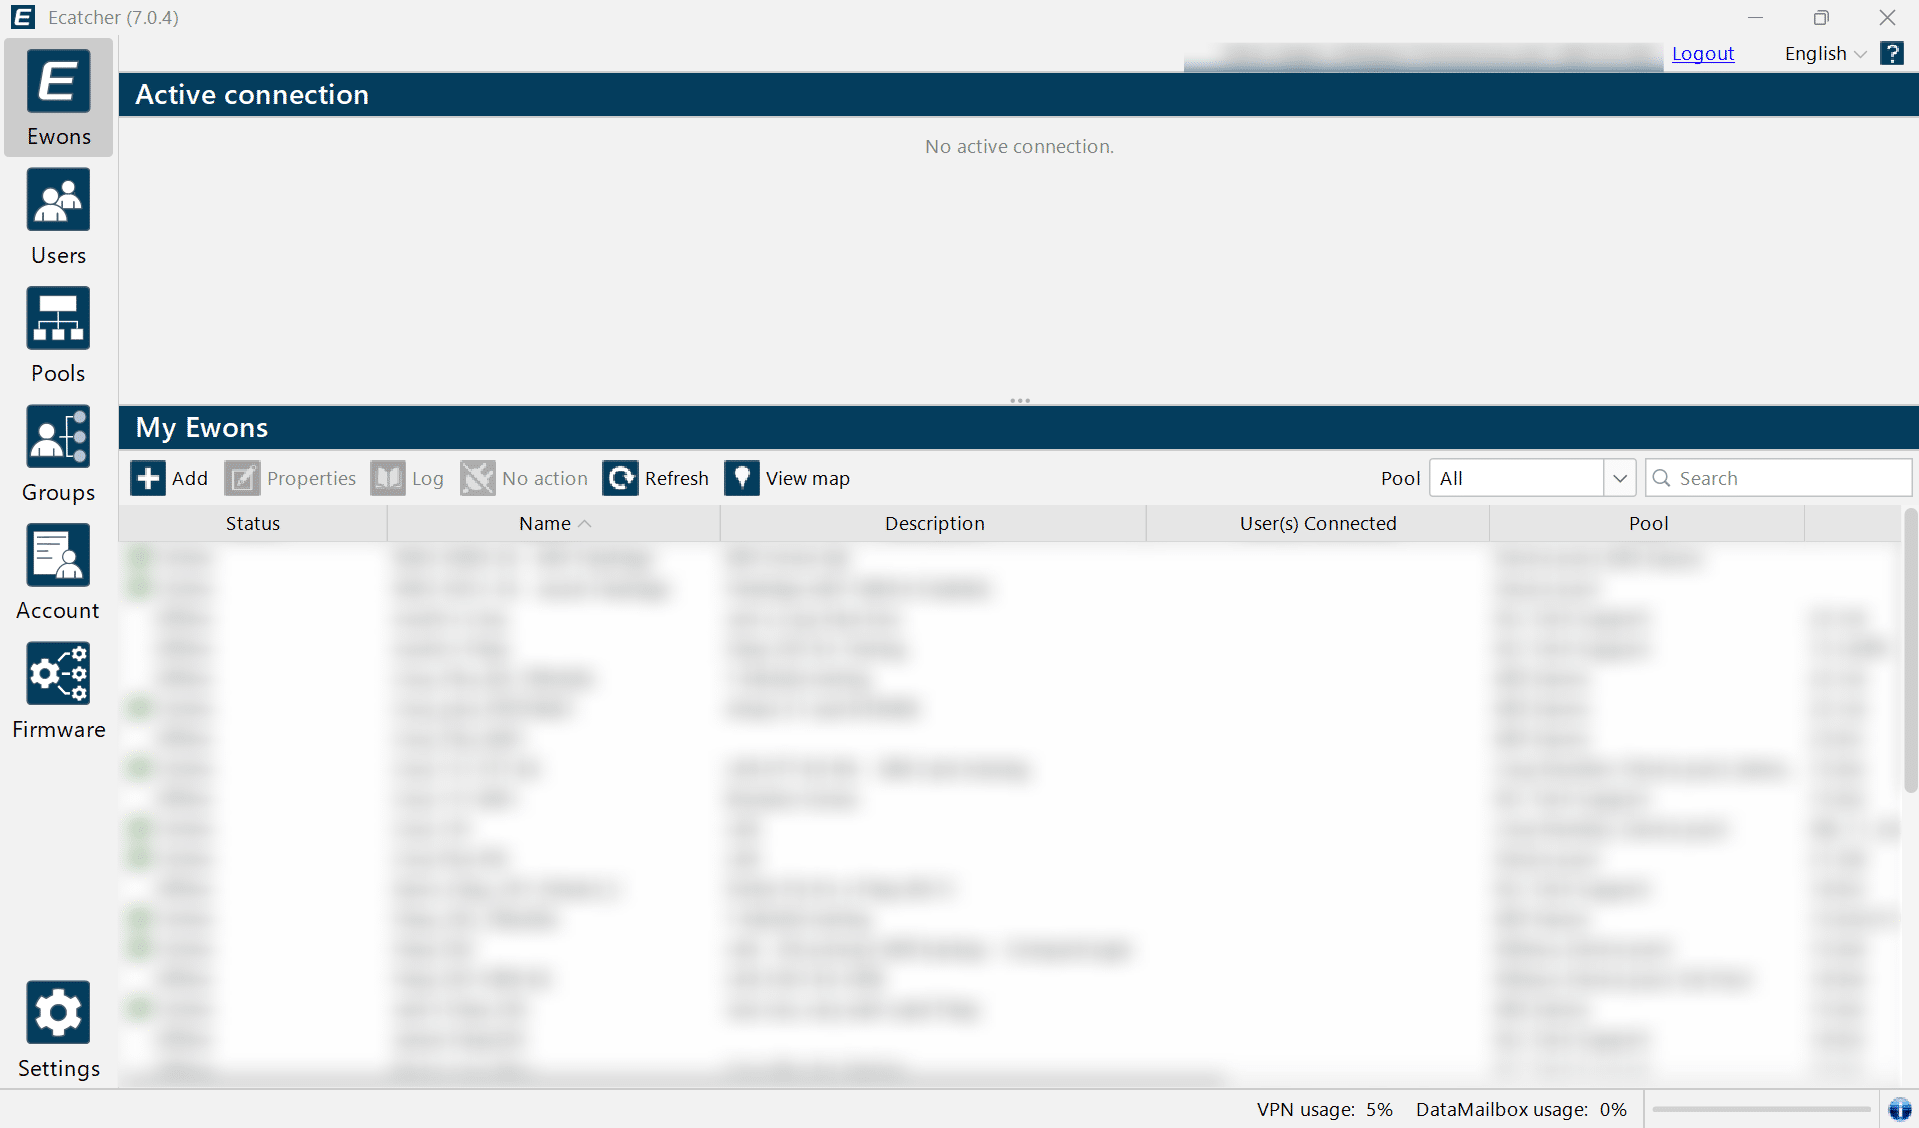
Once signed into Ecatcher, you can add you Ewon device by selecting the "Add" option under My Ewons.
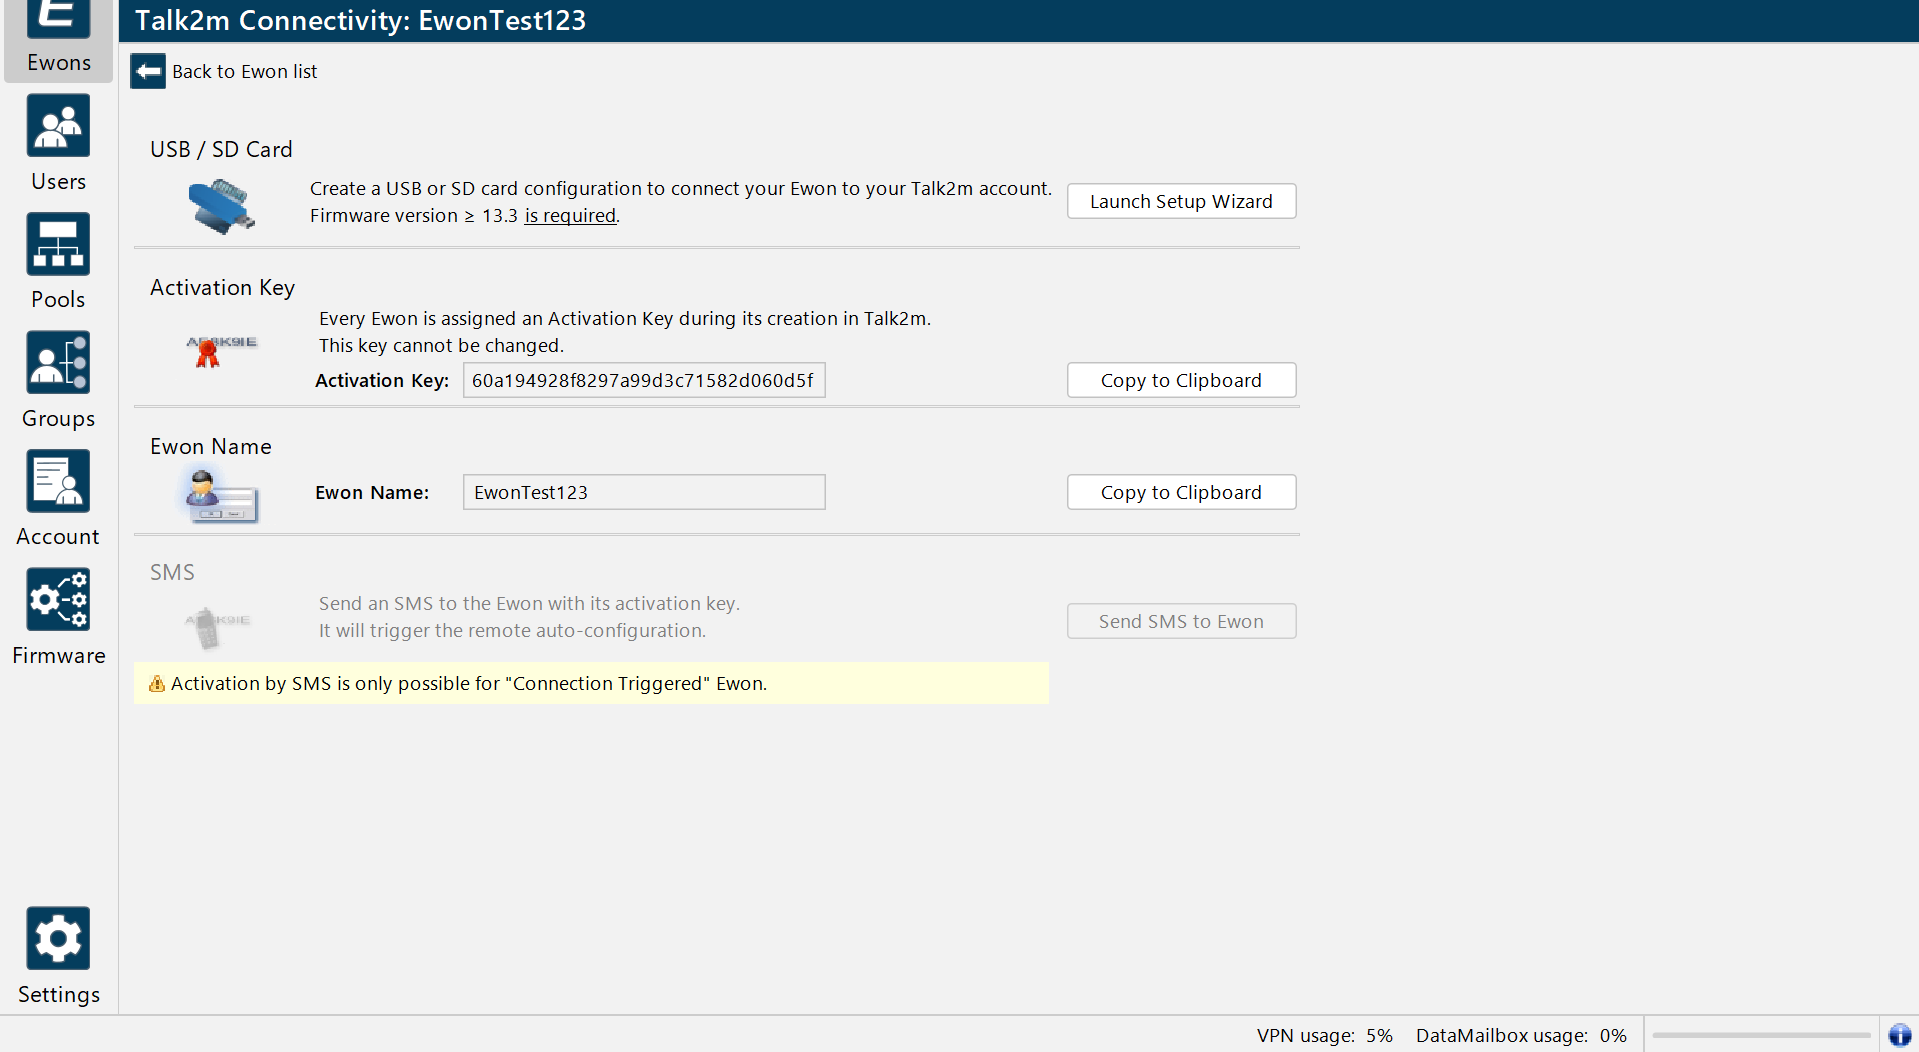
Once you've added your Ewon to your Talk2M account. You then will be prompted to link your Ewon. In this guide, we will use the Activation Key method.
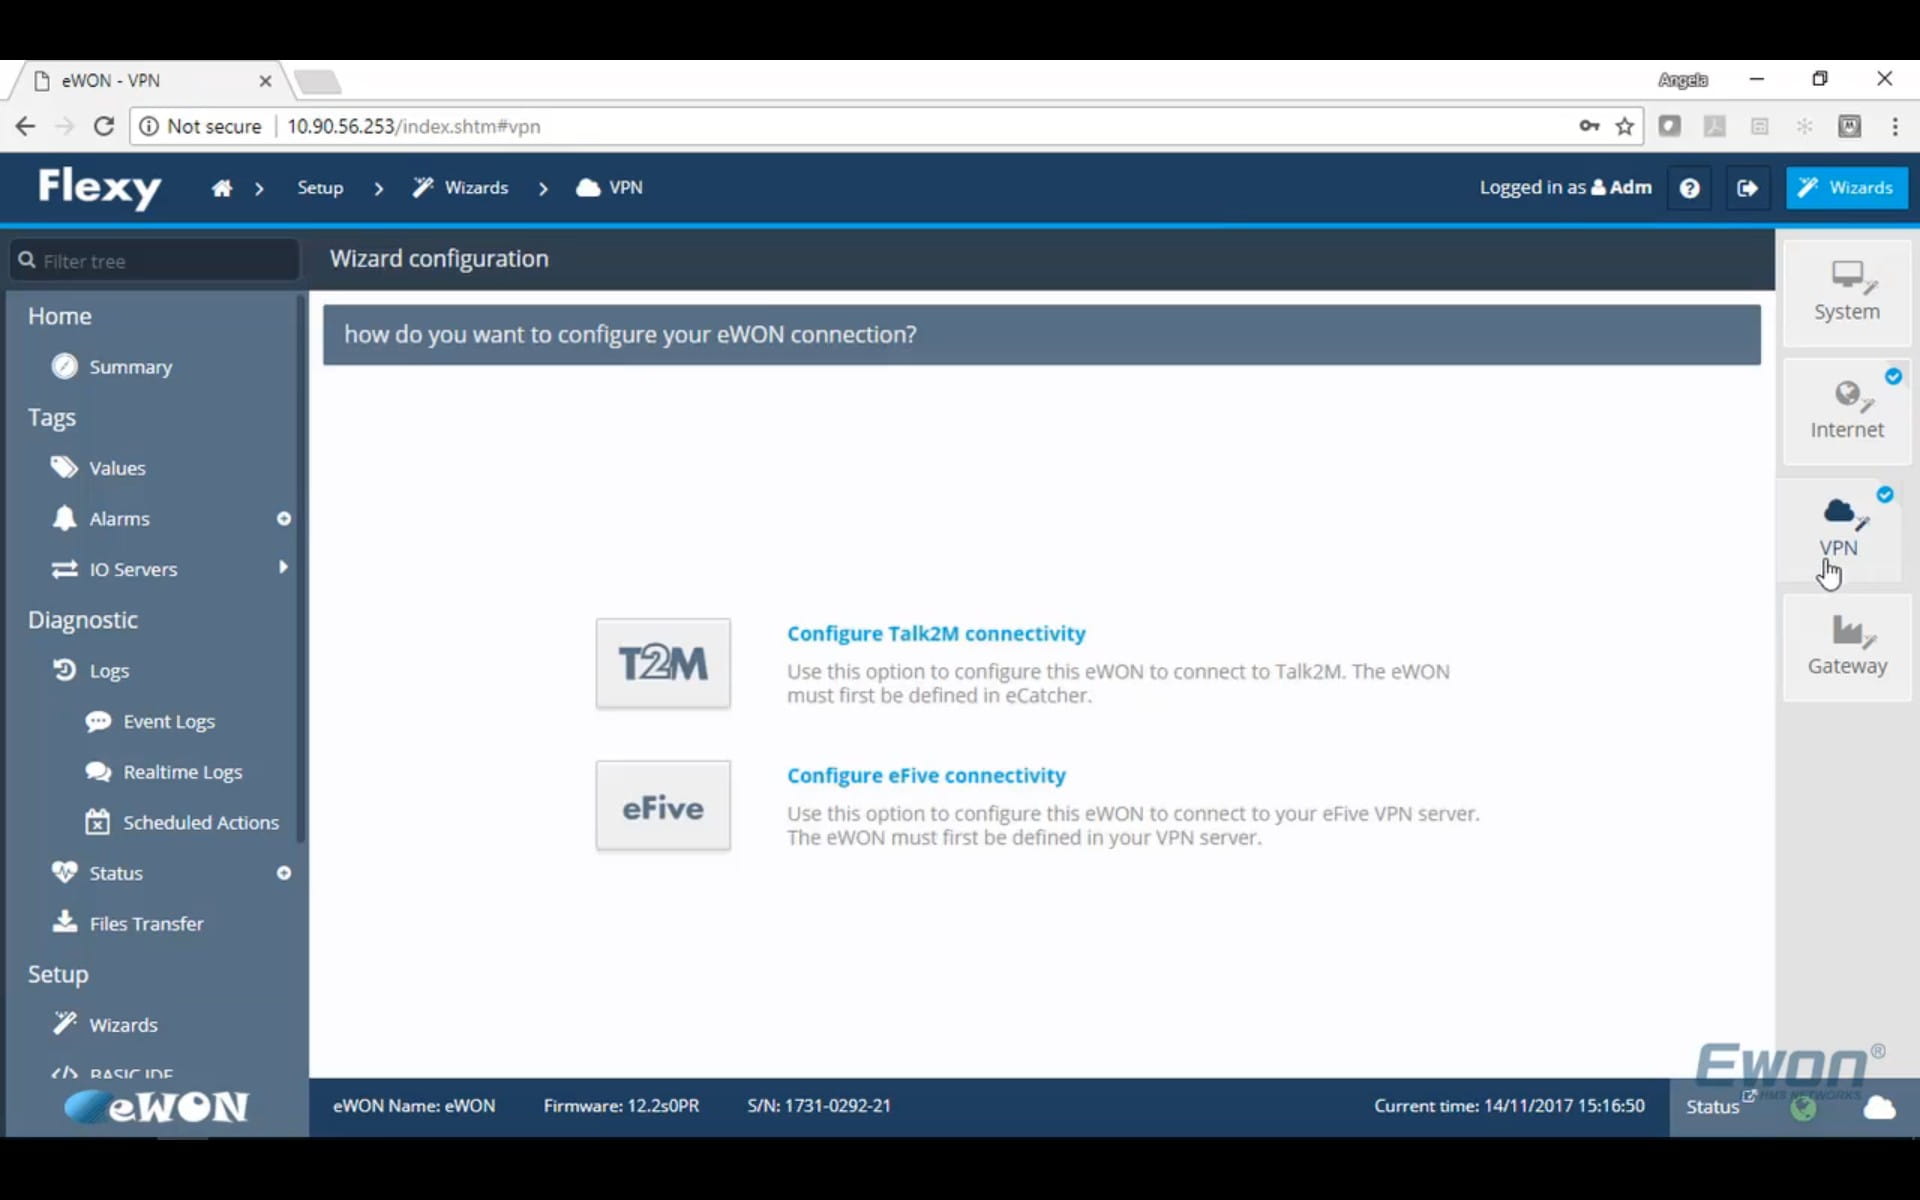
Return to your Flexy's Web interface and continue to the VPN Wizard on the right side of the screen. Here you will select Configure Talk2M Connectivity.
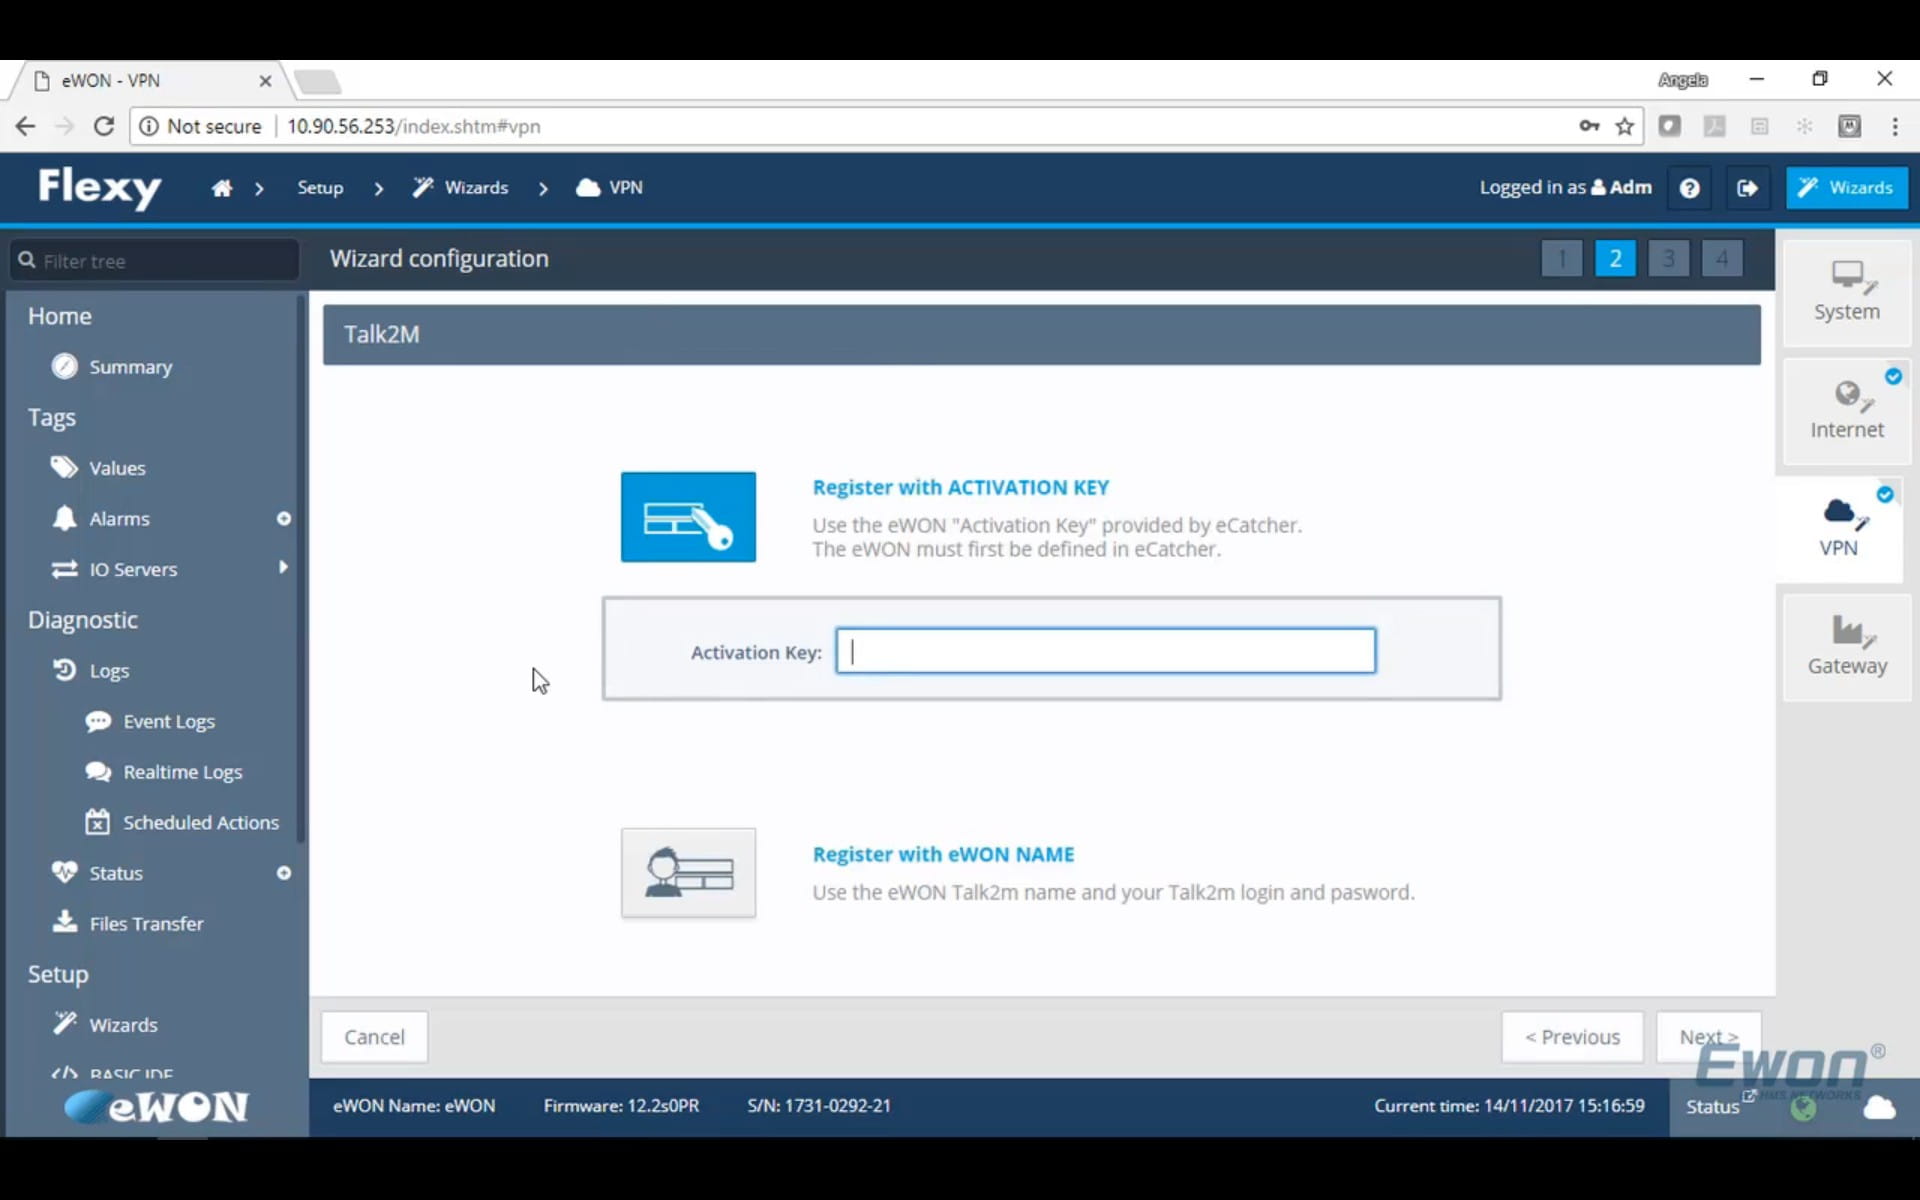
Next, Select Register with Activation Key and paste the Activation Key from your Ecatcher.
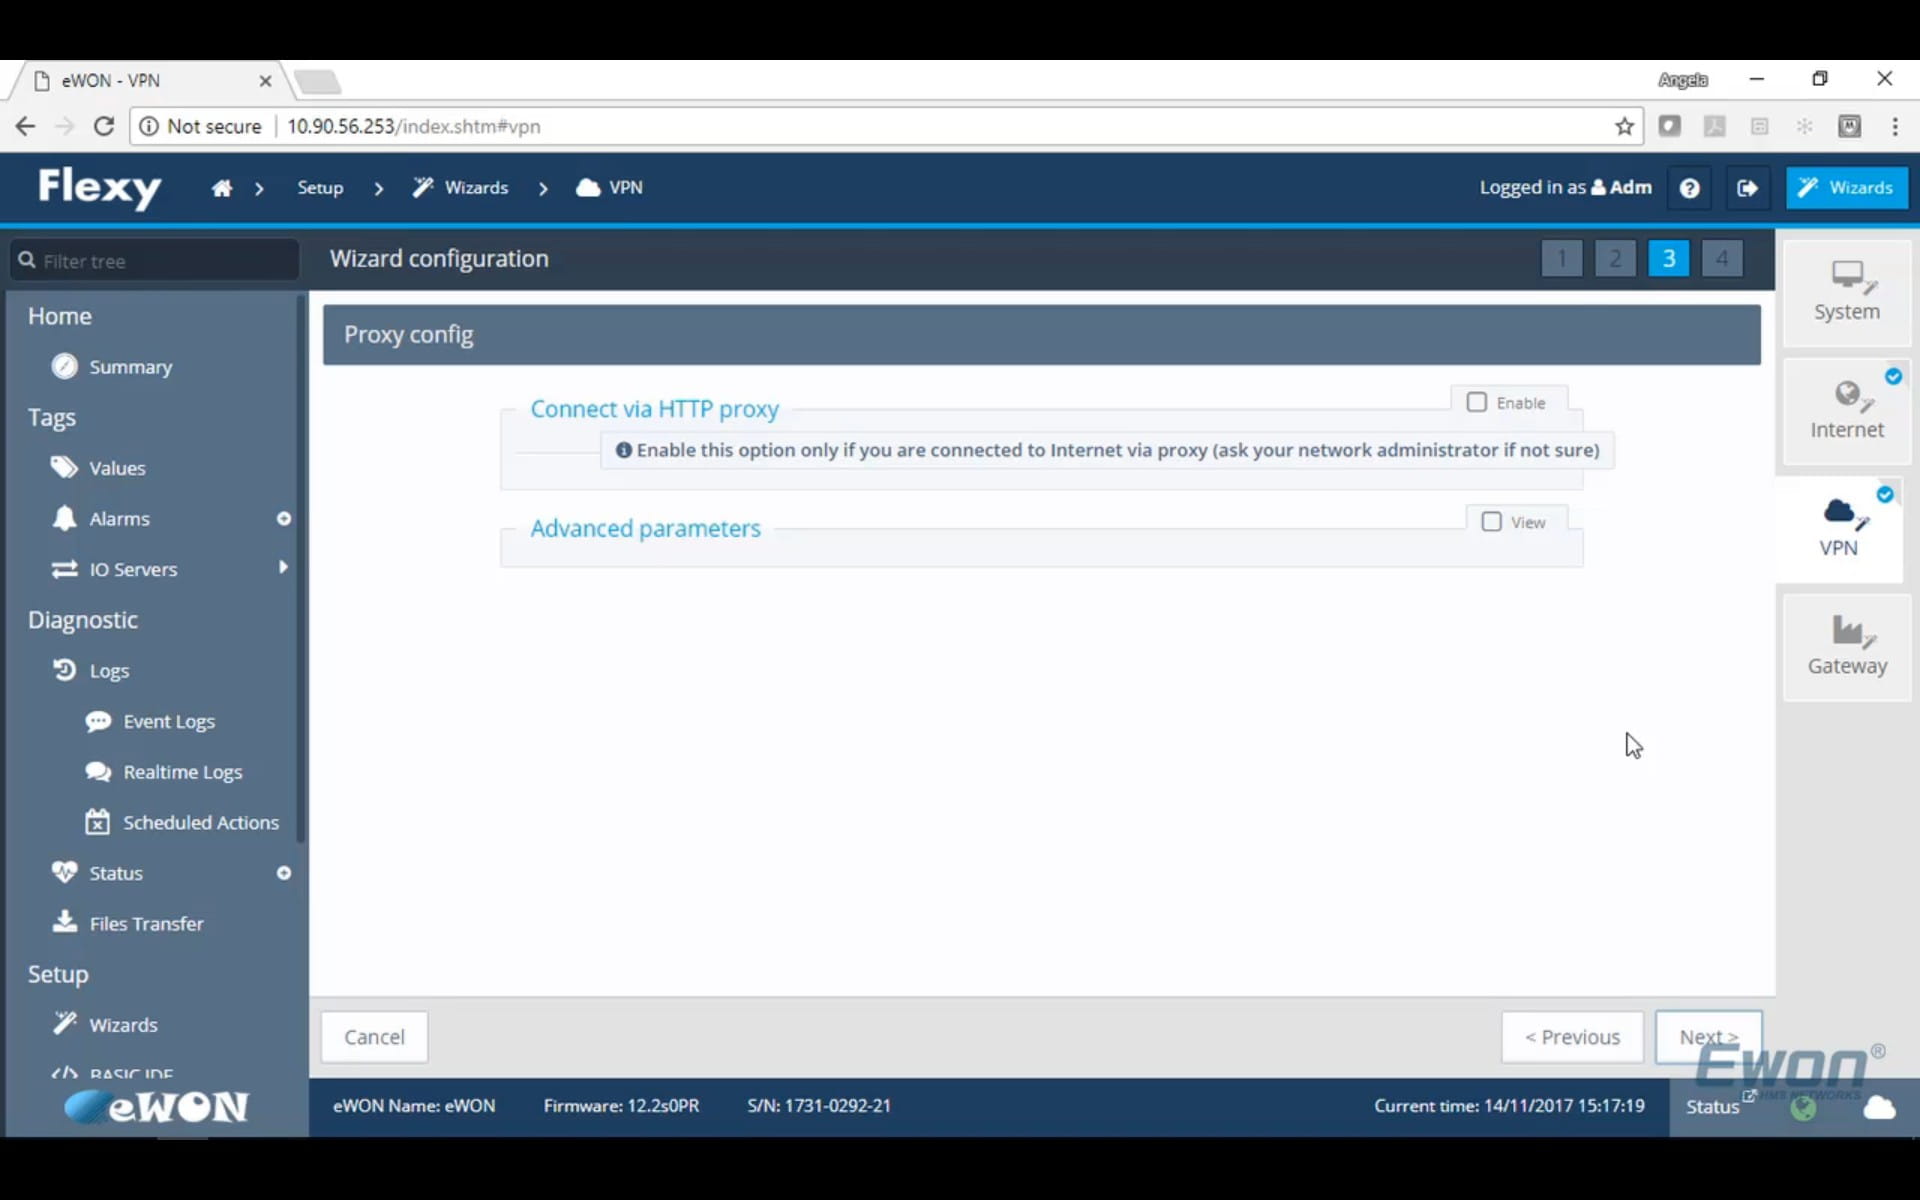
On Step 3 of the VPN Wizard, please enter in your Proxy settings, if you are using a proxy. If not, continue.
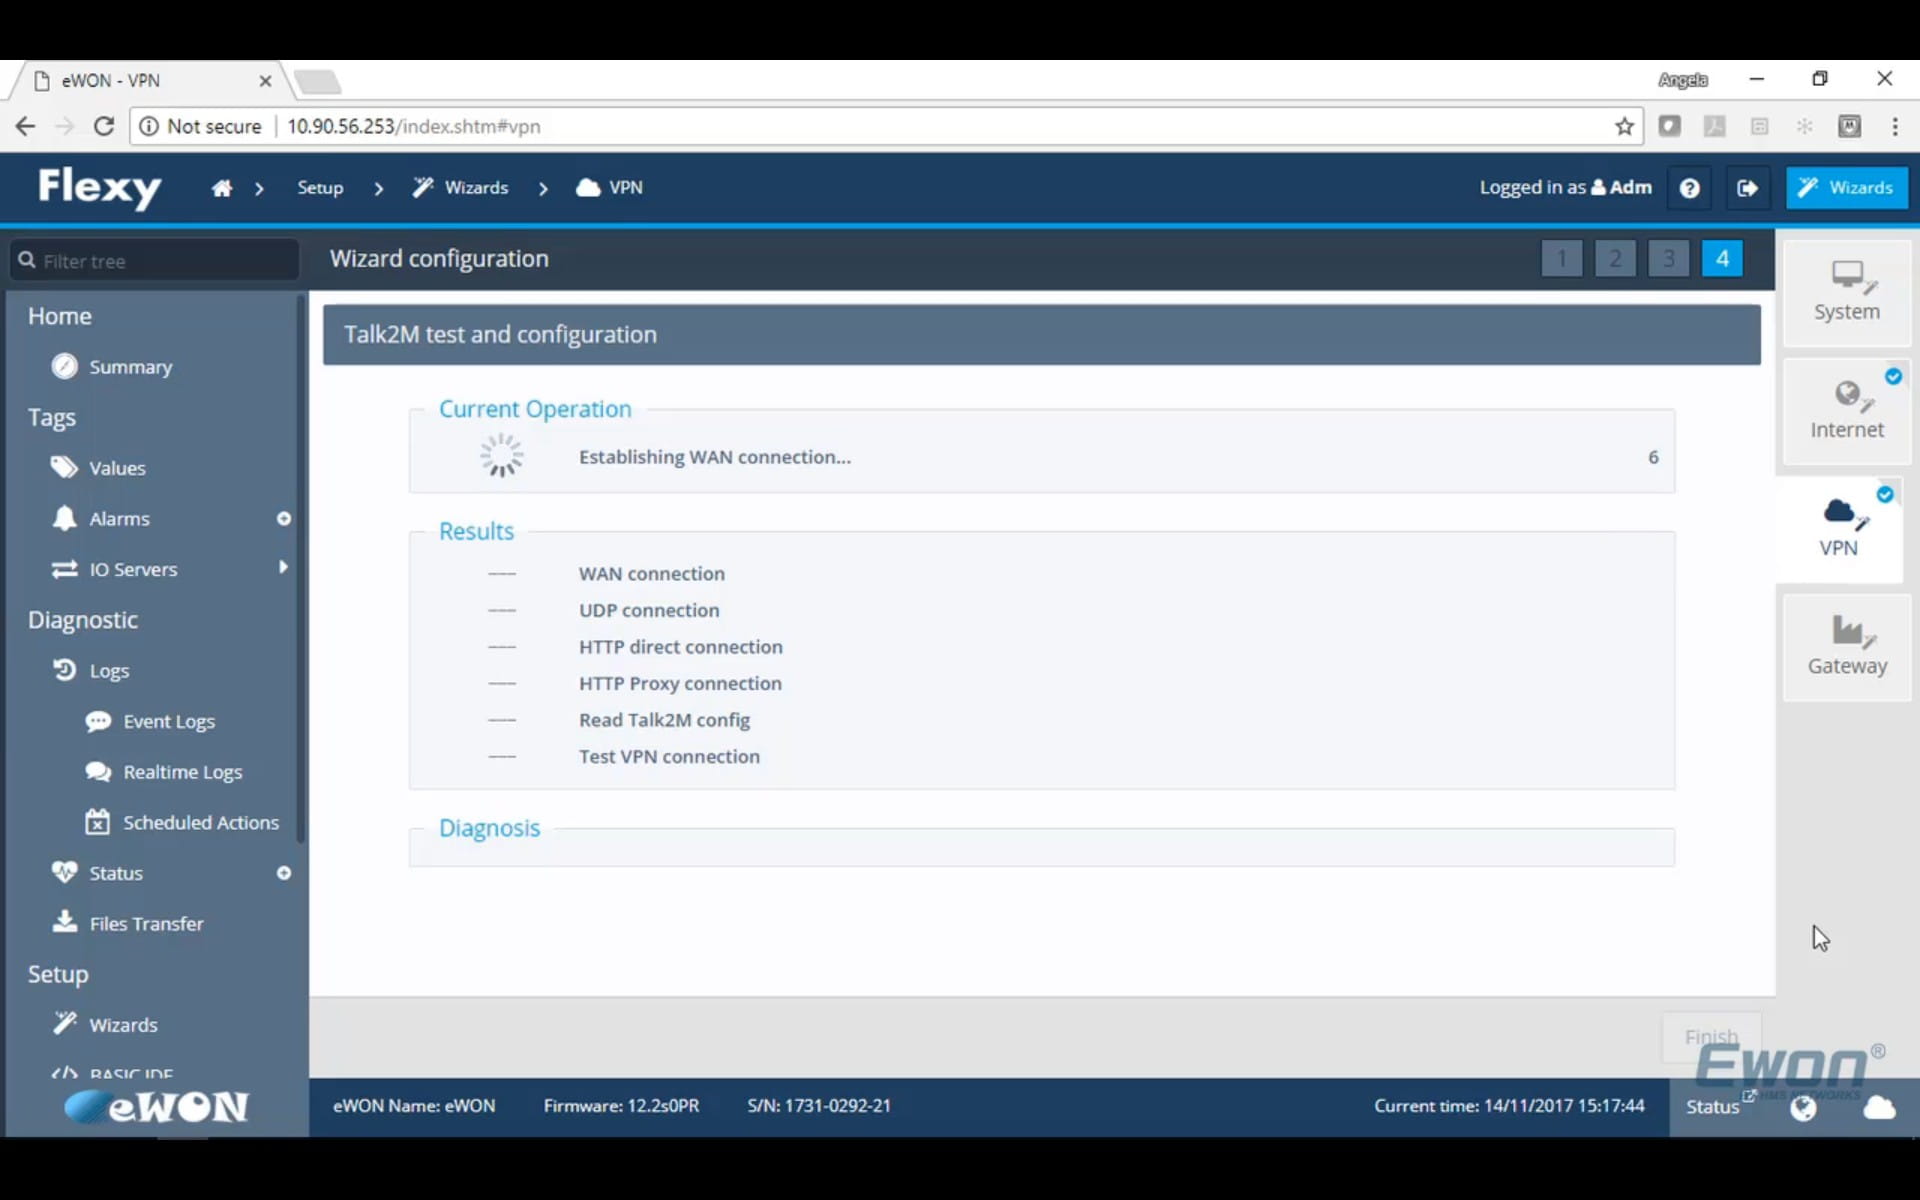
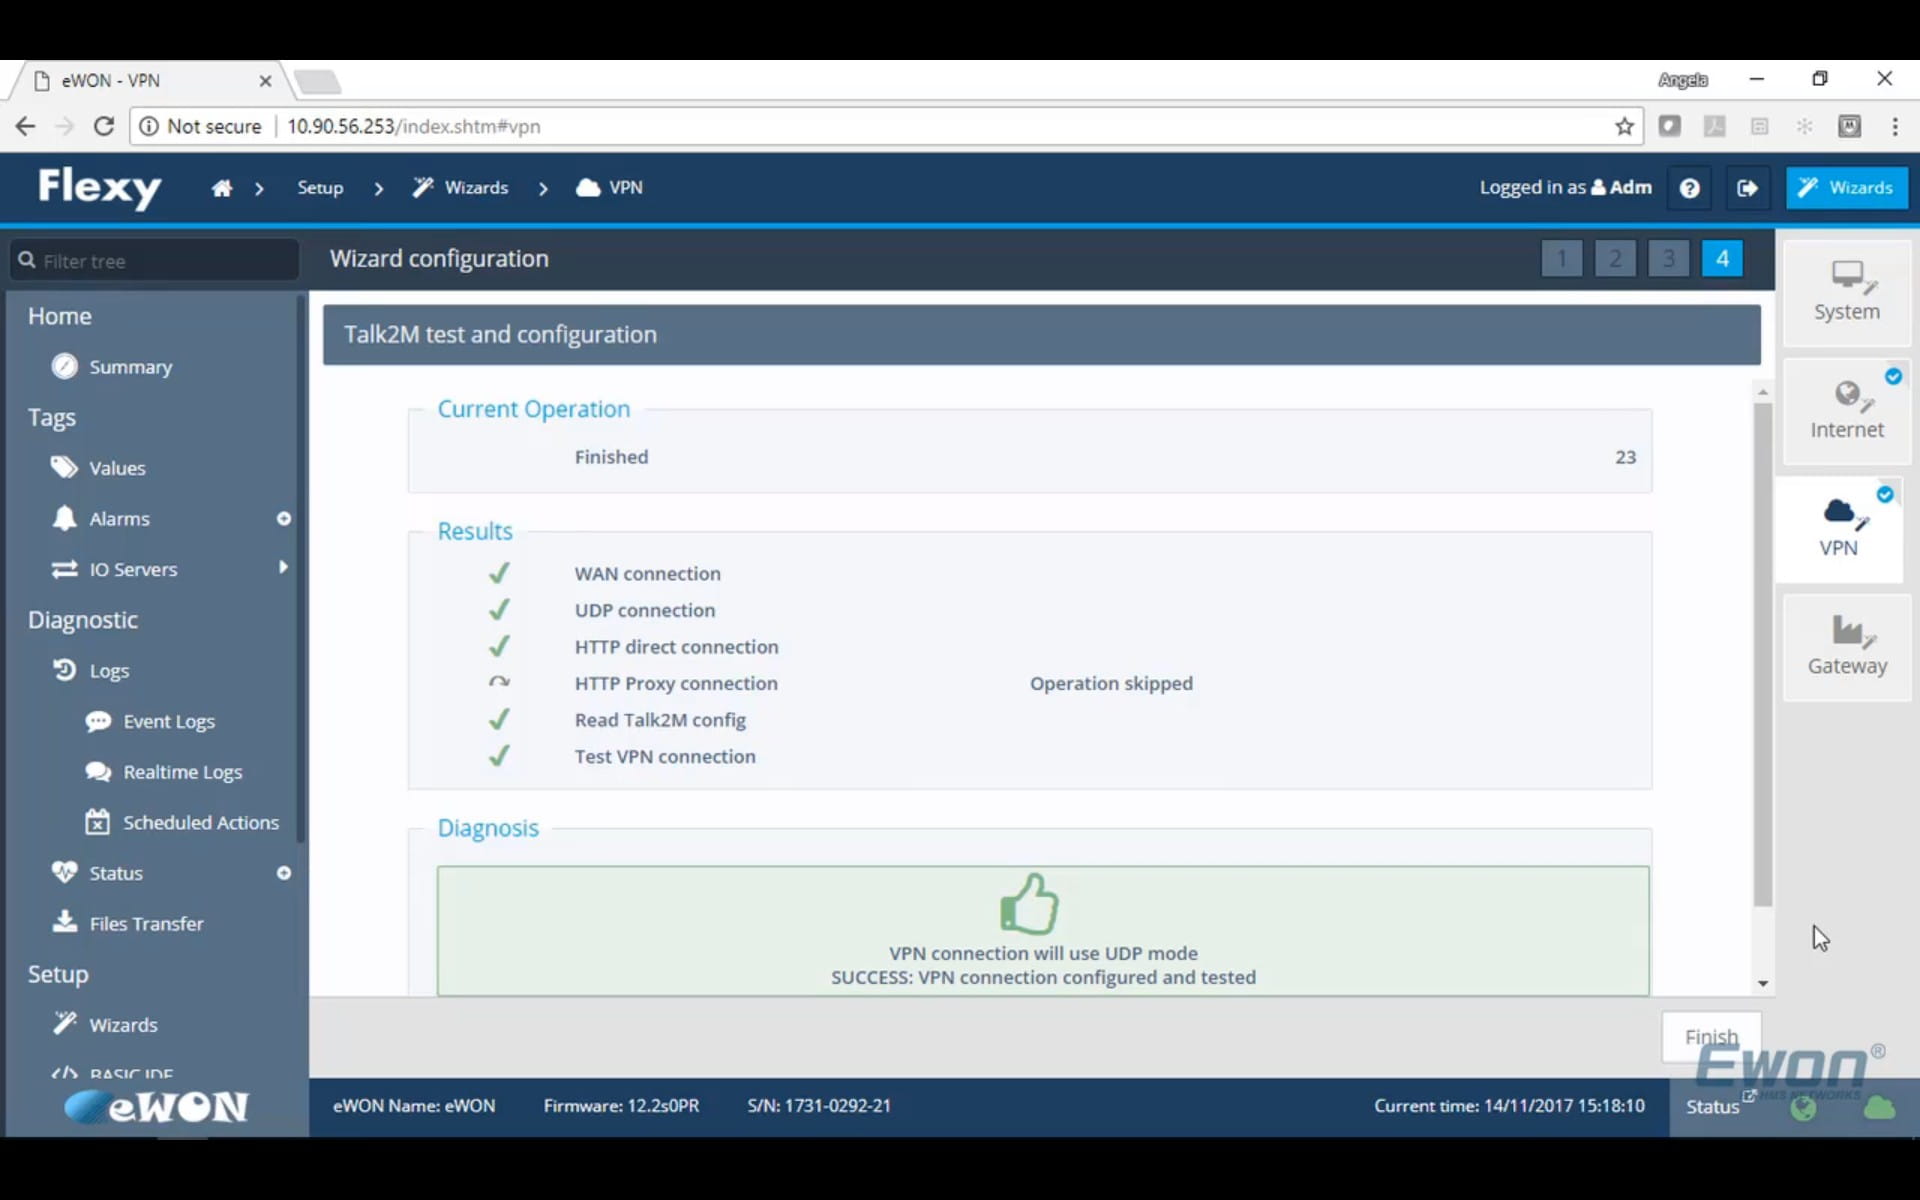
The VPN Wizard will now go through various tests to ensure a connection between the Flexy and Talk2M.
Once the test is completed. The Wizard will provide feedback if the connection was successfully made. If so, your Ewon should now be online in Ecatcher, ready to be connected.
To adjust your Flexy's LAN IP Address, locate Setup -> System -> Communication -> Eth1 LAN
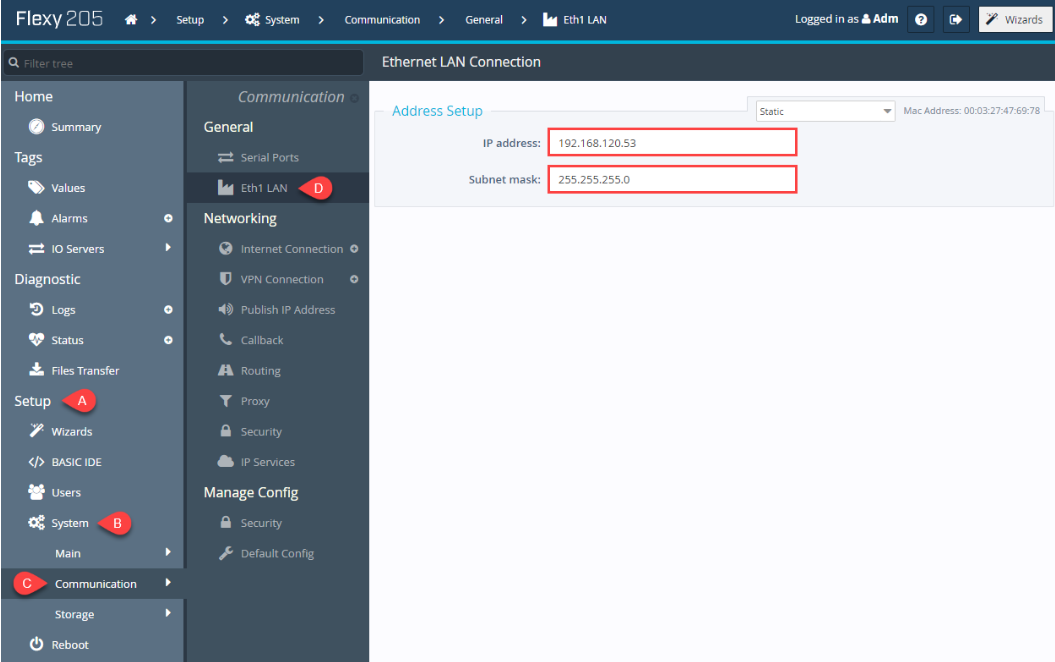
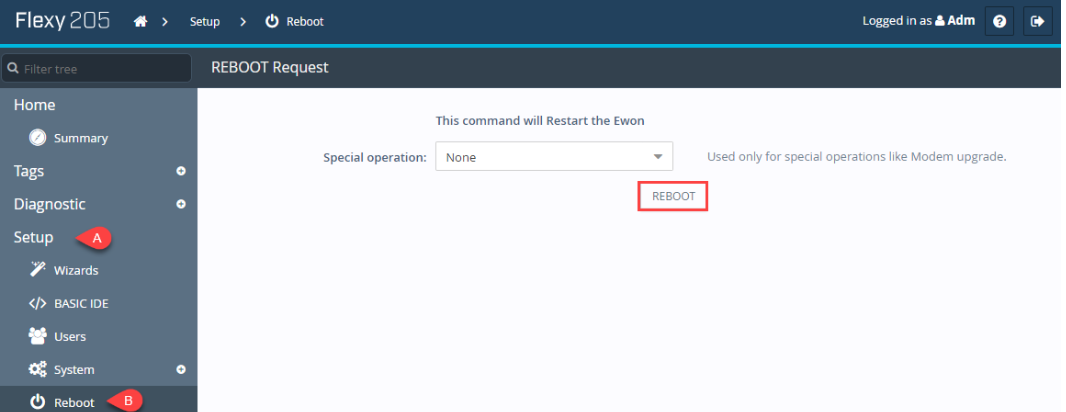
For this LAN Address change to apply, you must reboot your Flexy. This can be done in Setup -> Reboot